So, what on earth is an Apple Developer provisioning profile? If you’re new to iOS development, this part can feel like a bureaucratic nightmare. Let’s cut through the jargon.
Think of a provisioning profile as a digital permission slip. It’s a file that bundles your developer identity, your app’s unique ID, and the specific devices it’s allowed to run on. It’s the critical link in a chain that proves to Apple your app is legitimate and comes from a trusted source.
Without the right profile, your app is dead in the water. It simply won’t install or run on a physical iPhone or iPad. This file is the centerpiece of Apple’s entire code-signing process, tying everything together to meet their famously strict security standards.
The Four Types of Provisioning Profiles You Need to Know
Apple gives us four main types of profiles, and knowing which one to use when is half the battle. Picking the right one from the get-go will save you from a world of frustration. Each one serves a very specific purpose in your app’s journey from your computer to a user’s hands.
- Development: This is your everyday workhorse. It lets you and your immediate team install and debug your app directly on your own registered test devices. It’s for the “does this even work?” phase.
- Ad Hoc: Think of this as your private beta profile. It allows you to share your app with a limited group—up to 100 registered devices—for feedback before a public release. This is perfect for QA teams, stakeholders, or a small group of friendly testers.
- App Store Distribution: This is the golden ticket. It’s the profile you’ll use to sign your app for its final submission to the public App Store. There are no device limits here because, once approved, anyone in the world can download it.
- Enterprise (In-House): This one is a bit different. It’s exclusively for companies enrolled in the Apple Developer Enterprise Program. It allows large organizations to create and distribute proprietary apps internally to their employees, completely bypassing the public App Store.
To make this even clearer, here’s a quick breakdown of how these profiles compare.
Provisioning Profile Types at a Glance
| Profile Type | Primary Use Case | Device Limitation |
|---|---|---|
| Development | Debugging on personal test devices | Limited to registered devices |
| Ad Hoc | Distributing to a limited beta group | Up to 100 registered devices |
| App Store | Submitting to the public App Store | None (for public distribution) |
| Enterprise | Internal distribution to employees | None (within the organization) |
Each profile is designed for a different stage of the app lifecycle. The device uses the profile to verify who signed the app and how it’s meant to be distributed, which is central to how Apple maintains its secure “walled garden” ecosystem.
Getting a handle on provisioning mechanisms for iOS applications is crucial because the profile you choose dictates your app’s entire distribution path.
My Two Cents: Don’t mess this part up. Choosing the wrong provisioning profile is a guaranteed roadblock. It will stop you from running a simple debug build on your own phone just as surely as it will prevent you from shipping your final version to millions of users. Get it right from the start.
Alright, let’s roll up our sleeves and get this done. Forget the abstract theory; this is a real-world, hands-on guide to creating an Apple developer provisioning profile that actually works. We’re heading straight into the Apple Developer portal.
Everything you need is tucked away in your account under the ‘Certificates, IDs & Profiles’ section. Our single goal here is to walk out with a valid .mobileprovision file that’s perfectly configured for your app and how you plan to distribute it.
Kicking Off the Creation Process
Once you’re logged into your developer account and in the Profiles area, find and click that little blue plus icon (+) to get started. Apple’s first question is always about the profile type, grouping them under Development or Distribution.
Pay close attention here. This choice sets you on a specific path. If you select “App Store,” you’re telling Apple this build is for public release. The steps are pretty direct: pick your App ID, then select the right distribution certificate. Simple.
But if you choose “Ad Hoc,” things change slightly. You’ll still select your App ID and certificate, but then Apple adds a crucial step: you have to select the specific test devices the profile will work on. This is how you authorize your app to be installed on a hand-picked list of iPhones and iPads for testing purposes.
This image lays out the basic flow and highlights that key difference.
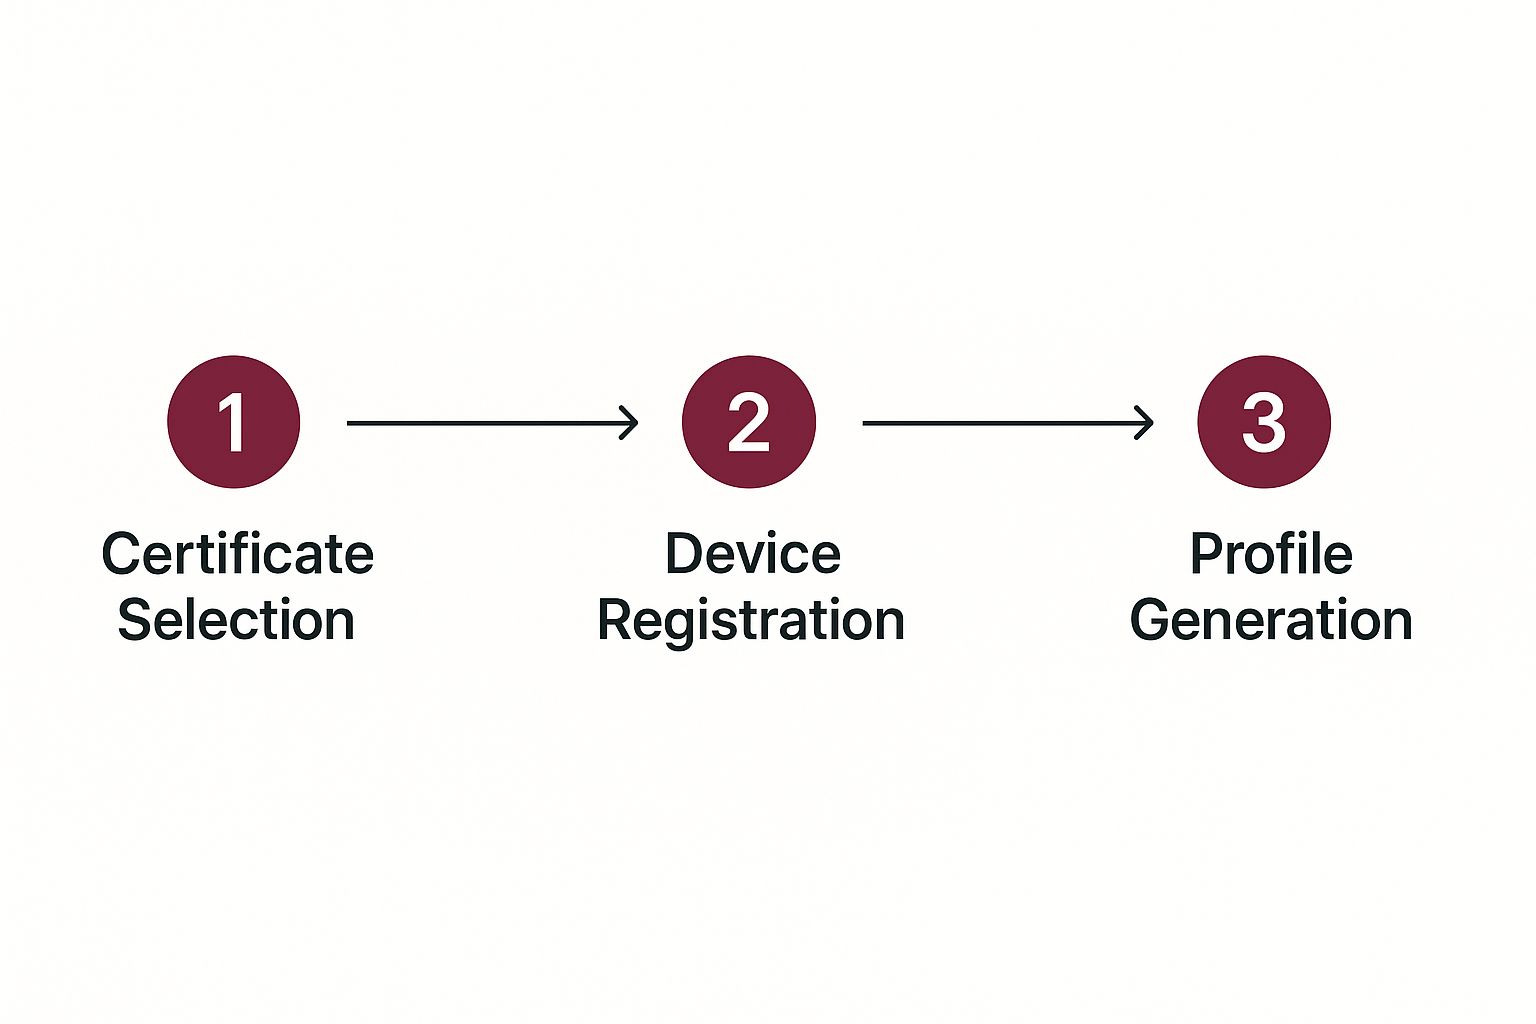
As you can see, that device registration step is the main fork in the road. It’s what separates a profile meant for your internal team from one destined for the App Store.
Finalizing and Generating Your Profile
After you’ve made your selections, you’ll need to name your provisioning profile. Here’s a pro-tip from someone who’s learned the hard way: be descriptive! A name like MyApp Ad Hoc Beta Q2 tells you exactly what it is and what it’s for. My Profile 2 tells you nothing and will cause headaches later.
With a good name in place, just click “Generate.” Your browser will download the .mobileprovision file. That small file is a bundle containing every decision you just made—the App ID, certificate, and any device UDIDs.
This whole process might seem tedious, but it’s Apple’s fortress of security. It’s the very system that over 10 million apps on the App Store rely on to manage who can build them and where they can run. It’s all about control and minimizing risk. If you want a deeper dive, you can discover more about Apple’s standardized creation process on Staffbase.com.
Once you have this file, you’ll feed it directly into Xcode. And if you’re part of a team that wants to stop doing this manually every time, you should absolutely look into automating your build pipeline. Our guide on setting up iOS continuous integration is the perfect next step.
Integrating Your Profile with React Native and CodePushGo
Alright, you’ve got the .mobileprovision file. Now for the part that really matters: getting it to play nicely with your React Native project. Think of the Apple developer provisioning profile as the special key that lets your app run on a real iPhone and, just as importantly, accept those slick over-the-air updates from CodePushGo.
First things first, let’s introduce Xcode to your new profile. If Xcode is open, shut it down completely. Now, find that .mobileprovision file you downloaded and simply double-click it. This one action tells Xcode to absorb the profile into its library. The next time you open your project, it’ll be right there, ready to be used.
Setting Up Your Xcode Project
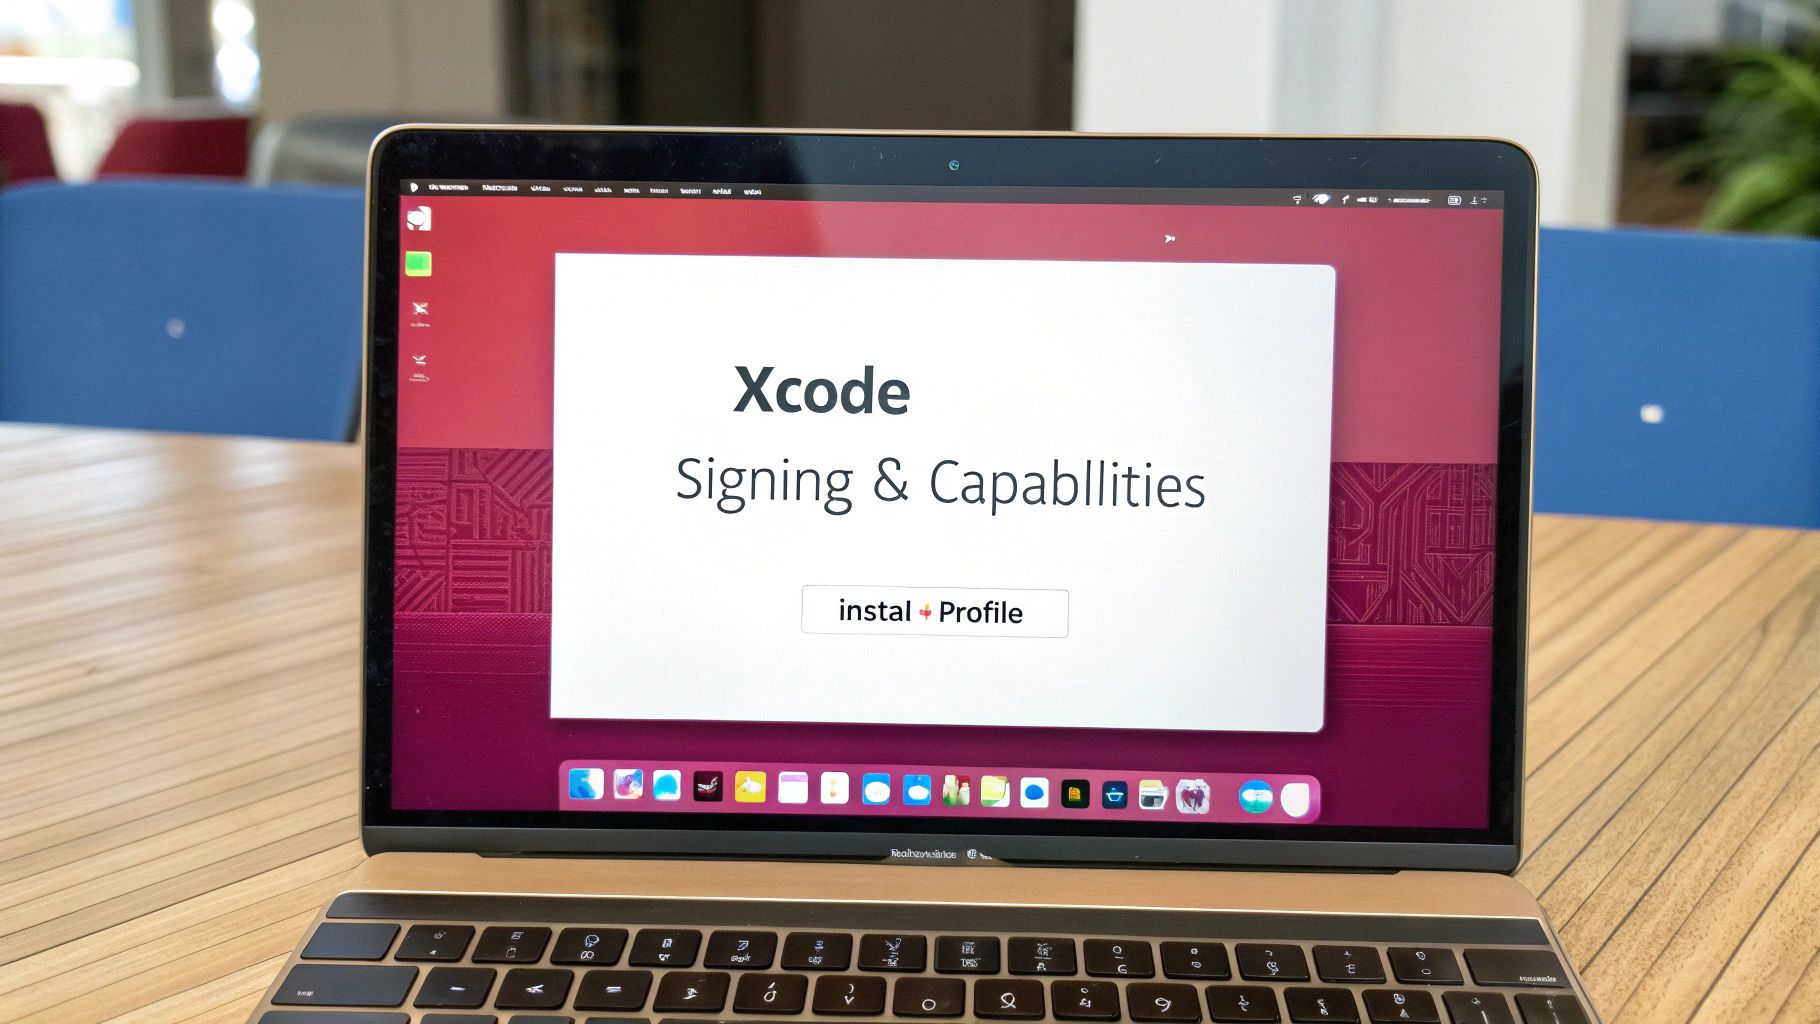
With the profile installed, pop open your project in Xcode and head straight to your project’s settings. You’ll want to select your main app target and then click on the “Signing & Capabilities” tab. This screen is ground zero for all things code signing.
I’m a huge advocate for deselecting the “Automatically manage signing” checkbox. Seriously. While it seems helpful, I’ve seen it cause countless headaches in complex projects, especially when tools like CodePushGo are in the mix. Going manual gives you precise control and saves you from a world of frustrating, hard-to-diagnose errors later on.
Now you can pick your new profile from the “Provisioning Profile” dropdown menu. The descriptive name you gave it earlier should make it easy to find. Just as crucial, double-check that the “Signing Certificate” dropdown shows the certificate you originally tied to this profile. A mismatch between the profile and the certificate is probably the most common reason builds fail.
My Two Cents: Manually setting the provisioning profile and certificate is the single most reliable way to build your app. It takes the guesswork out of the equation and is a non-negotiable best practice for any serious app, especially if you have a CI/CD pipeline.
Once that’s all set, do a clean build by hitting Shift + Command + K and then try building the app for your connected device. If it builds and launches without any angry red error messages about signing, you’re golden.
CodePushGo and Signing: A Perfect Match
This is where your setup really pays off, especially for CodePushGo users. Remember, CodePushGo sends down your JavaScript bundle and assets, but it doesn’t touch the core native app binary. This is key. It means the original signature on your .ipa file has to stay valid for iOS to accept any updates.
Your provisioning profile sets the rules—the entitlements and permissions—for your app. When a CodePushGo update arrives, iOS re-checks the app’s signature to make sure nothing fishy is going on. If your initial app was signed with a Development profile, you can’t push an update to a build that was later signed with an Ad Hoc or App Store profile. They have to match.
So, you need a consistent strategy for your environments:
- For Beta Testers: Use an Ad Hoc profile when building for TestFlight or your internal QA team. Any CodePushGo updates you push to your “Staging” or “Beta” deployment should target builds signed with this Ad Hoc profile.
- For the Public Release: Sign the build you submit to the App Store with an App Store Distribution profile. All your “Production” updates through CodePushGo must be aimed at this specific app version.
Getting this wrong is a silent killer—updates will simply fail to apply on your users’ devices with no obvious error. This approach also works hand-in-hand with feature flags to safely roll out new code within your updates. We actually have a whole guide on best practices for feature flags if you want to dive deeper.
With your provisioning and signing pipeline locked down, the final piece of the puzzle is rigorous testing. Running through a solid mobile app testing checklist is the best way to ensure you’re shipping a quality app to your users.
Mastering Enterprise and Ad Hoc Distribution
When your app isn’t meant for the public App Store, your entire distribution strategy changes. This is where Ad Hoc and Enterprise provisioning profiles come in. They are the essential tools you’ll need for controlled deployment, whether you’re sharing an app with a few testers or an entire company.
Getting Started with Ad Hoc Distribution
Ad Hoc distribution is perfect for client demos, internal reviews, and focused beta testing. It lets you share a build directly with up to 100 specific, registered devices.
The main hurdle, from my experience, is managing that list of device UDIDs. My advice? Set up a simple, shared spreadsheet or a web form where testers can submit their device Name, Model, and UDID. This keeps everything in one place and makes it incredibly easy to copy the data directly into the Apple Developer portal.
Just remember, if a new tester needs access mid-cycle, you have to add their UDID to your device list, regenerate the Ad Hoc profile, and then create and distribute a completely new build signed with that updated profile. The old build simply won’t work on the new device.
Scaling Up with Enterprise Distribution
The Apple Developer Enterprise Program unlocks a completely different approach: in-house distribution. This is how you deploy proprietary apps directly to your employees, bypassing the App Store entirely. A huge advantage here is that an Enterprise Apple developer provisioning profile has no device limit. That’s a lot of power, but it also comes with significant responsibility.
Your primary concern becomes security. Since these apps don’t undergo the App Store Review process, you are the one responsible for making sure they’re secure and work as intended. For many tech companies, this distribution model is a critical part of their internal tooling and SaaS operations management.
Key Takeaway: The single biggest operational challenge with Enterprise profiles is renewal. They expire annually. If you let an Enterprise profile expire, every single copy of that app across your organization will stop working instantly. Set multiple calendar alerts months in advance to avoid a major, self-inflicted outage.
Ever since Apple enabled wireless installation for proprietary apps, these profiles have become the standard for corporate app deployment. With iOS 18, Apple has even added a security step that requires a device restart after installing a new in-house app to fully trust its profile. This just underscores their ongoing focus on security, even for apps outside the main store.
Getting this distribution method right is fundamental to a smooth development workflow. To see how these profiles fit into the bigger picture, check out our guide on how to deploy a React Native app from start to finish.
How to Fix Common Provisioning Profile Errors
It’s a rite of passage for every iOS developer: hitting a wall with a cryptic Apple developer provisioning profile error. Those frustrating messages like “No valid signing identities found” or the infuriatingly vague “Failed to create provisioning profile” can bring your entire workflow to a screeching halt. But don’t worry, we can turn these roadblocks into simple fixes.
When an error pops up, your first instinct might be to just regenerate everything and hope for the best. Resist that urge. The key is to diagnose the problem first. A provisioning profile is just a .mobileprovision file, which is really a plist file in disguise. You can actually inspect its contents right from the command line on your Mac to see exactly what’s inside—the App ID, certificates, and device UDIDs.
This little diagnostic trick often points you straight to the culprit. A common mistake I see is using a wildcard App ID for an app that needs a specific capability like Push Notifications. A quick peek inside the file would reveal that mismatch instantly.
Expired Certificates and Profiles
By far, the most frequent issue is simple expiration. If you see an error like “The app cannot be installed due to unverifiable integrity,” it’s a dead giveaway that your app’s permission slip is out of date.
- The Cause: All profiles expire, usually after one year. Apple does this as a security measure to make sure only active developers can sign and distribute code.
- The Fix: Simply log in to the Apple Developer portal, find the expired profile, and hit regenerate. After that, you’ll need to download the new
.mobileprovisionfile and use it to re-sign and create a fresh build of your app.
While it’s a straightforward fix, it’s a critical one to stay on top of. For internal Enterprise apps, an expired profile can be a disaster, causing the app to stop launching on every single employee’s device. This can quickly turn into a major incident. Building this renewal cycle into your operational strategy is a must. For larger teams, managing these potential issues proactively is essential; our guide to incident response best practices has some great advice on that front.
Mismatched App IDs and Entitlements
Here’s another classic scenario: your project’s Bundle Identifier doesn’t line up with the App ID baked into your provisioning profile. When this happens, Xcode will throw its hands up and complain that it can’t find a profile matching your settings.
My Advice: Always, always double-check the Bundle Identifier in your Xcode project’s “General” tab against the App ID in the Apple Developer portal. It only takes one tiny typo to break the entire signing process. This is especially true when you’re using explicit App IDs for services like HealthKit or In-App Purchases.
On a similar note, take a close look at your Entitlements.plist file. If your app requests an entitlement that isn’t enabled for that App ID back in the developer portal, the signing will fail. You have to make sure the capabilities you’ve enabled online perfectly match what your app is asking for in its entitlements.
When Automatic Signing Fails
Xcode’s “Automatically manage signing” feature sounds great in theory, but in complex projects, it can sometimes create more headaches than it solves. It has a knack for picking the wrong profile, especially if you have several profiles with similar names or for different distribution types (like Ad Hoc vs. App Store) in your account.
If you’re pulling your hair out over unexplainable signing issues, try taking back control:
- Go Manual: The first step is to uncheck “Automatically manage signing” in your target’s “Signing & Capabilities” tab.
- Select Precisely: Now you can manually select your Distribution Certificate and the exact Provisioning Profile you generated for this specific build.
Doing this removes all the guesswork and forces Xcode to use the precise assets you intended. This approach is a lifesaver for CI/CD pipelines and is essential for ensuring your CodePushGo updates are sent to apps signed with the correct profile.
Frequently Asked Questions
Getting tangled up in the world of an Apple developer provisioning profile is almost a rite of passage. Over the years, I’ve seen the same questions pop up time and time again. Let’s cut through the noise and give you some straight answers so you can get back to what you do best: building amazing apps.
What Is the Difference Between a Provisioning Profile and a Signing Certificate?
This is easily the most common point of confusion. The best way I’ve found to explain it is with a simple travel analogy.
Think of your signing certificate (the .p12 file) as your personal passport. It’s a secure file that proves you are who you say you are—a developer trusted by Apple. It’s all about your identity.
The provisioning profile (the .mobileprovision file), on the other hand, is like the visa for your app. It connects your identity (the certificate) to a specific application and lays out the rules for where that app can go. Can it be installed on specific test devices? Is it destined for the App Store? The profile holds those answers.
The Bottom Line: You absolutely need both. The certificate is your identity, and the provisioning profile is the set of rules that apply to your app. One is useless without the other.
Why Does My Provisioning Profile Keep Expiring?
It’s a security feature, plain and simple. Apple sets an expiration date on all provisioning profiles—usually one year—to ensure that only developers with active, maintained accounts can distribute apps. It’s a way to prevent old, forgotten apps from becoming potential security holes.
Once a profile expires, you have to generate a fresh one from the Apple Developer portal.
If your app is on the App Store, you’ll only need the new profile when you’re ready to submit an update. But for Ad Hoc and Enterprise builds, an expired profile is a much bigger deal. It will block new installations and can even stop the app from launching on existing devices. Keeping these profiles current is critical.
Can I Use One Provisioning Profile for Multiple Apps?
Yes, but it comes with some serious limitations. You can create a single provisioning profile for multiple applications by using a wildcard App ID, like com.yourcompany.*. This profile will work for any app as long as its Bundle Identifier fits that pattern. It seems convenient, and for simple apps, it is.
However, the moment your app needs access to specific Apple services, a wildcard profile is off the table. You can’t use them for apps that require capabilities such as:
- Push Notifications
- HealthKit
- In-App Purchases
- Associated Domains
For any app using those services, you’re back to creating a specific, explicit App ID and a dedicated provisioning profile for it.
What Happens When I Add a New Device to an Ad Hoc Profile?
When you add a new device’s UDID to your test device list, you immediately invalidate the existing Ad Hoc profile. The old profile simply has no record of the new device and is now out-of-date.
To get things working, you must regenerate the profile. This creates a new .mobileprovision file that includes the device you just added. From there, you’ll need to download it, pop it into Xcode, and archive a completely new build (.ipa) of your app. Only this new build, signed with the updated profile, will install on that new test device. Getting this workflow down is a key part of solid software deployment best practices for iOS development.
At CodePushGo, we help you bypass the App Store review process for your React Native updates. Ship bug fixes and new features in minutes, not days, with our secure and reliable over-the-air update service. Learn more at CodePushGo.


