Think of a deep link in React Native as a specific URL that doesn’t just open your app—it takes the user directly to a particular screen inside it. Instead of landing on the homepage, a user can tap a link in an email or on a website and instantly see the exact product, profile, or piece of content they were interested in. It’s all about creating a seamless, context-aware journey.
Why Deep Linking Is Crucial for Your App
Imagine you’ve just sent a marketing email promoting a new pair of shoes. Without a deep link, a user clicks, gets routed to the App Store, opens your app to the home screen, and then has to manually search for those shoes. That’s a lot of friction, and it’s where you lose people.
A proper deep link react native implementation cuts out all those extra steps. It creates a direct path from the user’s intent to the desired action, making it a cornerstone of modern mobile marketing and user experience. By building these direct pathways, you fundamentally change how users engage with your app from the outside world.
Bridging the Gap Between Web and Mobile
Deep links essentially build a bridge, making your mobile app feel like a natural extension of the web. They ensure that whether a user finds you through a social media post, a search result, or an email campaign, their experience remains fluid and unbroken. That continuity is absolutely vital for keeping users engaged and preventing them from dropping off.
A well-executed deep linking strategy has a direct impact on your key performance indicators. In fact, apps that implement personalized deep linking can see engagement rates jump by as much as 25%. When users are taken exactly where they want to go with a single tap, they’re far more likely to make a purchase, view your content, or take whatever action you’re hoping for. You can dive deeper into this topic by exploring these key app engagement metrics.
A deep link turns your app from an isolated island into a connected part of your user’s digital ecosystem. It’s the difference between giving someone directions to your store and teleporting them directly to the right aisle.
The Different Flavors of Deep Links
Before you start coding, it’s important to know the different types of deep links, because they each solve different problems.
-
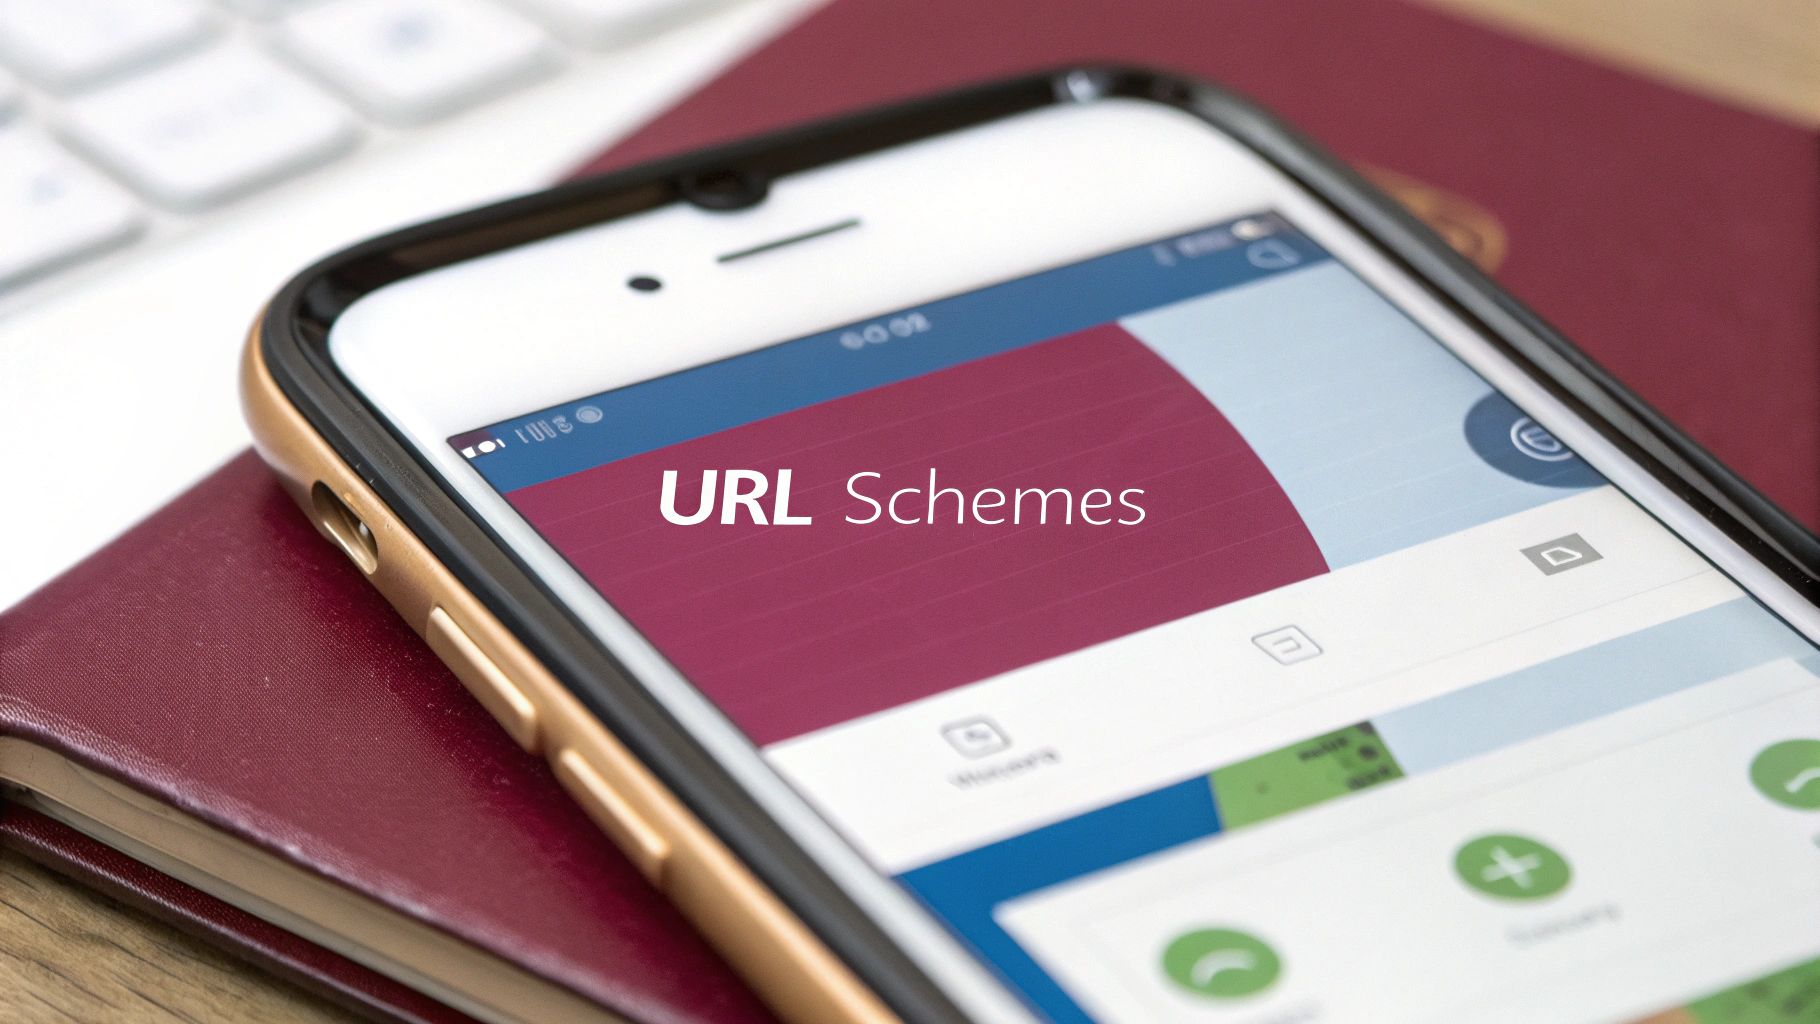
URI Schemes: These are custom URLs that look something like
myapp://products/123. They are pretty simple to set up, but they come with a big catch: if the user doesn’t have your app installed, tapping the link just leads to an error page. -
Universal Links (iOS) & App Links (Android): This is the modern, more robust approach. They use standard web URLs (
https://yourapp.com/products/123). If the app is installed, the link opens it directly. If not, it gracefully falls back and opens the URL in the phone’s web browser. This fallback is a game-changer for user acquisition campaigns, where you can’t assume everyone has your app.
Here’s a quick breakdown to help you decide which one is right for your needs.
Deep Link Types in React Native
| Link Type | Primary Use Case | Platform Support | Key Benefit |
|---|---|---|---|
| URI Schemes | Internal app-to-app navigation or links for existing users. | Android & iOS | Simple to implement for basic use cases. |
| Universal Links | User acquisition, web-to-app journeys, marketing campaigns. | iOS 9+ | Secure, no broken experience if the app isn’t installed. |
| App Links | Same as Universal Links, but for the Android ecosystem. | Android 6.0+ | Offers a verified, seamless web-to-app flow on Android. |
Ultimately, Universal Links and App Links are the industry standard for a reason. They provide a much better user experience by eliminating the dead-ends that URI schemes can create, ensuring every user, new or existing, has a smooth journey into your app.
Setting Up Your Native Project Configuration
Before you can even think about handling a URL in your JavaScript code, you have to get your hands dirty in the native project files. This is where you teach your Android and iOS projects how to listen for those incoming links. Honestly, this platform-specific setup is the foundation for any good deep link React Native implementation, and I can tell you from experience, it’s where most headaches begin. Get this part right, and you’ll save yourself a world of pain later on.
Think of it as telling the operating system, “Hey, when you see a URL that looks like this, my app can handle it.” On Android, this conversation happens in the AndroidManifest.xml file. For iOS, you’ll be working in your Xcode project settings.
This diagram gives a great high-level view of the setup flow for both platforms, pointing out the key configuration spots you’ll need to hit.
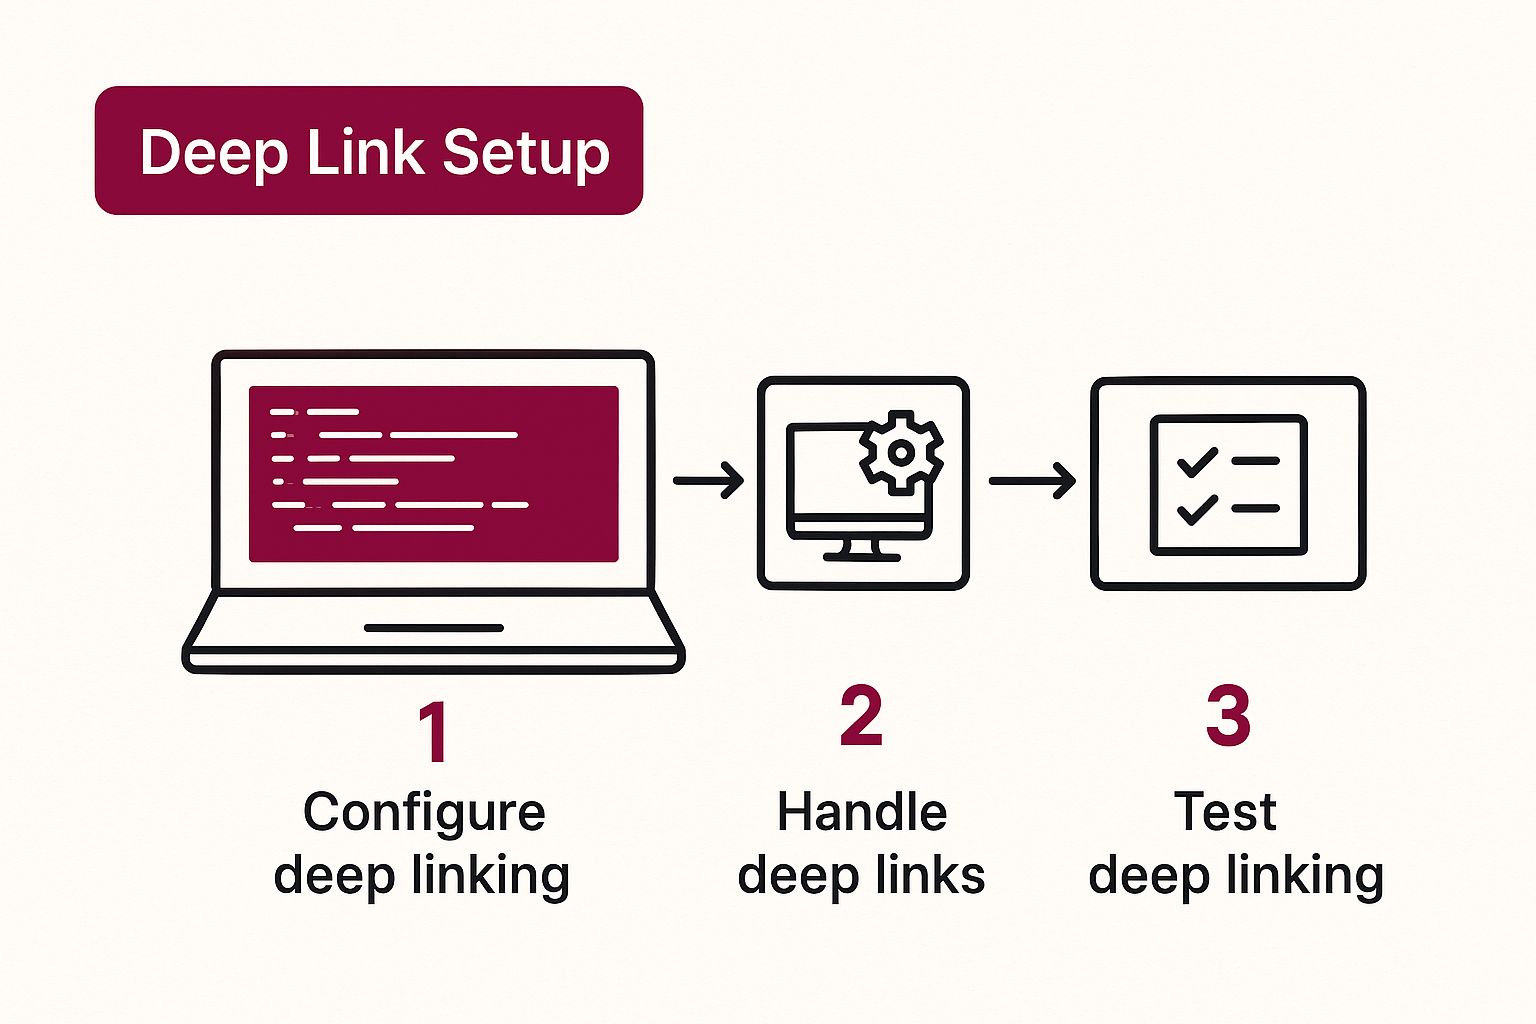
As you can see, even though the files and UIs are different, the goal is identical: declare your app’s ability to handle specific URL patterns at the native level.
Configuring Android Intent Filters
On the Android side of things, intent filters are your tool of choice. These are essentially rules you add to your AndroidManifest.xml that tell the system which intents your app is interested in. For deep links, you’re specifically concerned with the VIEW action.
You’ll need to find the <activity> tag that corresponds to your app’s main entry point and add an <intent-filter> block inside it. This block has three critical components:
<action>: This has to beandroid.intent.action.VIEW. It signals that your app can display some data.<category>: You need bothandroid.intent.category.DEFAULTandandroid.intent.category.BROWSABLE. That second one is absolutely crucial—it’s what allows your link to be opened from a web browser.<data>: This is where you define your URL structure. You’ll specify a customandroid:scheme(likemyapp) and, if you need it, anandroid:host.
This configuration leaves no doubt for the Android OS about which URLs belong to your app.
Setting Up iOS URL Schemes and Universal Links
For iOS, you have two paths. The first and simplest is defining a custom URL Scheme. In Xcode, you just go to your project’s Info tab, find the “URL Types” section, and add your scheme (e.g., myapp). It’s pretty straightforward.
However, the modern and much more powerful method is using Universal Links. This approach takes a bit more setup but delivers a far superior user experience. You’ll need to enable the “Associated Domains” capability in Xcode and then add your domain with an applinks: prefix, like applinks:www.yourdomain.com. This creates a secure, verified link between your website and your app. If you need a more detailed guide, we have a complete walkthrough on configuring iOS Universal Links.
The push for features like this isn’t just about good practice; it’s reflected in the market’s growth. The React Native app development market was valued at USD 325 million in 2024 and is on track to hit nearly USD 499 million by 2031. This explosive growth really highlights how critical these user-focused features have become in modern mobile development.
Handling Links with React Navigation
Alright, once you’ve wrestled with the native project files, it’s time to jump back into the world of JavaScript. This is where you actually tell your app what to do with those incoming URLs, and thankfully, React Navigation makes this part surprisingly elegant.
Instead of manually listening for URL events and getting tangled in a web of if/else statements, React Navigation lets you declare your linking rules upfront. You create a simple linking configuration object that essentially acts as a map, translating a URL like myapp://products/123 directly to a specific screen—in this case, your ProductDetail screen, with 123 neatly passed along as a parameter. It’s a much cleaner way to manage your app’s entry points.
This approach keeps all your routing logic in one place, which is a lifesaver for maintainability as your app inevitably gets more complex.
Building the Linking Configuration
The magic happens inside the linking object, which you’ll pass directly to your top-level NavigationContainer. This object has two key properties you need to define: prefixes and config.
-
prefixes: Think of this as a whitelist. It’s an array of all the URL schemes and domains your app should pay attention to. This is where you’ll put your custom URI scheme (likemyapp://) and any associated domains for Universal Links or App Links (e.g.,https://www.yourdomain.com). -
config: This is the heart of the mapping. It’s an object that mirrors your navigator’s structure, letting you define which screen corresponds to which URL path.
Let’s look at a real-world example of how this comes together:
const linkingConfig = {
prefixes: [‘myapp://’, ‘https://www.yourapp.com’],
config: {
screens: {
Home: ‘home’,
Profile: {
path: ‘user/:userId’,
parse: {
userId: (id) => user-${id},
},
},
NotFound: ’*’,
},
},
};
// Then, in your main App component:
<NavigationContainer linking={linkingConfig} fallback={
With this configuration in place, a link like myapp://user/jane will automatically navigate the user straight to the Profile screen. Better yet, the component will receive 'jane' as a userId parameter in its route props, ready to use.
Parsing Parameters from URLs
One of my favorite features here is how effortlessly you can pull dynamic data from a URL. By using a colon (:) in the path string, like in user/:userId, you’re telling React Navigation that this segment is a variable it needs to capture.
The parse function gives you another layer of control. It lets you process the raw string from the URL before it ever reaches your component. For instance, you could use it to convert a string ID into a number or add a prefix to it, ensuring your components always get data in the exact format they need. It’s a small detail that helps keep your component APIs clean and predictable. For a deeper dive into structuring your navigation, check out our other guides on https://codepushgo.com/blog/category/react-native-navigation/.
By defining a clear mapping from URL to screen, you effectively create a public API for your app’s content. This makes your app more discoverable and shareable, turning every screen into a potential entry point.
The entire React Native ecosystem is constantly improving, and features like this are becoming more powerful with every update. In 2025, React Native’s new architecture is expected to deliver apps with startup times up to 40% faster and reduce memory usage by 20–30%. When you combine that kind of performance boost with robust libraries like React Navigation, it’s easy to see why the framework remains a top choice for building incredible mobile experiences. You can learn more about what’s next for React Native on euroshub.com.
Testing and Debugging Your Deep Links
Alright, you’ve got the configuration wired up. Now comes the moment of truth: does it actually work? A broken deep link is more than just a minor bug; it’s a dead end for your user. It can derail a marketing campaign and leave people frustrated, so getting this part right is absolutely critical.
Tossing a link into a notes app and tapping it is a decent first check, but it barely scratches the surface. To really be confident, you need to simulate how the link behaves in different states—when the app is closed, running in the background, or already active. That’s where command-line tools come in.
The Power of Command-Line Testing
For reliable and repeatable tests, nothing beats the command line. It gives you precise control to trigger specific URLs and see exactly how your app reacts. This is how you catch the edge cases that manual testing often misses.
Platform-Specific Testing Commands
Here’s a quick reference for the command-line tools you’ll use to test deep links on Android and iOS simulators or emulators. These commands are your go-to for simulating a user clicking a link from an external source.
| Platform | Tool | Example Command |
|---|---|---|
| Android | Android Debug Bridge (ADB) | adb shell am start -W -a android.intent.action.VIEW -d "myapp://products/123" com.yourpackagename |
| iOS | xcrun simctl | xcrun simctl openurl booted "myapp://products/123" |
Using these tools consistently will save you from the guesswork of manual testing and help you pinpoint issues much faster.
Cracking Common Deep Link Problems
When a deep link fails, it almost always comes down to one of a few usual suspects. Knowing what to look for can turn hours of frustrating debugging into a quick fix.
If you’re looking for a deeper dive into general debugging strategies, our guide on debugging React Native is a great resource to have in your back pocket.
Here are the most common issues I’ve run into and how to fix them:
-
The App Won’t Open at All: This is a classic native configuration problem. On Android, the first place to look is your
AndroidManifest.xml. Check every detail of theintent-filter—the scheme, host, and path prefix must be perfect. For iOS, re-verify your URL Schemes in Xcode and make sure your Associated Domains are set up without any typos. -
It Opens, But to the Wrong Screen: If the app launches but lands on the homepage or an unexpected screen, the issue is likely in your JavaScript
linkingconfiguration. Thepathmappings in yourconfigobject need to perfectly match the URL structure you’re sending. A simple typo likeproduct/:idinstead ofproducts/:idis all it takes to break the logic. -
The Right Screen Opens, But Data is Missing: You see the product details screen, but it’s empty because the product ID is null. This means the parameter isn’t being passed correctly. Make sure the parameter name in your path (e.g.,
:productId) is exactly the same as the one you’re trying to read from the route props in your component.
A Word of Caution on Universal Links: Always, always test your Universal Links on a real iOS device. They are notoriously unreliable on the simulator and often fail to work entirely, which can send you on a wild goose chase trying to fix something that was never actually broken.
Taking Deep Linking to the Next Level
Once you’ve got the basics of a deep link React Native setup working, the real fun begins. This is where you move beyond simple screen navigation and start building the kind of professional-grade user journeys that boost retention and make your marketing campaigns sing.
We’re talking about tackling the tricky, real-world scenarios that separate a functional app from a truly seamless one. Let’s dig into a few.
Handling Authenticated Routes
Here’s a classic problem: a user clicks a deep link to a screen that requires them to be logged in, like their account page (myapp://account/settings). If they aren’t authenticated, you can’t just drop them on that screen. That would be a security hole and a terrible user experience.
The professional way to handle this is a smooth, multi-step flow:
- First, your app needs to recognize that the link points to a protected route.
- Next, you temporarily stash that intended destination URL.
- Then, you redirect the user to your login or signup screen.
- Finally, once they successfully log in, you automatically send them to their original destination (
account/settings).
This approach avoids that jarring moment where a user logs in and gets dumped on the home screen, completely forgetting what they were trying to do in the first place.
Unlocking Growth with Deferred Deep Linking
So, what happens when a new user—someone who doesn’t have your app installed—clicks a marketing link for a specific product? This is where deferred deep linking becomes one of your most powerful growth tools.
Instead of the link just failing, the user is smoothly redirected to the App Store or Google Play to download the app. But here’s the magic: upon first launch, your app remembers the context of that original link and takes the brand-new user directly to that specific product page they wanted to see.
This is absolutely critical for converting app installs into active, engaged users. It closes the loop on acquisition campaigns by making sure the very first experience a user has is perfectly aligned with the ad or post that brought them in.
Organizing Your Linking Configuration
As your app gets bigger, your linking configuration can easily devolve into a tangled mess of routes and special cases. Keeping your code clean and maintainable from the start is a lifesaver.
Don’t just throw everything into one massive linking object. A much better approach is to break it down logically. You could have separate files for different parts of your app, like authLinking.js, productLinking.js, and profileLinking.js. Then, you can merge them into a single master configuration.
This small bit of organization makes it so much easier to manage and scale your deep link React Native logic without introducing bugs down the road. If you’re looking for more on how this applies to the Android side of things, we have some great posts about Android App Links. A structured approach like this ensures your routing logic stays predictable, even as your app grows to handle dozens of entry points.
Common Questions About Deep Linking
Even when you follow a guide perfectly, you’re bound to hit a few snags or have questions pop up. It happens to everyone. Let’s tackle some of the most common roadblocks I see developers face when setting up deep links in React Native. Getting these sorted out can save you a ton of time and frustration.

One of the first things people ask is how to handle links when the app is closed versus when it’s just in the background. Thankfully, if you’re using a library like React Navigation, it does the heavy lifting for you.
When a link opens your app from a completely closed state, the library uses the URL to build the navigator’s initial state. But if the app is already running in the background, a linking event is fired, and the library just updates the navigation state accordingly. It’s pretty seamless.
URI Schemes vs. Universal Links
So, what’s the actual difference between a URI scheme and a Universal or App Link? This one is important.
- URI Scheme (
myapp://): Think of this as a custom, app-specific address. It only works if the user already has your app installed. If they don’t, they get a cryptic error message, which is a terrible user experience. - Universal/App Links (
https://...): These are just standard web URLs that point to your website. The magic is in the fallback—if the app isn’t installed, the link simply opens in their web browser. No errors, no confusion.
Universal Links and App Links are the way to go. They create a seamless, no-fail experience for every single user, whether they have your app on their phone or not. It’s the modern standard for a reason.
Why Aren’t My iOS Universal Links Working?
This is probably the most common “it works on Android but not iOS” problem. If your Universal Links are giving you trouble on iOS, the fix is almost always in one of three places.
First, take a hard look at your apple-app-site-association file. It absolutely must be served over HTTPS directly from your domain, with no redirects.
Next, jump into Xcode and confirm that the “Associated Domains” capability is enabled for your app. Make sure your domain is listed there with the correct prefix (e.g., applinks:www.yourdomain.com). A simple typo here will break everything.
Finally, and this trips up so many developers: you have to test Universal Links on a real, physical device. They are notorious for not working correctly in the iOS simulator. Don’t waste hours debugging on the simulator—plug in an iPhone.
Accelerate your development cycle and ship updates instantly with CodePushGo. Stop waiting for app store reviews and start deploying bug fixes and new features on your own schedule. Get started with CodePushGo today!


