
Before we dive into how to write a great test case, let’s talk about why it matters so much. Thinking of test cases as just a chore to check off a list is one of the biggest mistakes I see teams make. They aren’t just for finding bugs; they’re a strategic asset that protects your product’s quality, keeps development costs in check, and helps you avoid those dreaded production failures.
One poorly written test can easily let a critical bug slip through the cracks, which can seriously damage user trust and your brand’s reputation.
Why Better Test Cases Mean Better Software
The way you write your test cases has a direct, measurable impact on your final product and your team’s overall efficiency. It’s a high-impact skill that forms the foundation of the entire quality assurance process.
Well-structured tests are much more than a simple set of instructions. They act as living documentation. By clearly defining how a feature is supposed to behave, they create a single source of truth that everyone—from developers and QAs to product managers—can rely on. This shared understanding cuts down on the misunderstandings and endless back-and-forth that can slow down any project.
The Financial and Reputational Cost of Poor Testing
When you skimp on test case quality, the consequences can be severe. Vague or incomplete tests give you a false sense of security, letting defects slip right past you and into the hands of your users.
The data here is pretty clear: poorly written test cases can cause up to 40% of defects to be missed during the testing phase. On the flip side, teams that invest time in writing precise, well-documented test cases have been shown to reduce their overall defect rates by over 30% and speed up their testing cycles.
A bug found in production is exponentially more expensive to fix than one caught during development. The cost isn’t just financial—it includes emergency developer time, potential data corruption, and the erosion of customer trust.
From Finding Bugs to Preventing Them
Really effective test cases do more than just catch bugs; they actually encourage better development habits from the start.
When developers know their code will be tested against specific, detailed scenarios, they naturally start building more resilient features. This shifts the team’s focus from just finding bugs to proactively preventing them. This preventative mindset is a hallmark of a mature development process and ties directly into the core principles of performance monitoring. For more on this, you can check out our guide on application performance monitoring best practices to see how to maintain that quality long after launch.
Anatomy of a Bulletproof Test Case

I’ve seen it a thousand times: a vague test case that causes more problems than it solves. The difference between a test that anyone can run and one that leaves your team scratching their heads comes down to mastering a few fundamental components.
Think of it like a recipe. If you leave out a key ingredient or a crucial step, you don’t get the result you wanted. The same is true for test cases. Let’s break down the core elements that make a test case unambiguous, repeatable, and genuinely effective.
What Goes Into a Great Test Case?
A good test case is far more than just a list of things to click. It’s a complete, self-contained story that communicates a specific objective and a clear, expected outcome. When you get this right, you’re not just testing; you’re creating a durable asset for your team.
A well-structured test case usually includes five core components:
- Test Case ID: This is a simple but critical unique identifier. It makes tracking, reporting, and referencing the test in bug reports a breeze. A common, effective format is
[ProjectAbbreviation]-[Feature]-[ID], likeECOM-LOGIN-001. - Test Title (or Summary): Go for clarity, not brevity. A vague title like “Login Test” is useless. Instead, be descriptive: “Verify Successful Login with Valid Credentials.” Anyone reading it should know its exact purpose.
- Preconditions: What absolutely must be true before the test can even start? This could mean the user has a specific status, certain data exists in the database, or the system is in a particular state.
- Test Steps: Here’s the heart of the test case. This is a clear, numbered sequence of actions. Each step should be a single, distinct action that leaves no room for guesswork.
- Expected Result: This is the non-negotiable outcome. After executing the steps, what exactly should happen? Describe the specific UI changes, success messages, or database updates you expect to see.
The real goal here is to eliminate ambiguity. A junior QA analyst, a seasoned developer, or even a non-technical product manager should be able to pick up your test case and run it flawlessly without asking you a single question. That level of clarity is a hallmark of professional software testing.
From Theory to Practice: A Real-World Example
It’s one thing to talk about these components, but seeing them in action is where it all clicks. Let’s say we’re testing a user profile update feature. A lazy test case might just say, “Change user info and see if it saves.” That’s a recipe for confusion and missed bugs.
A professional, bulletproof test case would be built with much more care and detail. Let’s look at a proper example for a single, focused test.
Test Case ID: PROF-UPDATE-003
Test Title: Verify User Can Successfully Update Their Phone Number
Preconditions:
- User must be logged into an active account.
- The user is currently on the ‘Edit Profile’ page.
- The ‘Phone Number’ field is populated with the value ‘555-123-4567’.
Test Steps:
- Click into the ‘Phone Number’ input field.
- Clear the existing text from the field.
- Enter the new phone number: ‘555-987-6543’.
- Click the ‘Save Changes’ button.
Expected Result: A success toast or message appears, reading “Profile updated successfully!”. The page then redirects to the main profile view, where the phone number is now displayed as ‘555-987-6543’.
See the difference? This level of specificity makes the test perfectly repeatable and the outcome easy to verify. That’s the gold standard we should all be aiming for.
A Quick-Reference Table
To make this even clearer, here’s a breakdown of each component with best practices, using a common login feature as the example.
Anatomy of a Well-Written Test Case
| Component | Purpose | Best Practice Example (for a Login Feature) |
|---|---|---|
| Test Case ID | To uniquely identify and track the test case. Essential for reporting and defect management. | LOGIN-001 |
| Test Title | A clear, concise summary of the test’s objective. Should be descriptive enough to be understood at a glance. | Verify successful login with a valid username and password. |
| Preconditions | The state the system must be in before the test begins. Ensures the test starts from a known baseline. | 1. User account with username 'testuser' and password 'P@ssword123' exists and is active. 2. User is on the login page. |
| Test Steps | A numbered, sequential list of actions to perform. Each step should be a single, clear action. | 1. Enter 'testuser' into the username field. 2. Enter 'P@ssword123' into the password field. 3. Click the 'Login' button. |
| Expected Result | The specific, observable outcome that indicates a successful test. This must be precise and verifiable. | User is redirected to the account dashboard. The welcome message "Hello, testuser!" is displayed. |
Having a consistent structure like this for every test case you write will dramatically improve the quality and efficiency of your entire testing process.
Your First Test Case From Scratch

Theory is one thing, but there’s no better teacher than experience. Let’s roll up our sleeves and build a test case from the ground up. This is where the magic happens—turning a simple requirement into a concrete set of steps that will validate a piece of software.
For our example, we’ll use a feature everyone understands: an e-commerce shopping cart. Our mission is to test the core “add to cart” functionality. We’ll walk through how to break down the requirements, think through different user scenarios, and then write the actual test case.
Deconstructing Requirements and Defining Scope
Before writing a single step, you have to know exactly what you’re testing. Let’s say a product manager hands you this user story: “As a user, I want to add a product to my shopping cart from the product detail page so I can purchase it later.”
That one sentence gives us our scope. We’re focused only on adding an item from its specific product page. We won’t be testing the checkout flow, what happens when you view the cart page itself, or how to remove items. Those are different features, and they’ll get their own dedicated tests. Keeping this focus is crucial for writing clean, effective test cases.
Brainstorming Test Scenarios
With a clear scope, it’s time to put on your creative thinking cap. A good tester doesn’t just check that things work; they actively try to break them. I find it helpful to group my ideas into three buckets:
- Positive Scenarios (The Happy Path): This is the ideal user journey, where everything works exactly as intended.
- Negative Scenarios (The Error Paths): What happens when things go wrong? This can be anything from a user mistake to a system limitation.
- Edge Cases (The Tricky Paths): These are the unlikely but possible scenarios that live at the boundaries of the system’s logic. This is where a lot of bugs hide.
For our shopping cart feature, the brainstorming might look something like this:
| Scenario Type | Example Test Scenario Idea |
|---|---|
| Positive | Add a single, in-stock item to an empty cart. |
| Negative | Attempt to add an item that is out of stock. |
| Edge Case | Attempt to add the maximum allowed quantity (e.g., 99) of an item. |
| Positive | Add a second, different item to a cart that already has one item. |
| Negative | Click the “Add to Cart” button without selecting a required size or color. |
| Edge Case | Click the “Add to Cart” button multiple times in rapid succession. |
This kind of structured brainstorming is what gives you confidence in your test coverage. You’re moving beyond the obvious and building a much more robust safety net for your application.
Writing a Specific Test Case
Okay, let’s grab one of our brainstormed ideas and flesh it out into a full test case. We’ll go with the classic happy path: Add a single, in-stock item to an empty cart. We’ll use all the core components we’ve discussed to make it unambiguous for whoever runs it.
Test Case ID: CART-ADD-001
Test Title: Verify User Can Add an In-Stock Item to an Empty Cart
Preconditions:
- The user is a guest (not logged in).
- The user’s shopping cart is currently empty.
- The user is on the product detail page for an item marked as “In Stock.”
Test Steps:
- Verify the quantity field on the page defaults to “1”.
- Click the “Add to Cart” button.
Expected Result:
- A confirmation message “Item added to your cart!” appears.
- The mini-cart icon in the page header updates to show a count of “1”.
A Note on Precision: Notice how the expected result isn’t just “the item is in the cart.” It specifies the exact confirmation message and the UI change on the mini-cart icon. This level of detail removes all guesswork and ambiguity.
By following this simple framework—deconstruct, brainstorm, and draft—you can confidently approach any feature. You now have a repeatable process for translating abstract requirements into a powerful set of tests that will genuinely improve the quality of your software.
Advanced Techniques for Deeper Test Coverage
Once you’ve nailed the basic structure, it’s time to level up. The real art of writing effective test cases isn’t just about writing more of them; it’s about writing smarter ones. This is where you start thinking like a seasoned QA pro, using specific techniques to uncover more bugs with less effort.
These methods help you move beyond random checks and strategically target the most likely points of failure in the software. It’s about focusing your energy where it truly counts.
This infographic does a great job of showing how a well-defined expected outcome is the bedrock of a good test case—it needs to be clear, precise, and directly tied to what the feature is supposed to do.
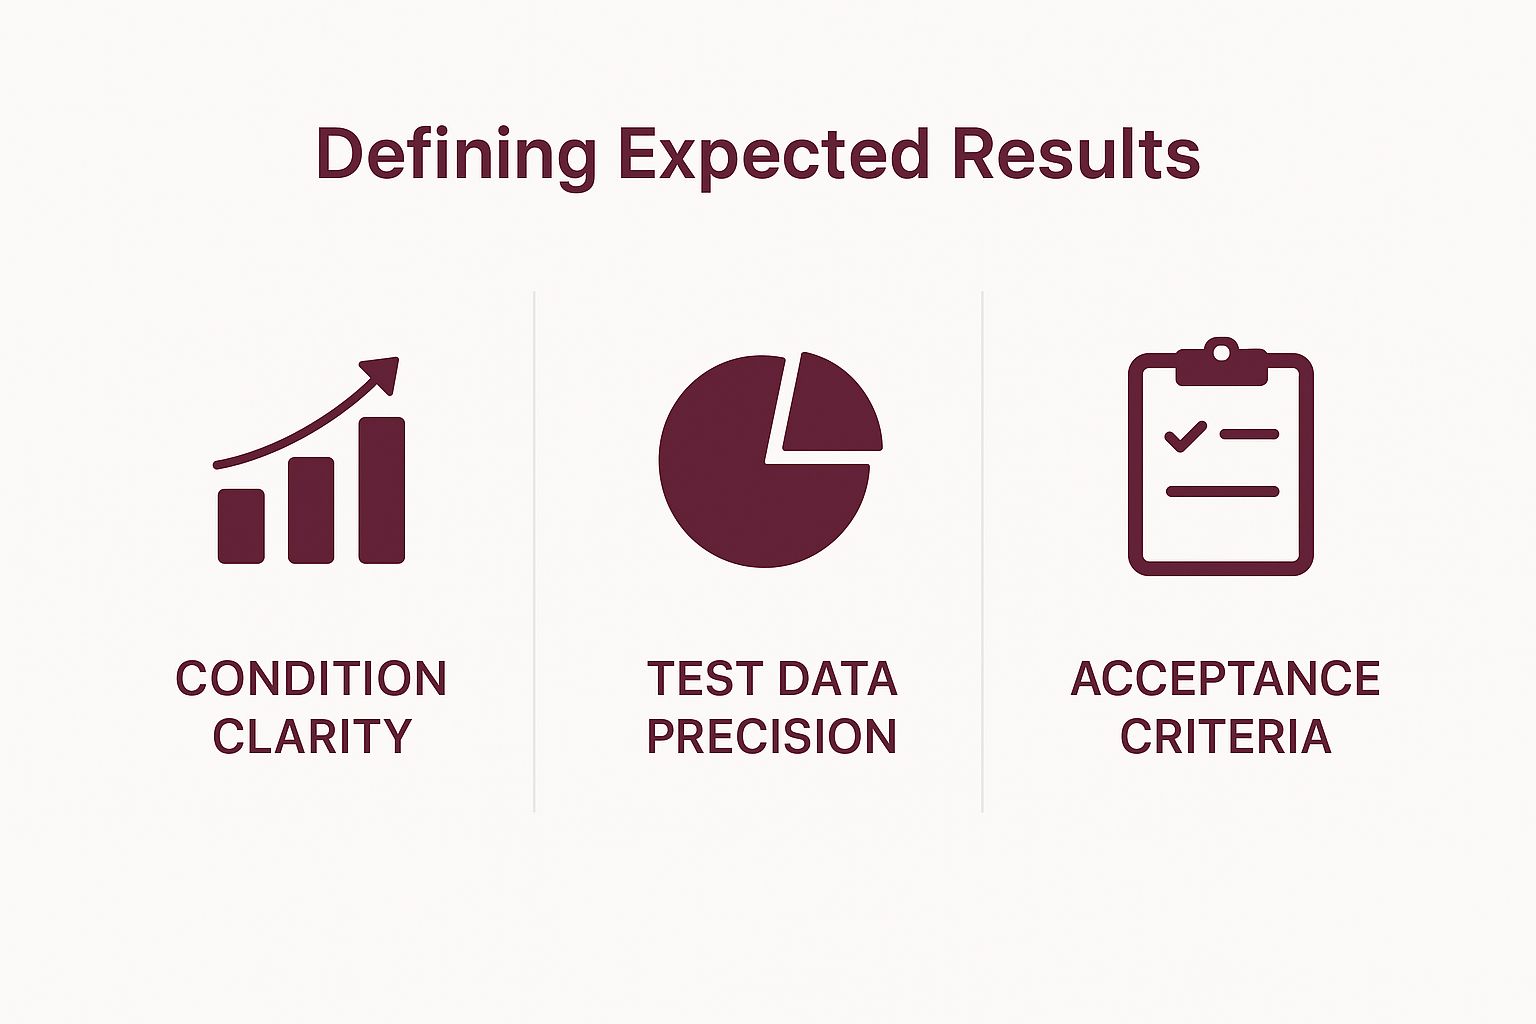
As you can see, a strong expected result isn’t just a guess. It’s built on a foundation of clear conditions, specific data points, and a solid connection to the business requirements.
Using Equivalence Partitioning
Let’s say you’re testing an input field for a user’s age, and the system only accepts values from 18 to 60. You could test every single number in that range, but that would be a colossal waste of time. This is where Equivalence Partitioning comes in. It’s a smart way to divide inputs into groups (or partitions) where all the values are expected to behave identically.
Instead of testing all 43 valid numbers, you only need to test one from that group. The same principle applies to invalid inputs.
- Valid Partition: Pick any number between 18 and 60. Let’s test with 35.
- Invalid Partition (Too Low): Pick any number below 18. Let’s test with 17.
- Invalid Partition (Too High): Pick any number above 60. Let’s test with 61.
Boom. With just three simple test cases, you’ve intelligently covered the entire spectrum of possibilities.
Applying Boundary Value Analysis
From my experience, bugs absolutely love to hang out at the edges of an input range. Boundary Value Analysis (BVA) is the perfect companion to Equivalence Partitioning because it focuses specifically on these “boundaries.” Simple off-by-one errors, like a developer using > instead of >=, are incredibly common, and BVA is designed to sniff them out.
For our age field (18-60), the boundaries are obvious: 18 and 60. BVA tells us to test these specific points:
- The minimum value itself (18)
- The value just below the minimum (17)
- The maximum value itself (60)
- The value just above the maximum (61)
When you combine Equivalence Partitioning and BVA, you get powerful, efficient coverage for any feature that involves data entry. This structured thinking is especially critical when your tests are part of an automated CI/CD pipeline. For anyone in the mobile space, mastering these concepts is fundamental for a robust Android continuous integration process.
Decision Tables for Complex Logic
When a feature’s behavior depends on multiple conditions, things can get tangled fast. A Decision Table is a fantastic way to bring order to that chaos.
Imagine an e-commerce site with a new discount promotion. The rules are:
- New customers get a 10% discount.
- Orders over $50 get free shipping.
These two rules create four unique scenarios, each with a different result. Mapping them out in a table makes it impossible to miss one.
I’ve found that creating a table like this is one of the best ways to ensure every combination is considered.
Choosing the Right Test Design Technique
| Technique | Best Used For | Example Scenario |
|---|---|---|
| Equivalence Partitioning | Features with large ranges of valid/invalid inputs. | Testing an age input field that accepts numbers from 18 to 99. |
| Boundary Value Analysis | Catching errors at the edges of input ranges. | Verifying a username field that requires 6 to 20 characters. |
| Decision Table Testing | Complex business logic with multiple conditions and outcomes. | A loan application system where eligibility depends on credit score, income, and debt ratio. |
Ultimately, picking the right technique comes down to analyzing the feature you’re testing. The table above gives you a quick guide, but with practice, you’ll intuitively know which tool to reach for.
By laying out all rules and outcomes in a table, you guarantee that you won’t miss a single combination. This creates a clear, logical set of test cases directly from the business requirements.
Future-Proofing Your Test Cases for AI and Automation

The test case writing skills you’re honing today are more important than ever. With automation and AI fundamentally changing how we approach quality, thinking about the future isn’t just a good idea—it’s essential for staying relevant. The key is to start writing ‘automation-friendly’ test cases right now.
What does that actually mean? An automation-friendly test case is written so clearly that a machine can execute it without any guesswork. It’s built on a foundation of clarity, independence, and modular design.
- Clarity: Forget about assumed knowledge. Every step must be explicit and leave no room for misinterpretation.
- Independence: Each test has to stand on its own. It should handle its own setup and cleanup, never relying on the outcome of a previous test.
- Modularity: Instead of one massive end-to-end test, break down complex workflows into smaller, reusable pieces.
Adopting this mindset from the get-go makes your regression testing faster and dramatically cuts down on the time you’ll spend maintaining your test suite later.
Preparing for the AI Revolution in Testing
The shift toward automation is already here and it’s massive. The automation testing market is on track to hit $68 billion by 2025. On the ground, 46% of development teams are already automating over half of their tests. These numbers aren’t just trivia; they show why writing clear, modular test cases is no longer optional.
And right behind automation is the next big wave: artificial intelligence. AI is already starting to help teams generate test cases, prioritize what to run, and even self-heal broken test scripts. By building good habits now—like creating small, independent tests—you’re perfectly positioning yourself to take advantage of these intelligent tools as they become standard practice.
Writing for automation isn’t about getting rid of manual testers. It’s about freeing them up to do what they do best: complex, exploratory testing where human curiosity and intuition are irreplaceable. Let the machines handle the repetitive grunt work.
This forward-looking approach fits hand-in-glove with modern development. The same principles that make a test case great for an automation script also make it a stronger asset for your team’s entire deployment pipeline. You can see how this all connects in our guide on software deployment best practices for 2025.
Ultimately, future-proofing your work is about writing for two audiences at once: the human tester who needs it today, and the automated script or AI agent that will use it tomorrow. Master this, and you’ll ensure both your skills and your test suites remain valuable for years.
Common Questions About Writing Test Cases
Even when you have a solid process, some questions always come up when you’re deep in the weeds writing test cases. These are the practical, on-the-ground problems that can stump new and experienced testers alike. Let’s clear up some of the most common points of confusion I see teams wrestle with.
Getting straight answers here is what helps build a more confident and efficient testing workflow.
What Is the Difference Between a Test Case and a Test Scenario?
This is a classic question, but the distinction is actually pretty simple and incredibly important. I always tell people to think of it as the “what” versus the “how.”
A test scenario is your high-level goal. It’s a broad statement about what you want to verify, often mirroring a user story. For example, a scenario might be, “Check user login functionality.” It sets the stage but doesn’t get into the nitty-gritty details.
A test case is the detailed, step-by-step instruction manual for executing that scenario. It spells out the specific actions, the exact data to use, and what the expected outcome should be. For that same login scenario, a test case would look more like: “Enter a valid username and a valid password, click the ‘Login’ button, and confirm the user lands on their account dashboard.”
How Many Test Cases Are Enough for One Feature?
There’s no magic number here. The real goal isn’t hitting a specific count; it’s achieving confidence and comprehensive coverage. You need just enough test cases to be sure that all the critical requirements and business rules are working correctly.
So, how do you figure that out? I always recommend focusing on covering these three areas:
- The Positive Path: This is the main “happy path” where a user does everything correctly and the feature works exactly as designed.
- Negative Paths: You have to account for what happens when users make mistakes or when things go wrong. What if they enter the wrong password or leave a field blank?
- Boundary Cases: This means testing at the absolute edges of your input rules, like the minimum and maximum number of characters allowed in a password field.
A complex feature will naturally need more test cases than a simple one. This is especially true when you’re navigating the complexities of mobile apps, which we dive into in our post on the challenges in mobile application testing.
The right number of test cases is the number that gives your team the confidence to ship the feature without worrying about critical defects slipping through. It’s about risk mitigation, not hitting a quota.
Should I Use a Spreadsheet or a Dedicated Tool?
If you’re a solo developer or working on a very small, short-term project, a spreadsheet can get the job done in a pinch. But for any professional team, a dedicated test management tool is a must-have. It’s a game-changer.
Spreadsheets just can’t keep up. Tools like TestRail, Zephyr, or even Jira with a testing plugin provide a level of structure and power that a spreadsheet can’t touch. You get features like version control for your test cases, traceability that links tests directly to requirements and bugs, and powerful reporting dashboards.
This is how you build an organized, collaborative, and auditable process that truly raises your team’s quality standards.
At CodePushGo, we believe in empowering developers with tools that accelerate quality and deployment. Our platform helps you deliver seamless over-the-air updates for React Native apps, ensuring your bug fixes and new features reach users instantly, without the wait. Learn how CodePushGo can revolutionize your release cycle.


