
When you hear about JavaScript testing, one name almost always comes up: Jest. Developed by the team at Facebook, it’s what’s often called a “batteries-included” testing framework. The idea behind it is simple but powerful: give developers everything they need to start writing effective tests right away, without a mountain of setup.
Why Jest Is a Developer’s Best Friend

Think about building something intricate, like a detailed model, but never once checking if the pieces actually fit together. That’s a pretty good picture of what it’s like to code without tests—it’s a high-wire act filled with guesswork. Every new feature or tiny bug fix could silently break something completely unrelated, which usually leads to those late-night, caffeine-fueled debugging sessions we all dread.
Jest is the safety net that catches you. It gives you a clear, structured way to confirm that every function, component, and module in your application behaves exactly as you expect, both on its own and when interacting with other parts. This isn’t just about squashing bugs. It’s about building with confidence. Your test suite becomes a form of living documentation, showing precisely how your code is supposed to work, which makes your entire project easier to maintain and grow.
A Zero-Configuration Philosophy
One of the main reasons developers flock to Jest is its “zero-config” approach. Many other testing frameworks force you to become a detective, hunting down and piecing together different libraries for assertions, mocks, and code coverage. It’s a chore.
Jest, on the other hand, bundles everything you need right into one package. This all-in-one design means you can install it and be writing your first meaningful test in minutes, not hours. You get to focus on the logic of your tests, not the complexities of the toolchain. This simplicity is a huge reason why Jest has become such a staple in modern JavaScript, especially for anyone working in the React and React Native world.
The whole point of Jest is to make testing feel less like a chore and more like a natural part of the development process. It’s designed to work out of the box with minimal fuss, providing clear, helpful feedback when things go wrong.
Integrated Tools for Robust Testing
The real magic of Jest is how its features work together to create a complete testing environment. It’s not just one tool; it’s a whole toolkit designed to ensure your application is solid.
Here are a few of the core features that make it so effective:
- Snapshot Testing: This is a clever one. Jest can take a “snapshot” of your UI component’s rendered output and save it as a file. The next time you run your tests, it compares the new output to the saved version. If anything has changed, even by a single pixel, the test will fail. It’s an incredibly effective way to catch unexpected UI regressions.
- Built-in Mocking: Ever need to test a function that calls an external API? You don’t want your tests to fail just because a network is down. Jest lets you create “mocks,” which are essentially stand-ins for real functions or modules. This lets you isolate your code and test it without relying on outside dependencies, making your tests faster and far more reliable.
- Code Coverage Reports: Jest can automatically generate a report that shows you exactly how much of your code is covered by your tests—right down to the specific lines. This gives you a clear, visual map of where your testing efforts are strong and where you might have blind spots.
By bringing these tools together, Jest helps you catch bugs early, prevent them from coming back, and ship applications you can be proud of. If you want to see how this works in practice, check out our in-depth guide to the https://codepushgo.com/de/blog/jest-testing/.
2. A Look at Jest’s Core Features
When you pop the hood on Jest, you’ll find a powerful, all-in-one toolkit designed to make testing a smoother and more intuitive part of your workflow. Instead of having to piece together different libraries for assertions, mocking, and coverage, Jest bundles everything you need right out of the box. This integrated approach is what makes the Jest testing framework so popular.
One of its most talked-about features is Snapshot Testing. The best way to think about it is like taking a quick photograph of your UI component’s rendered output. The very first time you run a test, Jest saves this “snapshot” to a file. On every subsequent run, it compares the component’s current output to that saved snapshot. If anything has changed—even a tiny class name—the test fails, immediately flagging any unexpected UI changes.
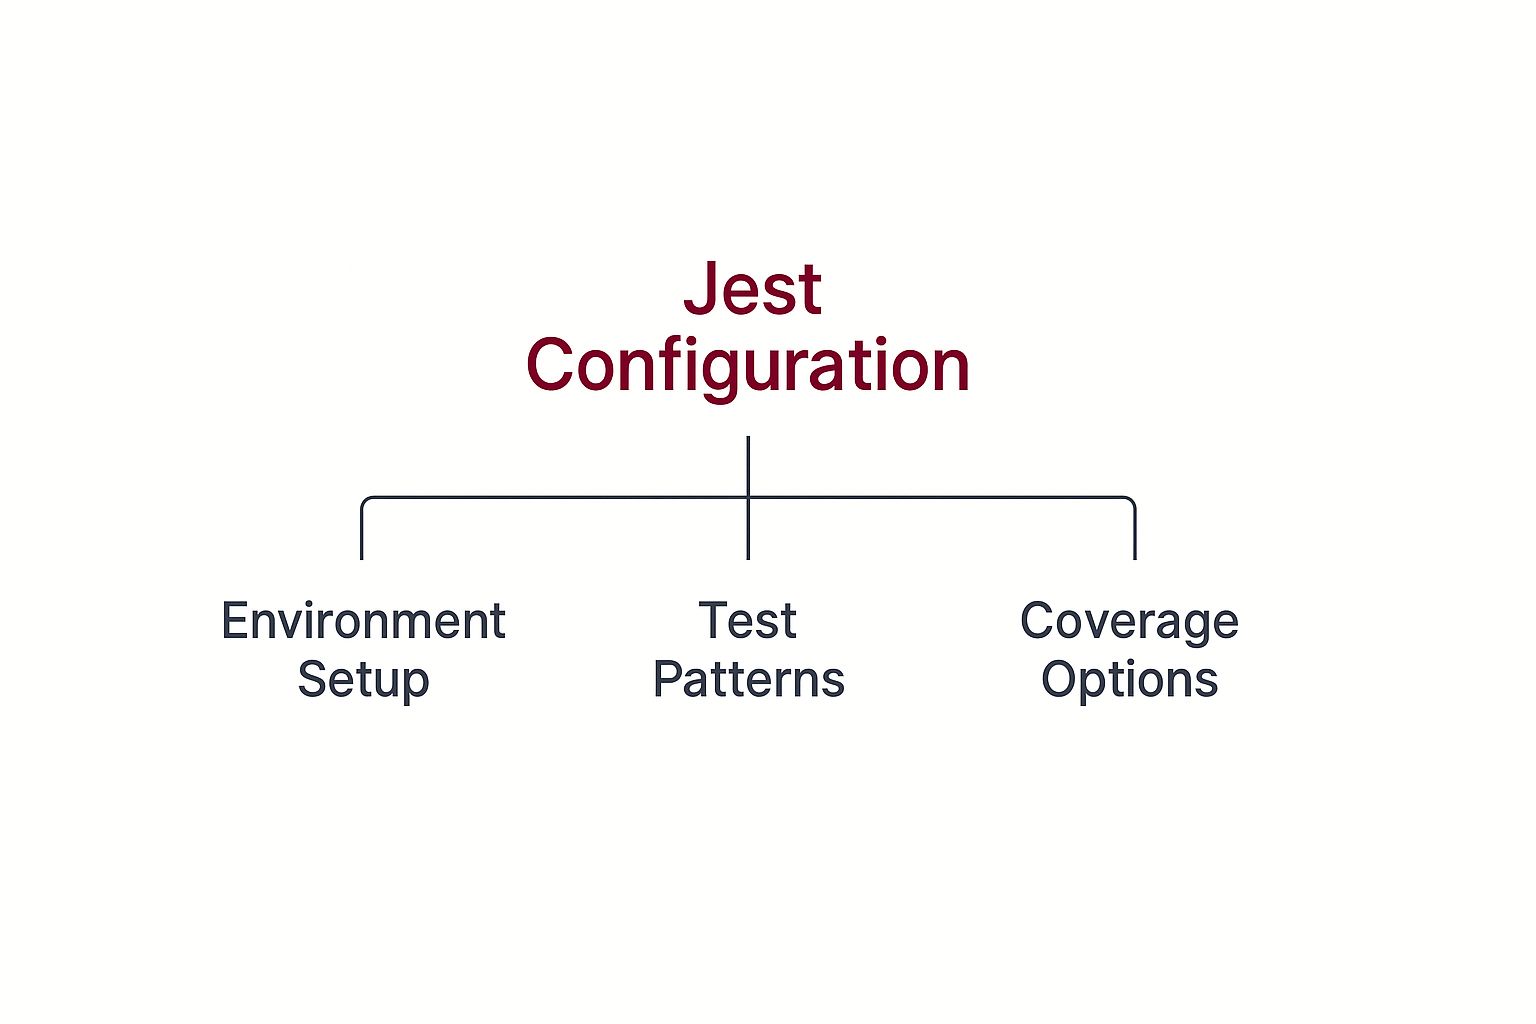
This diagram gives you a bird’s-eye view of how Jest’s configuration works, from setting up the environment to defining test patterns and coverage options. It shows how you can manage the entire testing workflow from one central place, giving you fine-grained control.
The Power of Isolation and Mocking
Another game-changer in Jest is its built-in Mocking functionality. Think of it this way: if you were filming a movie with a dangerous car chase, you wouldn’t put your star actor behind the wheel. You’d bring in a professional stunt double. Mocking in Jest is the exact same concept for your code.
It lets you swap out external dependencies—like a third-party API or a database connection—with a controlled, predictable stand-in. This means you can test a piece of your code in complete isolation. If the test fails, you know the problem is in your code, not because an external service is down. This makes tests significantly faster, more reliable, and a whole lot easier to debug.
Built for Speed and Clear Reporting
Jest is also obsessed with speed and providing clear, actionable feedback. It accomplishes this through a few key mechanisms working together.
- Parallel Test Execution: Jest is smart enough to run your tests simultaneously across multiple threads. This dramatically slashes the time you spend waiting for your test suite to finish.
- Intuitive Assertions: The framework comes with a rich set of “matchers” you can use with the
expect()function. The syntax is clean and reads almost like plain English (e.g.,expect(user.name).toBe('John')), which makes your tests incredibly easy to understand at a glance. - Integrated Code Coverage: Just by adding a simple flag to your test command, Jest can generate detailed reports showing exactly how much of your code is covered by tests. It even highlights the specific lines that aren’t, pointing you right to the gaps.
To give you a clearer picture, let’s break down these core features.
Key Jest Features at a Glance
This table neatly summarizes what Jest brings to the table, explaining what each feature does and why it’s so valuable for developers.
| Feature | Description | Primary Benefit |
|---|---|---|
| Zero-Config Setup | Provides sensible defaults for most JavaScript projects, allowing you to start writing tests immediately without complex setup. | Drastically lowers the barrier to entry and saves initial setup time. |
| Snapshot Testing | Captures the rendered output of a UI component and saves it. Future tests compare against this saved snapshot to detect unintended changes. | Makes it easy to track UI changes and prevent accidental regressions in visual components. |
| Built-in Mocking | Allows you to replace external dependencies (APIs, modules) with “mock” versions that you can control. | Enables true unit testing by isolating code, leading to faster and more reliable tests. |
| Parallel Execution | Runs tests in parallel worker processes by default, using multiple cores to speed up the entire test suite. | Significantly reduces the time developers wait for test feedback, improving productivity. |
| Code Coverage | Generates reports that show which parts of your codebase are exercised by your tests, highlighting untested lines. | Provides clear, actionable insights into test quality and helps identify critical gaps in testing. |
These features all work together to create a testing experience that is both powerful and user-friendly.
A key advantage of using the Jest testing framework is its measurable impact on developer productivity. Effective features like mocking and snapshot testing contribute to a significant boost in efficiency.
This focus on efficiency isn’t just a nice-to-have; it has a real impact on development cycles. Teams using Jest often see a reduction in time spent on debugging and manual testing by up to 40%. In fact, 75% of developers report that its coverage reports directly help them find and fix untested code before it ever reaches production. You can discover more insights about these testing efficiencies and see how they are shaping modern development practices.
Getting Jest Set Up in Your Project

Alright, enough with the theory. The best way to understand how something works is to get your hands dirty and actually build it. Bringing the Jest testing framework into your project is surprisingly painless, and the goal is to get you from zero to writing your first test in just a few minutes.
This walkthrough will show you exactly how to do it. We’ll be using a React Native project as our example, but the steps are pretty similar for most JavaScript setups. The key is to lay down a solid testing foundation right from the start.
H3: Installing the Right Packages
First things first, we need to add Jest to our project’s dependencies. If you used a recent React Native template to create your app, Jest is likely already in there. But if you’re working with an older project or starting from a barebones setup, you’ll need to install it yourself.
Just pop open a terminal in your project’s root folder and run one of the commands below, depending on whether you prefer npm or yarn.
For npm users:
npm install --save-dev jest babel-jest @babel/core @babel/preset-env @babel/preset-react react-test-renderer
For yarn users:
yarn add --dev jest babel-jest @babel/core @babel/preset-env @babel/preset-react react-test-renderer
So, what are we installing here? We’ve got Jest itself, plus a few critical helpers. babel-jest lets Jest understand modern JavaScript syntax (like JSX), and react-test-renderer gives us a way to “render” our components in a pure JavaScript environment, without needing a screen.
Pro Tip: Notice the
--save-devor--devflag? That’s important. It marks these packages as development dependencies, meaning they won’t be bundled into your final production app. It’s a clean and professional way to manage your project.
H3: Configuring Your Project to Run Jest
Now that the packages are installed, we need to give our project a few instructions on how to use them. This is a two-part process: updating our package.json file and creating a simple config file for Jest.
Let’s start with package.json. Open it up and look for the scripts section. We’re going to add a new script called "test".
“scripts”: { “test”: “jest” }
This tiny change is a huge time-saver. From now on, you can run all your project’s tests by simply typing npm test or yarn test into your terminal. No more long, complicated commands to remember.
Next, create a new file in the root of your project named jest.config.js. Jest can often work without any configuration, but having this file gives you a central place to fine-tune its behavior as your project grows.
Here’s a great starting point for the file’s contents:
module.exports = { preset: ‘react-native’, transform: { ’^.+\.jsx?$’: ‘babel-jest’, }, moduleFileExtensions: [‘js’, ‘jsx’, ‘json’, ‘node’], };
This config tells Jest two main things:
preset: 'react-native': Use the default configuration settings recommended for React Native projects.transform: Before running any tests, use Babel to process any.jsor.jsxfiles. This step is what makes it possible for the Jest testing framework to understand your component code.
Writing Your First Tests with Jest
Alright, you’ve got everything installed and configured. Now for the fun part: actually writing some tests with the Jest testing framework. This is where the theory ends and you get to see how Jest can make your app more stable and reliable. We’ll start simple, creating a couple of tests for a basic component to cover the kind of checks you’ll be doing every day.
Think of a test file as a simple checklist for a piece of your code. Each item on that list confirms a specific behavior, making sure everything works exactly as you expect. Jest is smart enough to find these files automatically, as long as you stick to its conventions—either place them in a __tests__ folder or name them with a .test.js or .spec.js suffix.
Verifying Component Rendering
The first, most fundamental test you can write is simply to make sure a component shows up on the screen without crashing. It’s the “is this thing on?” check for your UI. Let’s say we have a Greeting component that just displays a welcome message.
Here’s what a test for that might look like:
import React from ‘react’; import renderer from ‘react-test-renderer’; import Greeting from ’../Greeting’;
describe(‘Greeting’, () => {
it(‘renders correctly’, () => {
const tree = renderer.create(
Let’s break that down. describe is just a way to group related tests, and it defines one single test case. The magic here is renderer.create(), which comes from the react-test-renderer package. It creates a “snapshot” of what our component looks like when it renders.
This snapshot is basically a saved copy of your component’s UI. The next time you run the test, Jest compares the new output to the saved version. If anything has changed, the test fails. It’s an incredibly powerful way to catch accidental UI bugs you might not notice yourself.
Using Matchers for Specific Assertions
Snapshots are great for catching visual changes, but what about checking specific logic? This is where Jest’s assertion library, built around the expect function, really shines. These assertions are called matchers, and they let you check for specific values and outcomes.
Let’s imagine a counter component. When a user taps a button, a number should go up. We can write a test to simulate that click and then check if the number updated correctly.
Here are a few of the most common matchers you’ll find yourself using all the time:
toBe(): Checks for strict equality (===). It’s perfect for primitive types like numbers, strings, and booleans.toEqual(): Checks if two objects or arrays are structurally the same. It goes through every field to make sure the values match.toBeTruthy()/toBeFalsy(): Checks if a value is true or false in a boolean context.toContain(): Checks if an item is present inside an array.
Matchers are the heart of your tests. They are the tools that let you declare, “I expect this value to be this specific thing.” Clear, descriptive matchers make your tests easy to read and understand, which is crucial for long-term maintainability.
By combining these simple but effective tools, you can start building a solid test suite. Getting this foundation right is key before you tackle more complex scenarios. A thoughtful approach to testing from the start will save you countless headaches down the road. For more on organizing your testing efforts, take a look at our guide on how to create a test plan to make sure you have all your bases covered.
Advanced Jest Techniques and Best Practices

Once you’ve got the hang of the basics, you can start tapping into the real power of the Jest testing framework. This is where you move from simple checks to mastering the advanced features that professional developers use to tackle complex, real-world problems and build rock-solid applications.
One of the most important skills to develop is effectively mocking dependencies. Let’s be real—your app doesn’t exist in a bubble. It’s constantly talking to external APIs, databases, and other modules. Mocking lets you create controlled “stunt doubles” for these dependencies, which keeps your tests fast, predictable, and completely isolated from things you can’t control, like a network outage.
Organizing Tests for Clarity and Maintenance
As your app grows, so does your test suite. If you’re not careful, it can quickly turn into a tangled mess that nobody wants to touch. This is exactly why Jest’s structural tools are so valuable—they help you write tests that are clean, easy to read, and can scale right alongside your project.
Think of a well-organized test file as a form of documentation. You can use describe blocks to group related tests for a specific function or component, which creates a neat, logical hierarchy. Within each describe block, your it statements should read like plain English, clearly explaining the behavior you’re testing.
A great test reads like a specification document. Someone who has never seen the code should be able to understand what it’s supposed to do just by reading your test descriptions. This simple practice makes debugging and future refactoring a whole lot easier for everyone on the team.
For example, a test named it('should increment the counter on button click') is infinitely more helpful than something vague like it('tests counter'). That kind of clarity is what separates a good codebase from a great one.
Managing Asynchronous Operations and Test States
Modern apps are full of asynchronous code, like fetching data from an API. Testing these async operations requires a specific approach to avoid flaky, unreliable results. Fortunately, the Jest testing framework has excellent built-in support for async/await, which makes writing stable tests for asynchronous code a breeze.
Just as important is maintaining a clean state between each test. You never want one test’s outcome to influence another’s. Jest gives you a few helper functions to manage this perfectly:
beforeEach(): This runs before every single test within adescribeblock. It’s the perfect place to reset state or create a fresh component instance.afterEach(): As you might guess, this runs after each test. It’s ideal for any cleanup tasks.beforeAll()andafterAll(): These run just once—before all the tests in a block start and after they all finish. They’re great for one-time setup tasks, like connecting to a mock database.
These setup and teardown functions guarantee that your tests are independent and repeatable. And while testing your data flows is critical, securing them is just as vital. To dive deeper into protecting data in your app, our guide on how to implement end-to-end encryption offers some great insights that pair well with a solid testing strategy.
Why Jest Dominates the Testing Ecosystem
To really get why the Jest testing framework is such a big deal, you have to look at its journey. It didn’t just stumble into the spotlight; its reputation is built on a solid foundation of powerful features, serious backing from Meta, and a developer community that’s second to none.
Jest isn’t just a tool; it’s a whole ecosystem. You see this in the official documentation, which is fantastic, but the real magic is in the thousands of community tutorials, plugins, and forum discussions. This massive knowledge base means that whether you’re just starting out or hitting a tricky edge case, someone has probably already figured it out.
A Community-Driven Powerhouse
One of the biggest reasons Jest has stuck around is trust. Developers are confident it’s not just some passing fad. It’s a mature, stable technology that’s constantly being improved by both its core team at Meta and countless contributors from around the world. That kind of backing gives you peace of mind.
The numbers speak for themselves. Jest has racked up over 44,000 stars on GitHub, which is a huge vote of confidence from the community. While it saw its most explosive growth between 2016 and 2020, it’s still one of the most beloved testing libraries out there, right behind the newer Vitest. If you’re curious, you can dig into how Jest’s market position compares to its alternatives to see why it continues to be a top contender.
Choosing a testing framework is an investment. When you pick Jest, you’re not just getting a library; you’re plugging into a technology trusted by countless companies and supported by a global community. It’s built to last.
The Right Tool for Modern Development
Even with new kids on the block, Jest still holds its own. Its tight, out-of-the-box integration with tools like React, React Native, and Babel is a game-changer. It just works, right from the start, which saves you from the headache of complex configuration.
This reliability is a cornerstone of any solid quality assurance process. To see the bigger picture of where testing fits in, take a look at our guide on mobile app testing.
In the end, Jest’s dominance isn’t just about what it can do. It’s about the trust it has built over years of dependable performance, amazing support, and a core philosophy of making testing as painless and productive as possible.
Common Questions About Jest
Once you start digging into the Jest testing framework, you’ll likely run into a few common questions. It’s natural to wonder how it stacks up against other tools or how to best apply its more powerful features.
Let’s clear up some of the most frequent queries that pop up, giving you the straightforward answers you need to build a solid testing strategy.
What Is the Main Difference Between Jest and Mocha?
The core difference really boils down to philosophy: Jest is an “all-in-one” solution, while Mocha is a “bring your own tools” framework.
Jest hands you a complete toolkit right out of the box. It includes an assertion library, powerful mocking capabilities, and built-in code coverage reporting. This means you can get started with minimal fuss.
Mocha, on the other hand, is more of a foundational layer. It provides the test runner, but you’re responsible for choosing and integrating other libraries for assertions (like Chai) and mocking (like Sinon). This offers a ton of flexibility but requires more setup.
Ultimately, it’s a matter of preference. Jest is built for speed and convenience with its integrated setup. Mocha is for developers who want to hand-pick every part of their testing stack for maximum control.
Can I Use Jest for More Than Just React Apps?
Absolutely. While Jest is famous for its tight integration with the React ecosystem, it was designed from the ground up to be a universal JavaScript testing framework. It’s not just for front-end components.
You can confidently use Jest to test just about any JavaScript project you can think of, including:
- Node.js back-end applications and APIs.
- Other popular front-end frameworks like Vue and Angular.
- Even simple, “vanilla” JavaScript projects with no framework at all.
This versatility is a huge reason why Jest has become so popular across the entire JavaScript community.
When Should I Use Snapshot Testing in Jest?
Snapshot testing shines when you want to guard against unintentional changes in your UI components. Think of it as taking a “picture” of your component’s rendered output. The test then compares future renders against this original snapshot to ensure nothing has changed unexpectedly.
It’s the perfect tool for locking down the structure and appearance of your UI. The key is to use it on components with predictable output. Avoid snapshots for components that render highly dynamic data, like timestamps or randomly generated IDs, because they’ll cause your tests to fail every single time.
For a deeper dive into building effective testing strategies, check out our comprehensive guide on software testing methodologies.
Ready to ship updates instantly and keep your app users happy? With CodePushGo, you can deploy bug fixes and new features directly to your users’ devices without waiting for app store reviews. Our secure, reliable OTA update service empowers you to maintain a flawless user experience. Start updating your React Native apps faster today!


