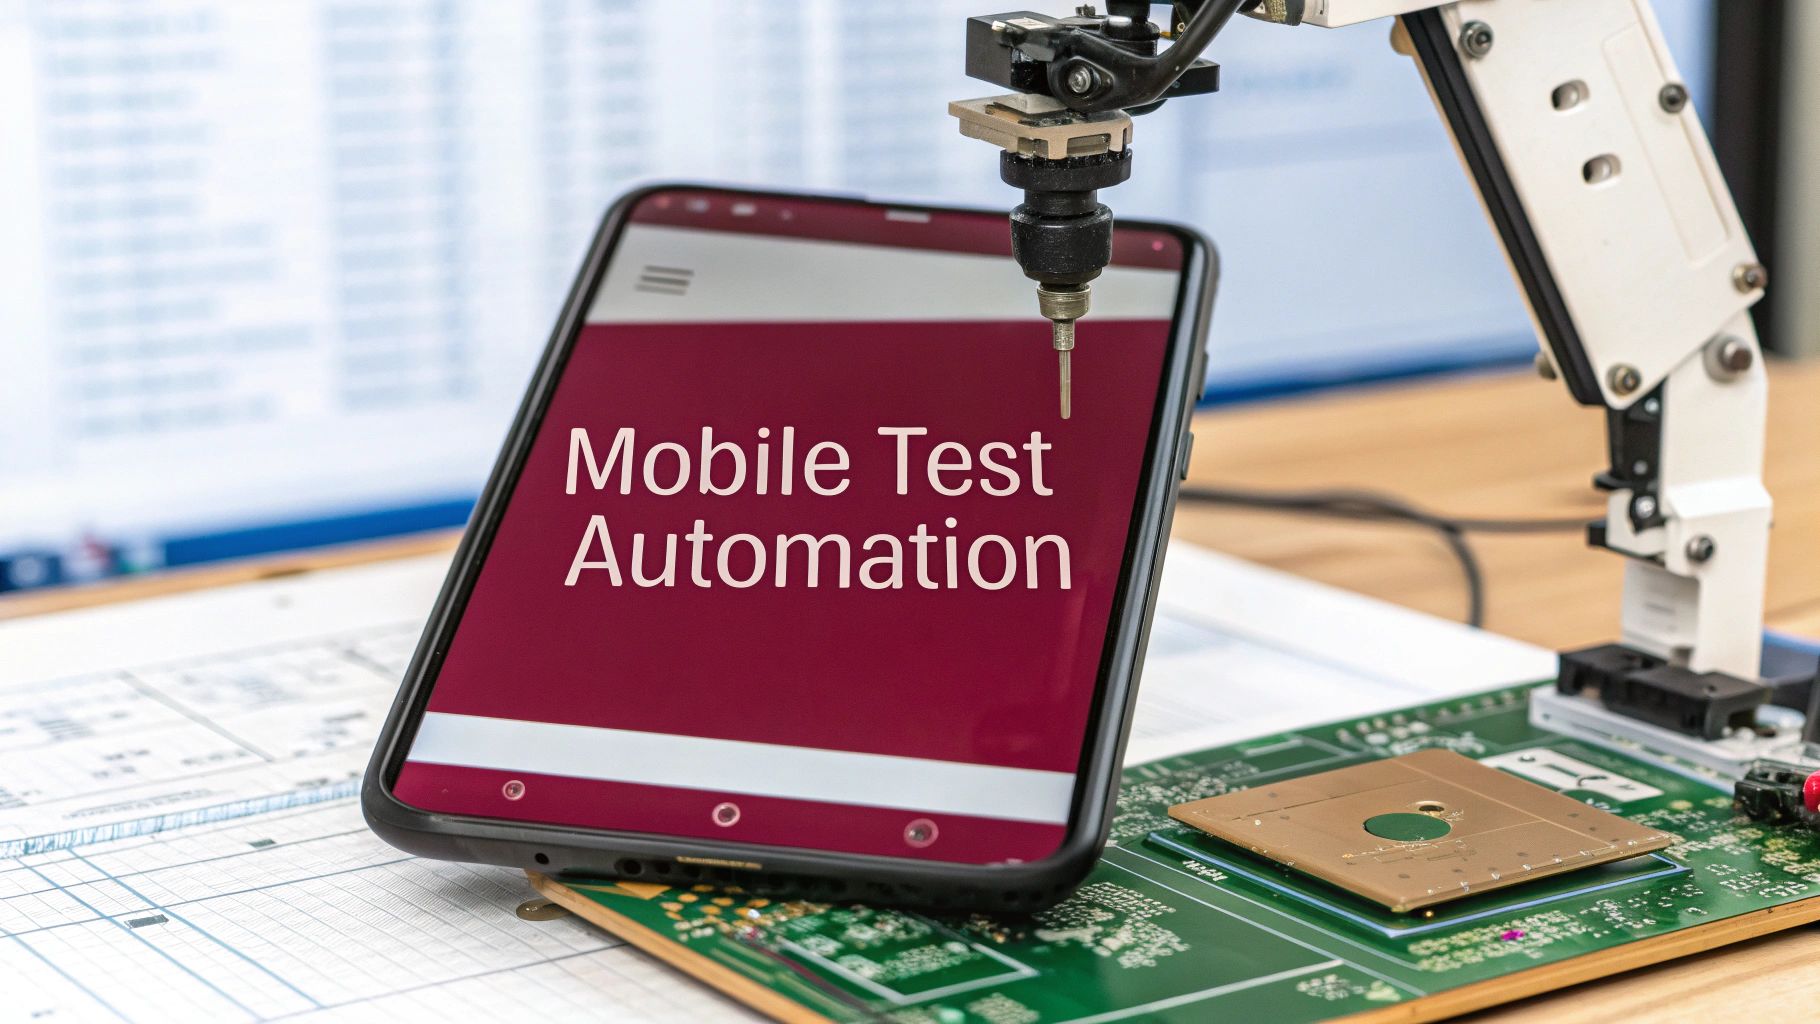
At its core, mobile testing automation is simply using specialized software to run tests on your app instead of having a human do it manually. It’s a way to check that everything from buttons to backend connections works as expected, all without someone physically tapping on a screen. In today’s world of rapid app updates, this has become a fundamental practice for shipping great software on time.
Why Mobile Testing Automation Is Now Essential
If you’re struggling to keep up with demanding release cycles, you’re in good company. The pressure on development teams to ship perfect mobile apps faster than ever is relentless. In this environment, old-school manual testing has turned into a major bottleneck, simply unable to keep up with the speed of modern development.
Think of it like a car factory where the assembly line is constantly speeding up. Trying to have someone inspect every single part by hand would quickly become impossible. That’s the exact situation Quality Assurance (QA) teams face today. Manual testing just can’t match the pace of continuous software delivery and the sky-high expectations of users.
The Problem With Manual-Only Approaches
When you rely only on manual testing, you create a direct conflict between speed and quality. Teams often get stuck making a tough choice: delay a launch to finish testing properly, or push the app out on schedule, knowing it might be riddled with bugs. In a competitive market where a single crash can trigger a flood of one-star reviews, that’s a trade-off you can’t afford to make.
The real-world problems with a manual-only strategy are clear:
- Slow Feedback Loops: Developers might have to wait days to learn that a recent code change broke something important. This drags down the entire development workflow.
- Inability to Scale: It’s physically impossible to manually test an app on the hundreds of different devices, screen sizes, and OS versions your users have.
- Human Error: Let’s face it, people get tired. Repetitive tasks lead to mistakes, and a manual tester might easily miss a subtle bug that an automated script would catch every single time.
The Shift to a Business Necessity
This growing gap between how fast we can build software and how fast we can test it is precisely why mobile testing automation has shifted from a “nice-to-have” luxury to an absolute business necessity. It breaks the QA bottleneck, freeing up teams to maintain high quality without slowing down their release schedule.
This isn’t just a trend; it’s a market reality backed by serious money. The global market for mobile application testing services was valued at USD 10.18 billion in 2024 and is expected to explode to USD 42.40 billion by 2033. This massive growth, detailed in recent market trend reports, underscores just how critical reliable testing has become.
Automation empowers teams to run thousands of tests overnight—a task that would take a manual team weeks to complete. It gives you the confidence to deploy frequently, knowing you have a robust safety net to catch bugs before they ever reach your users.
Building Your Mobile Automation Strategy
Diving into mobile testing automation without a solid plan is a recipe for disaster. It’s like setting off on a road trip with no map—you might get somewhere, but probably not where you intended, and you’ll waste a lot of time and money along the way. A thoughtful strategy is your blueprint, ensuring every effort you make adds real value instead of just creating new headaches.
The right approach starts with a realistic mindset. A common pitfall is trying to automate every single test case. This usually ends in a brittle, high-maintenance test suite that breaks with every minor change. The real goal is to create a sustainable process that smartly combines the power of automation with the nuance of manual testing.
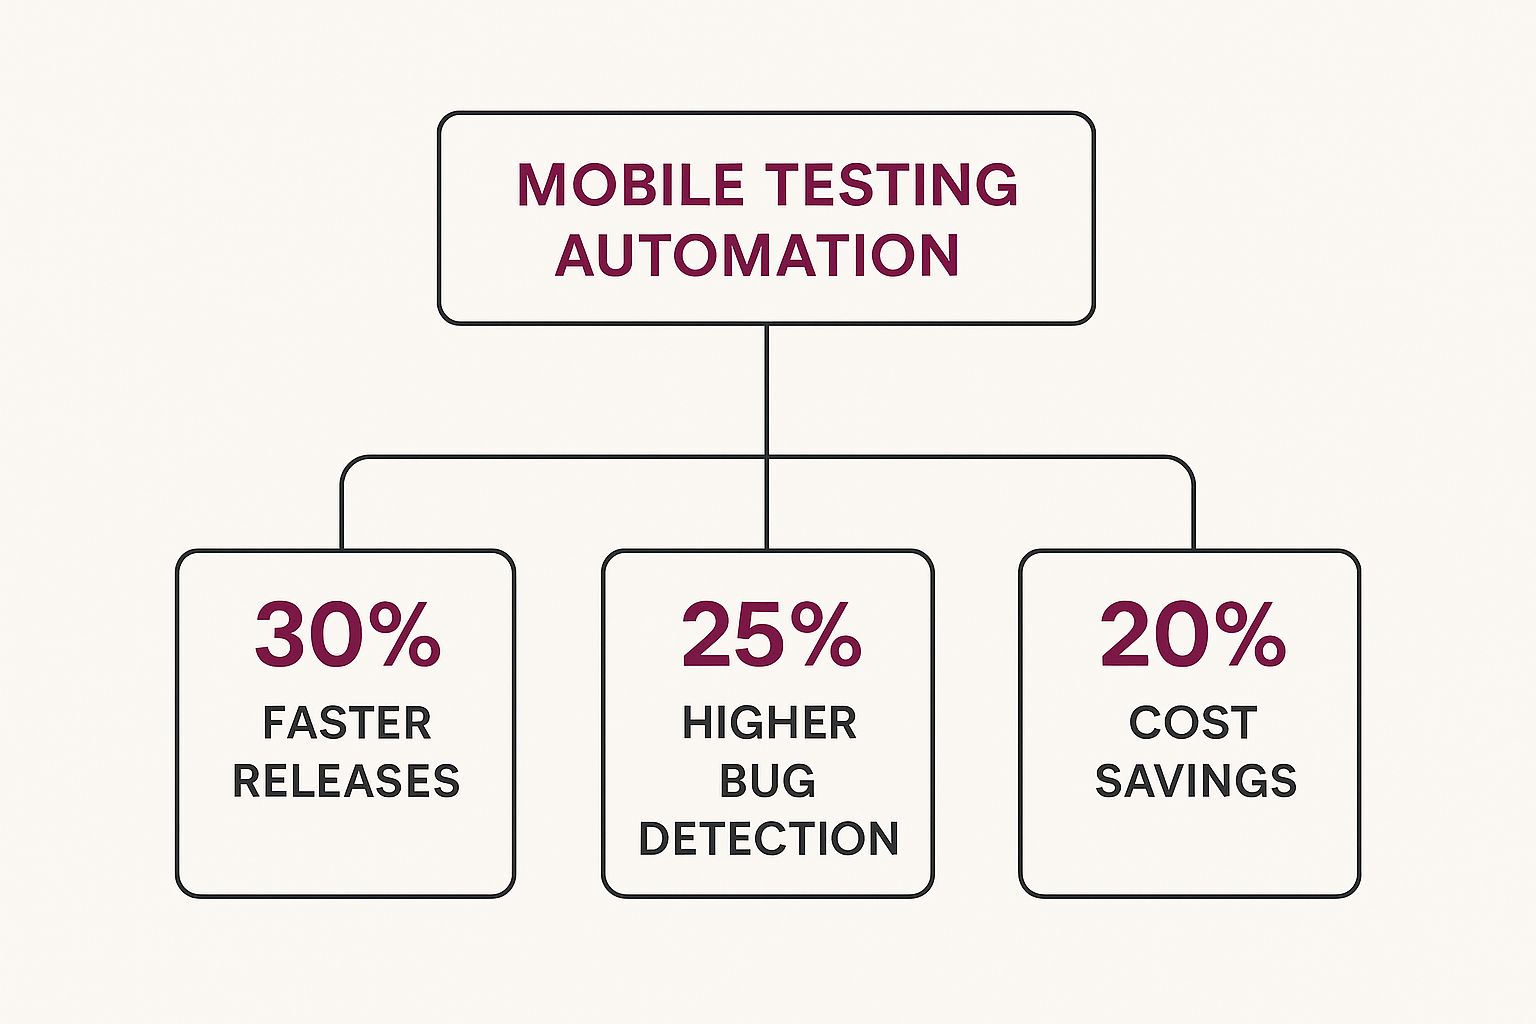
When done right, the business benefits are crystal clear: faster releases, more thorough bug detection, and significant long-term cost savings.
This isn’t just a technical exercise; it’s a direct investment in the quality and speed of your entire development cycle.
Start with the Testing Pyramid
A fantastic model for structuring your tests is the Testing Pyramid. Think of a pyramid with three distinct layers.
- Unit Tests (The Base): This is the largest part of your pyramid. Unit tests are fast, cheap to run, and laser-focused on verifying tiny, isolated pieces of code, like a single function.
- Integration Tests (The Middle): This layer is smaller. It checks that different components of your app—like the database and the UI—can talk to each other correctly.
- End-to-End (E2E) UI Tests (The Tip): This is the smallest section at the very top. E2E tests mimic a real user’s journey through the app from start to finish. They’re incredibly valuable for validating workflows but are also the slowest, most expensive, and most fragile tests to maintain.
A smart strategy puts most of the testing effort into the wide, stable base of unit and integration tests. This approach finds most bugs early and cheaply, leaving the slower UI tests to focus only on the most critical user journeys.
Choose Your Testing Battleground
Next, you need to decide where your automated tests will actually run. There are three main options, and each comes with its own set of pros and cons.
- Simulators and Emulators: These are software programs that run on your computer and mimic the operating system of a mobile device. They are incredibly fast, easy to scale, and great for running lots of tests quickly during early development. The downside? They can’t fully replicate real-world factors like a spotty network connection, low battery, or hardware quirks.
- Real Devices: Nothing beats testing on an actual, physical phone for true accuracy. This is the only way to get a 100% real-world picture of the user experience, especially for features that use the camera, GPS, or Bluetooth. However, buying, managing, and maintaining a lab of physical devices gets expensive and complicated fast.
- Real Device Clouds: These platforms offer the best of both worlds. They give your team remote access to a massive library of real devices—different models, OS versions, and manufacturers. You get the accuracy of real-device testing without the headache of managing the hardware yourself.
Figure Out What to Automate First
With your pyramid model and testing environment chosen, the last piece of the puzzle is deciding where to start. Don’t try to automate everything at once. Focus on high-impact areas that give you immediate, tangible wins.
Here are some great candidates for your first wave of automation:
- High-Volume, Repetitive Tasks: Think login screens, filling out forms, or any other predictable action users perform constantly. Automating these saves your team from soul-crushing manual work.
- Business-Critical User Journeys: What absolutely must work in your app? In an e-commerce app, it’s the checkout process. In a banking app, it’s making a transaction. These core flows are prime targets.
- Regression Testing: Every time you add a new feature, you risk breaking something that used to work. Automating your regression suite ensures old features remain stable, saving countless hours with every new release.
By starting small and proving the value, you’ll build the momentum needed to expand your automation program. This methodical approach fits perfectly with modern software development. To see how this slots into the bigger picture, check out our guide on agile mobile app development.
Choosing the Right Automation Tools and Frameworks
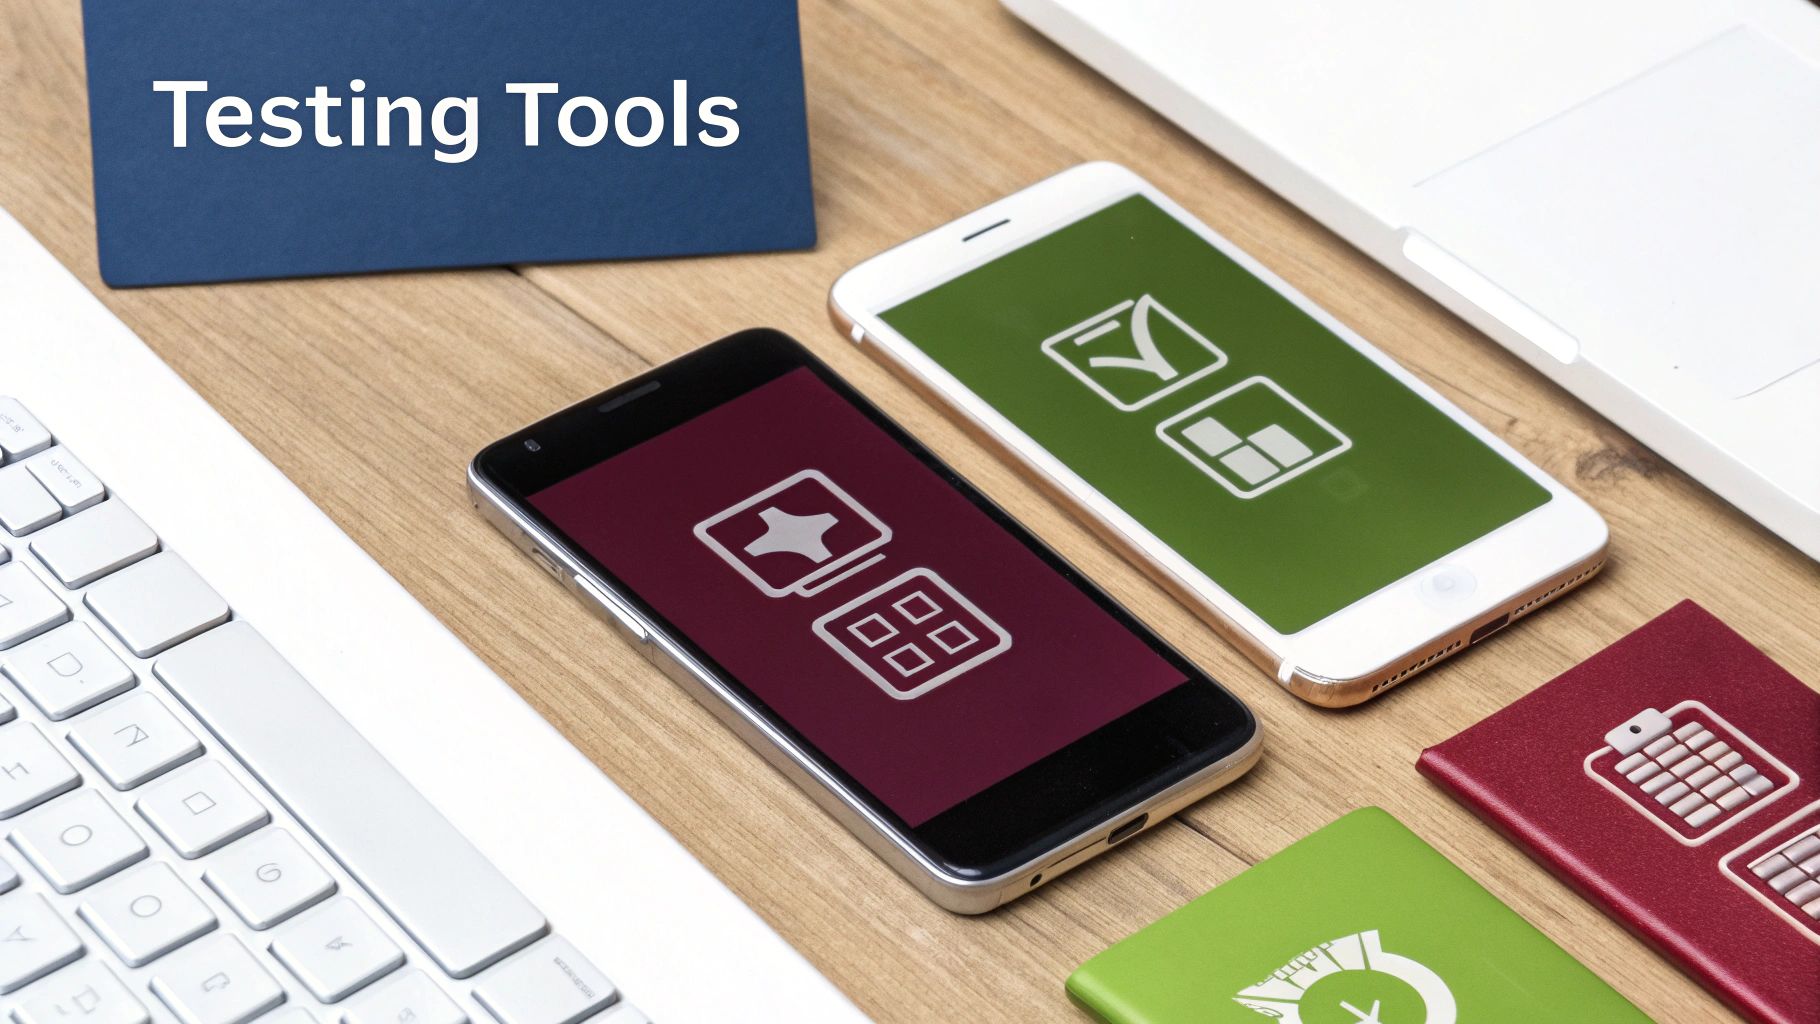
Picking the right tool for mobile automation can honestly feel like a shot in the dark. The market is packed with options, and every single one claims to be the silver bullet for your testing woes. The real secret isn’t finding the “best” tool, but finding the right tool for your project.
Think of it like this: you wouldn’t use a sports car for an off-road adventure, right? You’d want a rugged 4x4. The same logic applies here. The most popular framework might be a terrible fit if your team doesn’t have the right skills or if it doesn’t align with your app’s architecture.
And this space is only getting bigger. The global automation testing market was valued at around USD 25.4 billion in 2024 and is on track to hit a staggering USD 59.91 billion by 2029. That kind of explosive growth, detailed in recent market growth forecasts, means more tools, more competition, and more confusion if you don’t know what to look for.
Key Factors to Consider
To cut through the noise, let’s focus on what really matters. Nearly every tool choice boils down to a few fundamental decisions. Getting clear on these will instantly narrow down your options.
- Native vs. Cross-Platform: Do you want to write one set of tests that runs on both iOS and Android, or are you better off writing separate, highly-optimized tests for each platform? One gives you efficiency, the other offers deep integration and speed.
- Open-Source vs. Commercial: Are you working with a budget and have a technically savvy team that can handle a free, community-supported tool? Or do you need the hand-holding, polished features, and dedicated support that comes with a paid commercial product?
- Script-Based vs. Codeless: Is your team full of seasoned developers who are comfortable writing test scripts from scratch? Or would a visual, no-code interface empower your manual QA testers to start automating right away?
Once you know where you stand on these three points, you’ll be much closer to finding a perfect match for your team and project.
Mobile Automation Tool Comparison
To help illustrate these differences, let’s compare some of the most popular frameworks in the industry. Each has carved out a niche by excelling in a specific area.
| Tool/Framework | Platform Support | Primary Language(s) | Cost Model | Ideal Use Case |
|---|---|---|---|---|
| Appium | iOS, Android, Windows | Java, Python, JS, Ruby, C# | Open-Source | Teams needing a single, flexible framework to test across multiple platforms with their preferred language. |
| Espresso | Android Only | Java, Kotlin | Open-Source | Android-focused teams who need fast, reliable tests that run directly within the app’s process. |
| XCUITest | iOS Only | Swift, Objective-C | Open-Source | iOS-dedicated teams looking for the best performance and tightest integration with the Xcode environment. |
| ACCELQ | Web, API, Mobile (iOS/Android) | Codeless (Natural Language) | Commercial | Enterprise teams that need an all-in-one platform with codeless automation and dedicated support. |
As you can see, the “best” tool is entirely dependent on your context. There’s no single right answer, only the right answer for your specific situation.
Key Takeaway: Let your app’s architecture guide your decision. If you have a cross-platform app built with React Native or Flutter, a tool like Appium is a natural fit. But if you have separate, native codebases for iOS and Android, using XCUITest and Espresso, respectively, will likely give you more stable and performant tests.
Ultimately, picking a tool is a balancing act between your team’s skills, your budget, and your technical requirements. Take the time to do a proper evaluation. A little research upfront will build a solid foundation for your automation efforts and save you countless headaches down the road.
Integrating Automation into Your CI/CD Pipeline
To get the most out of mobile testing automation, you can’t just treat it as a separate task you run occasionally. The real magic happens when you weave it directly into your daily development workflow. When automation is part of your Continuous Integration and Continuous Deployment (CI/CD) pipeline, it stops being a chore and becomes your secret weapon for speed and stability.
This integration turns testing from a manual, time-consuming stage into an automatic quality check. The goal is simple: every time a developer commits code, a series of tests should kick off automatically. This gives developers almost immediate feedback on whether their changes introduced a new problem. Quality becomes everyone’s job, not just something QA handles at the end.
The Automated Workflow in Action
So, what does this look like in practice? Picture this: a developer pushes a small bug fix to the code repository. That single action sets off an entire chain reaction.
- Trigger and Build: Your CI server, whether it’s Jenkins, GitHub Actions, or CircleCI, spots the new code and immediately starts building the app.
- Automated Testing: As soon as the build is ready, it’s pushed to a testing environment—this could be emulators, simulators, or a cloud of real devices. The CI server then tells your automated test suite to get to work on the new build.
- Parallel Execution: Here’s where you gain serious speed. Instead of running tests one by one, they run in parallel. This means dozens or even hundreds of tests can execute at the same time across many different devices, cutting feedback time from hours down to just minutes.
- Instant Feedback Loop: The moment a test fails, the results are sent back. The build gets marked as “broken,” and the developer who made the change gets an instant notification, complete with logs and reports showing exactly what went wrong.
This entire cycle, from a developer hitting “push” to getting a full test report, can take as little as 10-15 minutes. It shrinks the feedback loop so developers can fix bugs while the code is still fresh in their minds, not days later when they’ve already moved on.
Fostering a Culture of Quality
When you build mobile testing automation into your pipeline, you’re doing more than just connecting tools—you’re fundamentally changing your team’s culture. It shifts quality control from the end of the line to the very beginning. Bugs are caught much earlier, which makes them exponentially cheaper and easier to fix.
When automation is part of CI/CD, developers stop seeing testing as a gatekeeper and start seeing it as a safety net. It gives them the confidence to innovate and refactor code, knowing that a robust suite of tests will immediately alert them to any unintended consequences.
This creates a powerful positive cycle. Faster feedback leads to more frequent, smaller commits. Smaller changes are less risky and easier to test, which ultimately means a more stable app and happier users.
Practical Steps for Integration
So, how do you get started? It’s all about connecting your different systems. The basic process usually involves a few key steps:
- Connect Your Source Control: Link your Git repository (like GitHub or GitLab) to your chosen CI server.
- Configure Build Steps: Tell your CI server how to compile your iOS and Android applications.
- Script the Test Execution: Add a new step to your CI configuration that runs your test scripts using a framework like Appium or Espresso.
- Set Up Reporting: Make sure your tools can generate easy-to-read reports and set up notifications through Slack or email for any build failures.
This setup is the bedrock of modern mobile development. It’s especially important for teams using cross-platform frameworks. To see a real-world example, you can check out our guide on setting up continuous integration for React Native apps. By automating these pieces, you turn a disjointed, manual process into a smooth, efficient workflow where your app is always ready for release.
Accelerating Hotfixes and Updates with CodePushGo

It’s a familiar, gut-wrenching scenario for any mobile team. Your entire mobile testing automation suite passes, the CI/CD pipeline runs without a hitch, and the new app version is live. Then, disaster strikes. A critical bug, one that somehow slipped past every test, is discovered by users in production.
What’s the plan now? Do you scramble to patch it, push a new build, and then cross your fingers while you wait days for app store approval as negative reviews pile up? This is precisely where the final piece of the agile puzzle comes into play.
Even the most thorough automation strategy can’t catch every single bug. The real challenge isn’t just finding issues before a release—it’s about how you respond when one inevitably makes it into the wild. This is the gap that CodePushGo was built to fill, serving as the perfect partner to your automation efforts by handling that “last mile” of deployment with incredible speed.
Bypassing the App Store Bottleneck
At its core, CodePushGo lets you push code-level updates for UI and business logic directly to your users’ devices. For teams working with React Native and Cordova, this is a game-changer, completely sidestepping the often slow and unpredictable app store review process.
Think about finding a typo on your checkout screen or a logic error that crashes the app for 5% of your users. Instead of a multi-day panic, you can roll out a hotfix that lands on every single user’s device in minutes.
This capability transforms your response time from days to minutes. It’s the ultimate safety net, ensuring that when a bug inevitably slips through, you can contain the damage almost instantly, protecting your user experience and brand reputation.
The power of this direct-to-device update mechanism goes far beyond just bug fixes. It unlocks new ways to practice agile development and continuous improvement.
A New Level of Agility and Control
When you integrate a service like CodePushGo into your mobile testing and deployment workflow, you create a truly powerful, end-to-end delivery cycle. Here’s how it elevates your entire process:
- Rapid Bug Resolution: Push critical hotfixes immediately, without waiting on Apple or Google. This dramatically cuts down on application downtime and keeps users happy.
- Faster A/B Testing: Want to test a new button color or a different user flow? You can easily push variations to segments of your user base, collect real-world data, and iterate fast—all without a full app release for every little change.
- Streamlined Feature Rollouts: Safely introduce new features by releasing them to a small percentage of users first. You can monitor their performance with real-time analytics and then, with confidence, roll them out to everyone.
This agile approach is becoming essential. The mobile application testing services market is projected to hit around USD 6.56 billion by 2025, a clear sign of the intense demand for high-quality, secure apps. By combining rigorous automated testing with instant deployment, you can meet—and exceed—those user expectations.
In the end, CodePushGo completes your agile toolkit. It ensures that all the speed you gain from automation isn’t lost at the final hurdle of app store submission. To learn more, check out our guide on building a modern workflow for mobile app continuous delivery.
Best Practices for Maintainable Automation
Writing your first automated test is exciting. But the real challenge? Keeping a suite of hundreds of tests from turning into a maintenance nightmare. When a test suite becomes too brittle and unreliable, it ends up as “shelf-ware”—code that’s so broken, everyone just ignores it. To avoid that fate, you have to build your mobile testing automation with the long game in mind.
Think of it like building a house. You wouldn’t just throw up walls without a solid foundation, right? Your tests need that same strong architectural base to survive the constant churn of app development. Without it, your tests will break with every minor UI change, costing you more time to fix than they ever saved in the first place.
Build Stability with Smart Locators
By far, the most common reason automated tests fail is simple: they can’t find the UI element they’re looking for. This usually happens when tests rely on dynamic IDs or fragile positional locators (like XPath) that change every time the app is rebuilt.
To make your tests more resilient, always prioritize locators that are stable and unique.
- Use Static Identifiers: The gold standard is to work directly with your developers. Ask them to add unique, static test IDs (like
accessibility_idon iOS orresource-idon Android) to important elements. These are made specifically for automation and almost never change. - Avoid Positional Locators: Never rely on an element’s position on the screen, like “the third button in the list.” A simple design tweak can instantly break every test that does this. It’s a recipe for disaster.
- Use Text Content as a Last Resort: Locating an element by its text can work in a pinch, but it’s risky. The moment marketing decides to change “Sign In” to “Log In,” your test fails.
A stable locator strategy is the single most important factor in creating maintainable tests. A test that can’t find its target element is completely useless, no matter how well the rest of the logic is written.
Implement Intelligent Wait Strategies
Timing issues are another major source of flaky tests. Mobile apps aren’t instantaneous. Networks have latency, animations need to finish, and data takes time to load. If your script barrels ahead and tries to tap a button before it’s actually ready, the test will fail.
A common but terrible fix is adding hard-coded delays like sleep(5). This is a blunt instrument—it either slows down your entire test suite unnecessarily or isn’t long enough to handle a real-world network lag.
The professional approach is to use explicit waits. An explicit wait tells the test framework to pause and wait for a specific condition to be met—like an element becoming visible or clickable—before moving on. It waits only as long as it needs to, which makes your tests both faster and far more reliable.
Organize Code for Long-Term Success
As your test suite grows, a messy codebase will bring your progress to a grinding halt. It becomes impossible to navigate, debug, and update. Adopting a design pattern like the Page Object Model (POM) is a fantastic way to keep your code clean, organized, and reusable.
Here’s the idea behind POM: you create a separate class for each “page” or major component of your app. This class holds all the locators and actions for that specific screen. Your test scripts then become clean and readable, simply calling methods like loginPage.enterUsername("user") or homePage.tapOnProfile().
The beauty of this is that if a UI element changes, you only have to update it in one place—its page object—instead of hunting it down in dozens of different test scripts.
Focusing on these core principles helps you build a resilient foundation from day one. For more ideas, you can explore other essential mobile app testing best practices that perfectly complement a strong automation framework.
Frequently Asked Questions
As your team dives deeper into mobile development, you’re bound to have questions about test automation. It’s a big topic. Let’s tackle some of the most common ones I hear from teams just starting out.
What Is the Difference Between Automated and Manual Testing?
The simplest way to think about it is who—or what—is doing the testing. In manual testing, a real person taps, swipes, and interacts with your app, trying to find bugs just like a user would. This is fantastic for getting a feel for the user experience and for exploratory testing where you’re just hunting for odd behavior.
Mobile testing automation, on the other hand, uses code and specialized tools to run tests on its own. It’s a workhorse. It shines at repetitive tasks like regression testing, where you need to check if old features still work after a new update. It can run these checks across hundreds of different devices much faster and more reliably than any human could.
Manual testing asks, “How does this feel to a user?” Automation asks, “Does this still work correctly everywhere, every single time?” You really need both for a solid testing strategy.
Should We Automate 100 Percent of Our Mobile Tests?
In a word: no. Chasing 100% automation is a trap many teams fall into. It sounds like a great goal, but it often creates a test suite that’s fragile, expensive to maintain, and full of tests that don’t provide much value.
The smart approach is to automate the things that are tedious and repetitive—think critical user journeys, complex calculations, and your core regression suite.
Save your manual testing efforts for what humans do best: judging the look and feel of a new design, exploring new features without a script, and generally assessing usability. A pragmatic, balanced strategy always wins out. To better understand this balance, it’s helpful to be aware of the key challenges in mobile application testing and see how this approach addresses them.
How Do We Start With No Automation Experience?
My best advice? Start small. Seriously. Don’t try to boil the ocean by automating your entire app on day one.
Pick one small, stable, and important workflow. The login flow is a classic starting point for a reason—it’s simple and critical to the user experience.
Focus on getting that one test case automated and running reliably. Use a tool that’s known for being beginner-friendly, maybe even one with a codeless or low-code option. That first small win is incredibly powerful. It proves the value of automation to your team and builds the confidence you’ll need to tackle bigger, more complex scenarios down the road.
Ready to close the loop between testing and deployment? CodePushGo allows you to instantly deploy hotfixes and updates to your React Native apps, bypassing app store reviews. Shorten your release cycles and respond to bugs in minutes, not days. Learn more at CodePushGo.


