Let’s be honest, testing can sometimes feel like a chore. But what if your tests could do more than just check boxes? What if they could actually guide you toward building more intuitive and stable apps? That’s the promise of the React Native Testing Library. It completely shifts your mindset from testing internal component logic to verifying what your users actually experience.
This simple change in perspective helps you avoid those fragile tests that shatter the moment you refactor a tiny piece of code.
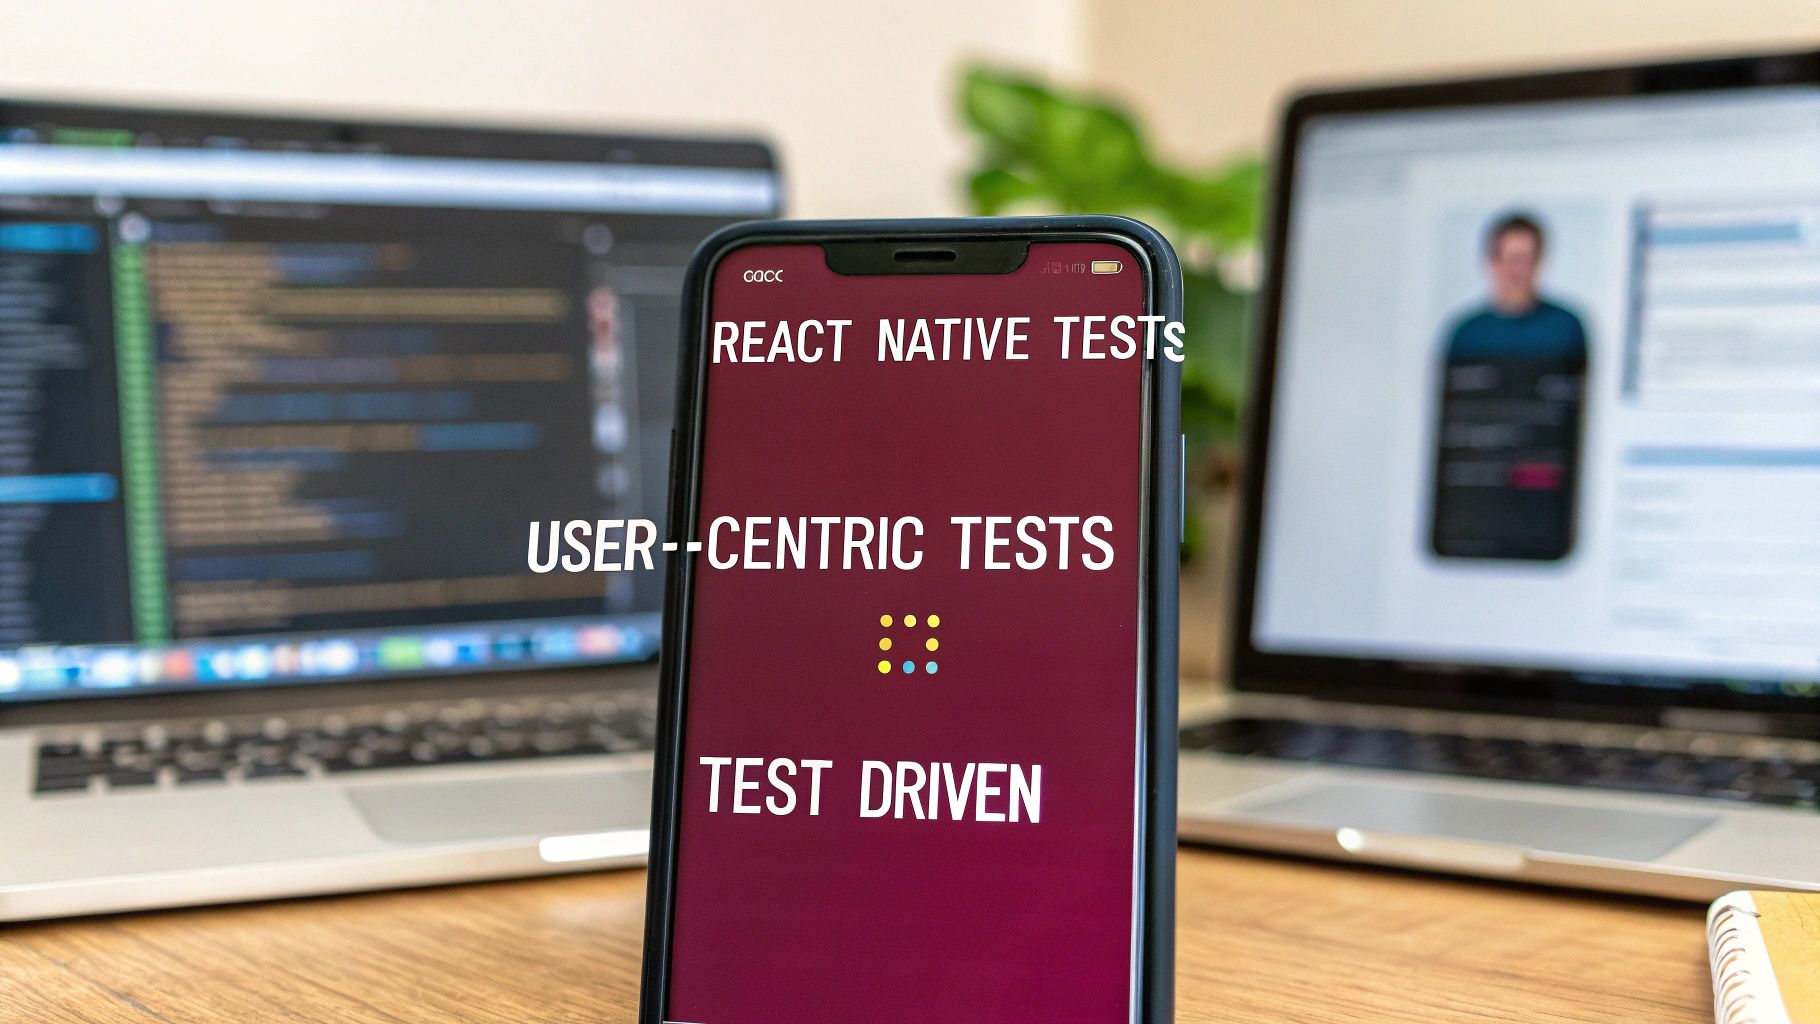
Why You Should Test Like a User
The guiding principle behind the React Native Testing Library is as simple as it is effective: the more your tests resemble how people actually use your app, the more confidence you’ll have in your code. It’s all about writing tests that interact with your UI the same way a user would—tapping buttons, typing in text fields, and navigating between screens.
This user-centric approach deliberately steers you away from testing implementation details, like a component’s internal state or private methods. Think about it: implementation details are constantly in flux. A major refactor might completely change how a component works under the hood, but from the user’s perspective, nothing has changed. If your tests were tied to that old implementation, they would all fail, creating a ton of extra work even though the app works perfectly fine.
The Problem with Brittle Tests
Tests that are tightly coupled to implementation details are often called “brittle.” They break constantly during routine code maintenance, which leads to something developers dread: “test churn.” When you spend more time fixing broken tests than writing new features, it’s easy to start seeing your test suite as an obstacle rather than a safety net.
In contrast, focusing on user behavior builds a much more resilient suite. Instead of checking if a specific onPress handler was called, you test that tapping the “Submit” button actually takes the user to the “Success” screen. This validates the entire user flow, which is what really matters. It’s a cornerstone of solid software quality assurance processes.
For a deeper dive into how this fits into a complete testing strategy, check out this guide on how to test a mobile app.
Testing Philosophy Implementation vs User Behavior
To really understand the shift, it helps to see the two approaches side-by-side. Traditional testing tools often encouraged us to poke around in a component’s internals, while RNTL forces us to think from the outside in.
| Aspect | Implementation Testing (e.g., Enzyme) | User Behavior Testing (RNTL) |
|---|---|---|
| Focus | Component’s internal state, props, and methods. | What the user sees and interacts with on the screen. |
| Queries | Accessing components by name, checking state variables. | Finding elements by their text, accessibility role, or label. |
| Test Fragility | High. Tests often break during refactoring. | Low. Tests are resilient to code changes that don’t affect the UI. |
| Confidence | Confidence that the component’s code works as written. | Confidence that the app works as the user expects. |
Ultimately, the goal isn’t just to make tests pass; it’s to ship a product that works reliably for real people. RNTL’s philosophy gets you much closer to that goal by aligning your tests with your users’ experience.
The library has significantly impacted how developers test mobile applications, improving both reliability and efficiency by focusing on the user’s perspective. This aligns with broader trends in modern frontend testing.
Getting Your Testing Environment Ready
Before you can write a single test, you need a solid foundation. Setting up the React Native Testing Library isn’t just about running an install command; it’s about getting your project configured so that your tests run smoothly and reliably from day one.
Whether you’re spinning up a brand new project or finally adding tests to a long-running one, the initial setup is critical. You’re not just pulling in the main library—you’re adding the essential tools that allow it to understand and interact with your React Native components.
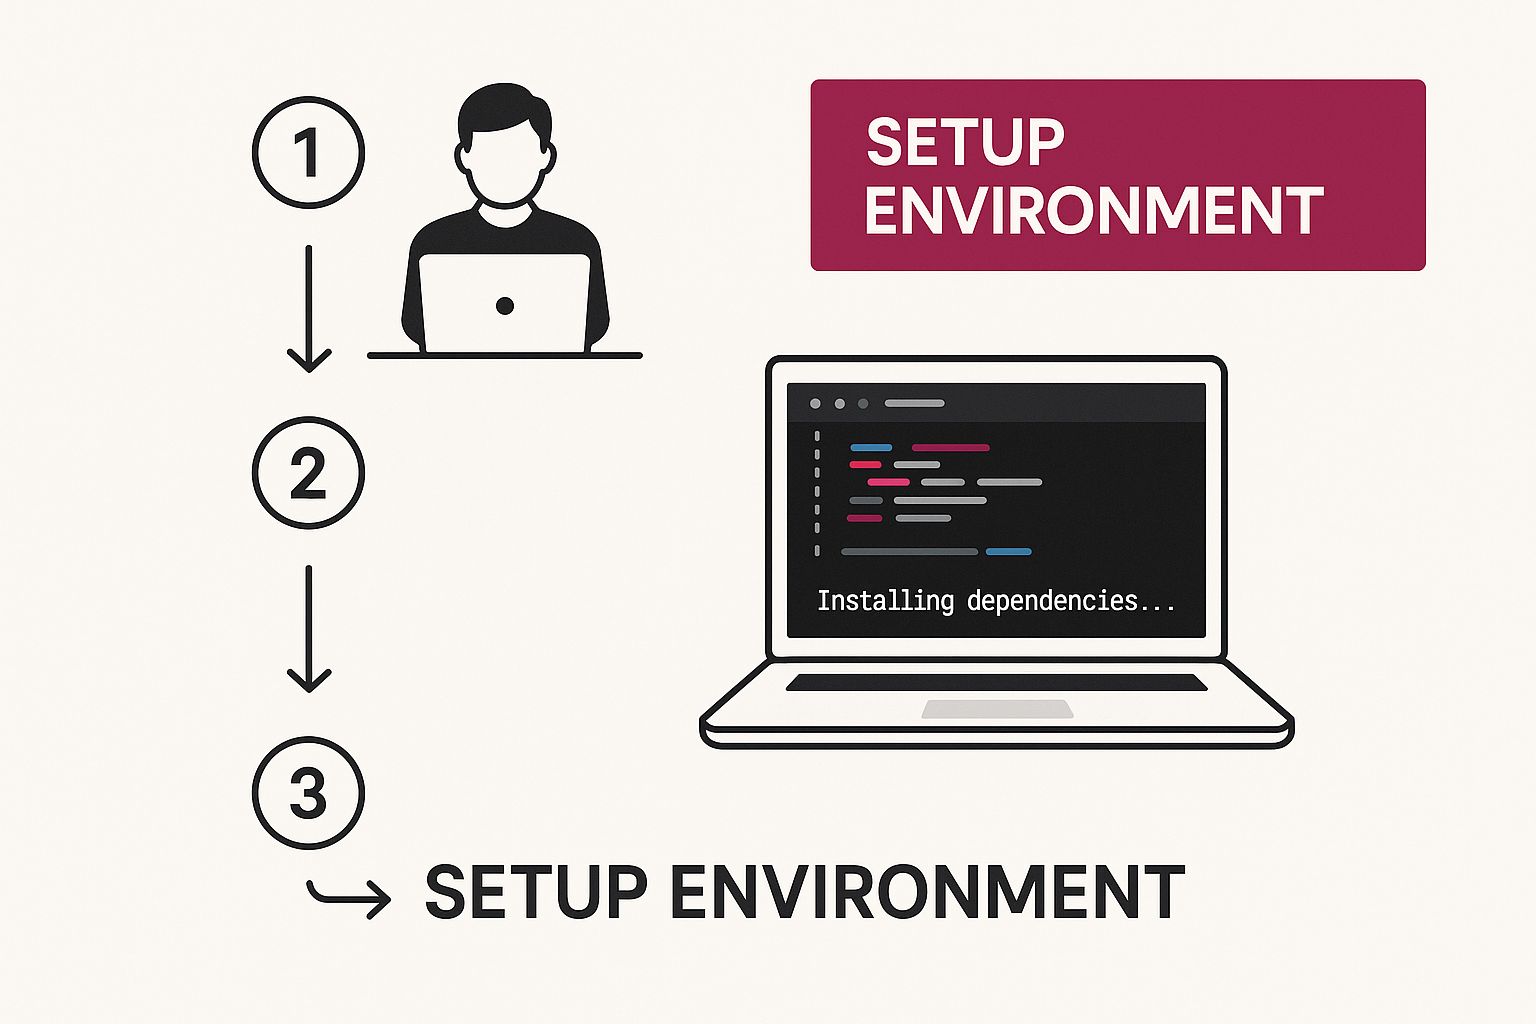
Think of this as laying the groundwork. By installing the right packages and tweaking a few config files, you’re building a stable environment that won’t give you headaches down the road.
Core Dependencies and Configuration
First things first, let’s get the essential packages installed. The main library needs a little help from a Jest preset designed specifically for React Native. This preset is what configures Jest to properly handle things like component mocks and native modules behind the scenes.
You’ll need to install these key dependencies:
@testing-library/react-native: This is the heart of the library, giving you all the functions for finding and interacting with your components.@testing-library/jest-native: A fantastic add-on that provides custom Jest matchers. These let you write more readable assertions, liketoBeVisible()ortoHaveTextContent().jest: The test runner itself. It discovers your test files, executes them, and reports the results.
With those installed, the next stop is your jest.config.js file. The most important line you’ll add is preset: 'react-native'. This simple configuration tells Jest to use a default setup that handles almost all the complex transpilation and environment setup for you, allowing it to understand JSX and other React Native syntax right out of the box.
If you want to dive deeper, our guide to the Jest testing framework is a great place to explore more of its features.
A quick pro-tip from experience: one of the most common setup snags is forgetting to clear Jest’s cache after changing your configuration. If tests start acting weird after an update, your first move should always be to run
jest --clearCache. It solves the problem more often than you’d think.
Finally, consider creating a jest-setup.js file. This is the perfect spot to import @testing-library/jest-native. By doing it here, you make all those handy custom matchers available globally across all your test files, which means less boilerplate and cleaner tests.
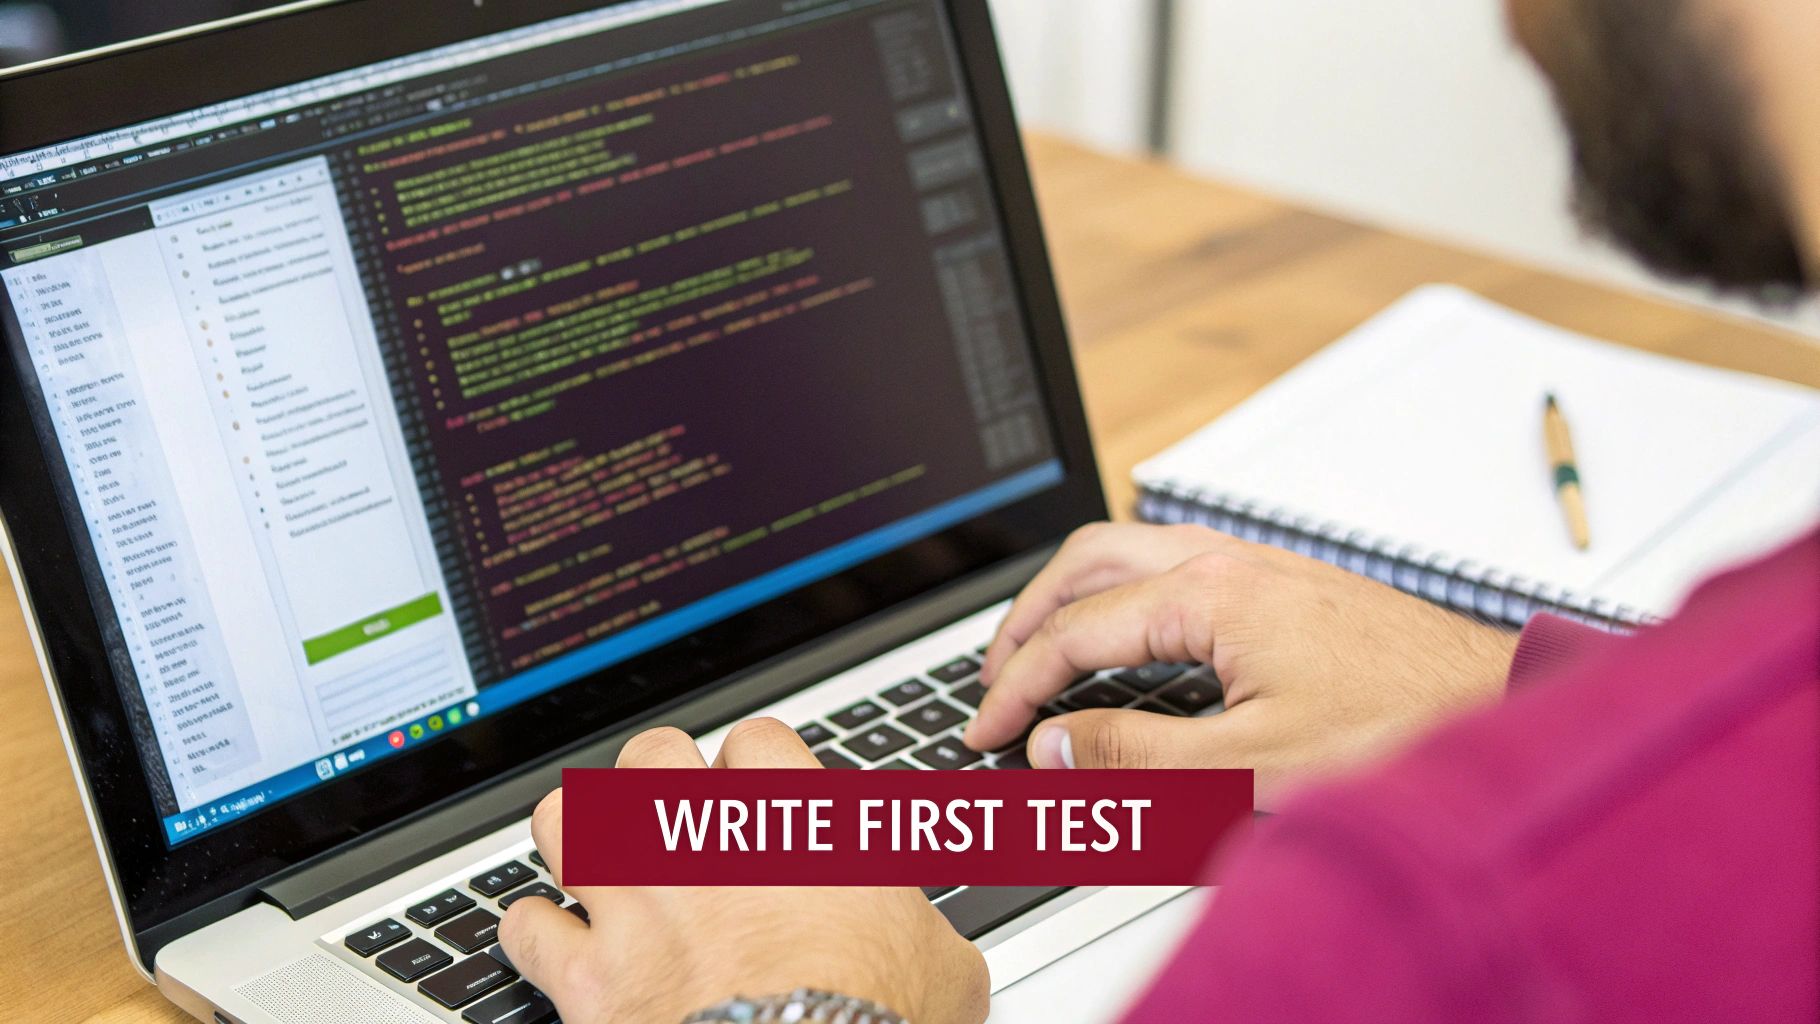
Writing Your First Tests with Confidence
Alright, you’ve got the setup handled. Now for the fun part: actually writing some tests. The best way to get a feel for the React Native Testing Library is to jump right in. We’ll start with something you’ll test a thousand times: a simple button.
Our goal is twofold. First, make sure the button actually shows up on the screen. Second, confirm it does something when a user taps it. Getting this right is the foundation for pretty much every other test you’ll write.
You’ll quickly become familiar with two key functions: render and screen. Think of render as the function that draws your component in a virtual test environment. Then, screen is your set of tools for looking at that virtual screen and finding things on it.
Finding and Interacting with Elements
So, how do you actually “find” a button? The library’s philosophy is brilliant: think like your user. A real person looks for a button based on its text (“Submit,” “Log In”), not some internal testID only a developer would know. That’s where queries come in.
getByText: The most common query. It looks for an element with the text you specify.getByA11yLabel: Perfect for icon buttons or other elements without visible text. It relies on the accessibility label.getByTestId: This is your escape hatch. Use it when an element is otherwise impossible to grab, but try to lean on user-facing attributes first.
Once you’ve located an element, you need to interact with it. That’s fireEvent’s job. To simulate a tap, you’d write fireEvent.press(button). This combination—querying for an element and then firing an event on it—is the heart of testing with this library. For a deeper dive, our guide on https://codepushgo.com/blog/react-native-unit-testing/ has even more examples.
The core principle is simple: Render the component, find the elements, and interact with them. This process directly mimics how a user experiences your app, which is why these tests are so valuable.
A Real-World Login Form Example
Let’s scale this up to a common feature: a login form. This is a great example because it involves more than one interaction—typing into fields and then tapping a button.
You’d start by rendering your LoginForm component. Next, you need to find the input fields. A query like getByA11yLabel('Email input') works perfectly. To simulate typing, you’d use fireEvent.changeText(emailInput, '[email protected]'). You’d do the same for the password field.
With the form filled out, you’d find the submit button—maybe with getByText('Log In')—and simulate a press using fireEvent.press(). The final, crucial step is to assert what should happen next. Does a “Welcome!” message appear? By checking for that text, you’re not just testing a button; you’re validating the entire login flow, giving you real confidence that the feature works from end to end.
Testing Beyond the Basics: Complex and Asynchronous Scenarios
Let’s be real—your app isn’t just a collection of static screens. It’s dynamic. It fetches data, deals with timers, and manages all sorts of complex states. This is where React Native Testing Library really shines, giving you the tools to confidently test your app as a real user would experience it.
When you’re testing a component that grabs data from an API, it’s not going to be instant. The component will probably flash a loading spinner first. Your test needs to be smart enough to wait for that API call to finish and for the new data to pop up on the screen. For this, waitFor is your best friend. It keeps checking for an element until it appears, which is perfect for anything that doesn’t happen right away.
Mocking APIs and Taming State
You can’t have your tests hitting a live API every time they run. It’s slow, unreliable, and a fast track to getting your IP blocked. The solution is to mock the API using Jest’s built-in tools. With jest.fn() or jest.spyOn(), you can swap out axios or the native fetch with a fake version that instantly returns whatever data you want. This gives you total control to test both success and error scenarios on command.
Here’s how that usually plays out when I’m writing a test for a data-driven component:
- Mock the API first. Before the component even renders, I set up a mock to return predictable data.
- Render the component. I check that the loading indicator is on the screen right after it mounts.
- Wait for the magic. I use
waitForto pause the test until the UI updates with the data from my mock API call. - Check the final state. Finally, I confirm the loading spinner is gone and the correct content is displayed.
Things get even more interesting when you’re dealing with state management libraries like Zustand or Redux, or a navigation context. If you try to test a component that needs these in isolation, your test will crash and burn because it’s missing the context it expects from the rest of your app.
The go-to solution here is to create a custom render function. It’s a simple helper that wraps your test component in all the necessary providers, mimicking its environment in the actual app. This keeps your tests clean and you won’t have to repeat the same setup code over and over again.
You’re not alone in tackling these challenges. Heavy hitters like Instagram and Walmart build on React Native. In fact, it’s estimated that by 2025, over 40% of developers will be actively using React. This huge community is constantly solving these very same testing problems.
This massive user base has led to an incredible ecosystem of powerful mobile app test automation tools designed to make even the trickiest testing scenarios manageable. You’re building on the shoulders of giants, not starting from square one.
Of course, here is the rewritten section with a more natural, human-written feel.
Writing Tests That Last: Our Top Best Practices
Getting tests to pass is the easy part. The real challenge? Writing tests that are still clean, useful, and trusted by your team six months down the line as your app continues to evolve. You want to build a test suite that acts as a safety net, not a tangled mess that everyone’s afraid to touch.
The secret I’ve learned over the years is to anchor your tests in reality. Think like a user. How would they interact with this screen? What would they see? This mindset completely changes how you write tests.
This means you should favor queries that find elements the way a user would. Forget about peppering your code with testIDs just for the sake of testing. Instead, reach for queries like getByText, getByRole, or getByA11yLabel. These tie your tests to the actual user experience, making them far more resilient to the inevitable code refactors.
Keep Your Tests Descriptive and Laser-Focused
Every test should tell a clear story. When a test fails, its description should immediately tell you what user-facing feature just broke.
- Don’t do this:
it('renders correctly') - Do this instead:
it('shows an error message when the login form is submitted with an invalid email')
See the difference? The second one gives you instant context. This kind of clarity is a lifesaver when you’re staring at a list of failed CI checks. Along those same lines, keep each test focused on a single behavior. It’s tempting to cram a bunch of assertions into one big test, but that just creates a headache later. Small, focused tests are infinitely easier to debug and maintain.
The big takeaway here is this: by testing what the user can actually see and do, you’re building a safety net that protects your app’s functionality without being brittle. It frees you up to refactor a component’s internal logic or rename a variable without your entire test suite breaking.
Still Have Questions?

Diving into React Native testing often brings up a few tricky questions, especially when you’re trying to mimic real-world scenarios. I’ve run into my fair share of these, so let’s tackle a few of the most common roadblocks developers face with the React Native Testing Library.
A big one is figuring out how to mock native modules. Your Jest environment is just a Node.js process; it has no idea what a device’s camera or GPS is. To get around this, you need to create a fake implementation for any native APIs your components use. The best place to do this is usually in your Jest setup file with a simple jest.mock.
How Do I Test Components That Use Third-Party Libraries?
This question comes up all the time, especially with libraries like React Navigation or UI Kitten. The trick is to create a custom render function.
This little helper function basically wraps the component you want to test with any providers it depends on. Think NavigationContainer for navigation or a theme provider for a UI library. This ensures your component has all the context it needs to render properly without throwing errors.
From my own experience, I’d say always start with the simplest mock you can get away with. If a test later needs the native module to return a specific value or behave in a certain way, you can always build out a more complex fake implementation then.
This keeps your tests focused and stable. If you’re interested in digging deeper, you can read more about some common challenges in mobile application testing.
When Should I Use findBy vs. waitFor?
Finally, there’s the classic findBy versus waitFor dilemma. It’s a common point of confusion, but the distinction is pretty straightforward once you get it.
findBy: Reach for this when you need to find an element that isn’t there right away but will show up after some asynchronous action (like a data fetch). It’s really just a handy shortcut that combineswaitForwith agetByquery.waitFor: Use this when you need to wait for something other than an element to appear. A great example is waiting for an element to disappear or for an assertion to pass after an API call has resolved.
At CodePushGo, we’re all about helping you ship faster. We let you push critical updates directly to your users’ devices, skipping the whole app store review process. See how you can streamline your React Native deployments with us.


