
Understanding iOS App Signing Without Losing Your Mind
Let’s be real, signing iOS apps can feel like wandering through a maze blindfolded. It’s Apple’s way of keeping things secure, sure, but it can be a real headache. It’s more than just clicking a button; you need to understand what’s happening behind the scenes. Imagine it as a super-secret handshake: your app needs the right credentials to be recognized and allowed onto an iOS device.
This whole system revolves around certificates, provisioning profiles, and bundle identifiers. Certificates are like your digital ID, verifying your app’s authenticity. Provisioning profiles connect these certificates to specific devices and permissions, dictating where and how your app can be installed. And the bundle identifier? That’s your app’s unique fingerprint, making sure it doesn’t get mixed up with others. Getting a handle on how these pieces fit together is the key to avoiding endless frustration.
This process is especially important given how massive the iOS app market is. Think about it: there are nearly 2 million apps on the Apple App Store as of January 2025, published by over 792,000 developers. This whole signing rigmarole helps make sure those apps are secure and meet the quality standards users expect. Want to learn more about the iOS app market? Signing your app is your ticket to joining this bustling community.
Why Apple Makes Us Jump Through These Hoops
I know, the complexity can be a pain, but Apple’s strict approach is actually about protecting both developers and users. Signing guarantees your app hasn’t been messed with and that it comes from a trustworthy source. Users get peace of mind knowing the app they’re installing is legit and safe. For you as a developer, it safeguards your hard work and your brand’s reputation.
The Apple Developer Program portal, pictured above, is your command center for managing every aspect of iOS app signing. Here’s where you’ll generate certificates, create those all-important provisioning profiles, and manage your app’s identifiers. Knowing your way around this portal is essential for a smooth signing experience. A good resource to check out is CodePushGo’s guide on App Security Standards. This whole interplay of certificates, profiles, and identifiers, while complicated, forms the bedrock of the iOS platform’s security and trustworthiness. Understanding it will transform your signing process from a frustrating ordeal into something much more manageable.
Creating iOS Certificates That Actually Work
Let’s talk about iOS certificates, the bane of many a developer’s existence. Apple’s documentation on the subject is…well, it’s there. But sometimes it feels more like deciphering ancient hieroglyphics than a helpful guide. So, let me break down generating development and distribution certificates—those all-important digital signatures that tell Apple your app is legit.
I’ve been there, staring at Xcode spitting out cryptic error messages about certificates. One time, I spent days troubleshooting, pulling my hair out, only to discover my certificate had simply expired. It’s a rookie mistake, but one we all make. Trust me, mastering certificate management is a rite of passage in the iOS world.
Development vs. Distribution: Picking Your Fighter
Choosing the right certificate—development or distribution—depends on where your app is in its lifecycle. A development certificate is like your backstage pass, letting you run your app on your devices while you’re building it. A distribution certificate, on the other hand, is your golden ticket to the App Store and TestFlight. This one’s for sharing your app with the world (or at least your beta testers).
To help you decide, here’s a handy table:
iOS Certificate Types and Use Cases
| Certificate Type | Purpose | Valid Duration | Team Usage | Best For |
|---|---|---|---|---|
| Development | Testing on connected devices | 1 year | Development | Building and debugging your app |
| Distribution | Releasing your app | Up to 3 years | App Store | Submitting your app to the App Store/TestFlight |
This table provides a quick overview of how each certificate type fits into the app development process. The key takeaway: use development certificates during the build phase and distribution certificates when you’re ready to release.

This is a screenshot of the certificate management section in the Apple Developer portal. You’ll see the different certificate types, their expiration dates, and their status. Keeping a close eye on these details is crucial. Nothing throws a wrench in a release like a last-minute certificate scramble.
Certificate Expiration and Sharing: Don’t Let These Trip You Up
Certificate expiration. It’s going to happen. Development certificates generally last a year, while distribution certificates can hang around for up to three years. Set calendar reminders! Seriously. Dealing with an expired certificate during a crucial release is not an experience you want.
And what about sharing certificates within your team? Don’t just email them around! That’s a security no-no. Use a secure, centralized system. A dedicated signing service or a shared keychain within your organization is the way to go. This protects your certificates and makes everyone’s lives easier. Speaking from experience, these best practices have saved my team tons of time and frustration, keeping our releases smooth and on schedule. For a deeper dive into automating this process, check out this resource on Continuous Integration for iOS with CodePushGo.
Mastering Provisioning Profiles Without the Headaches
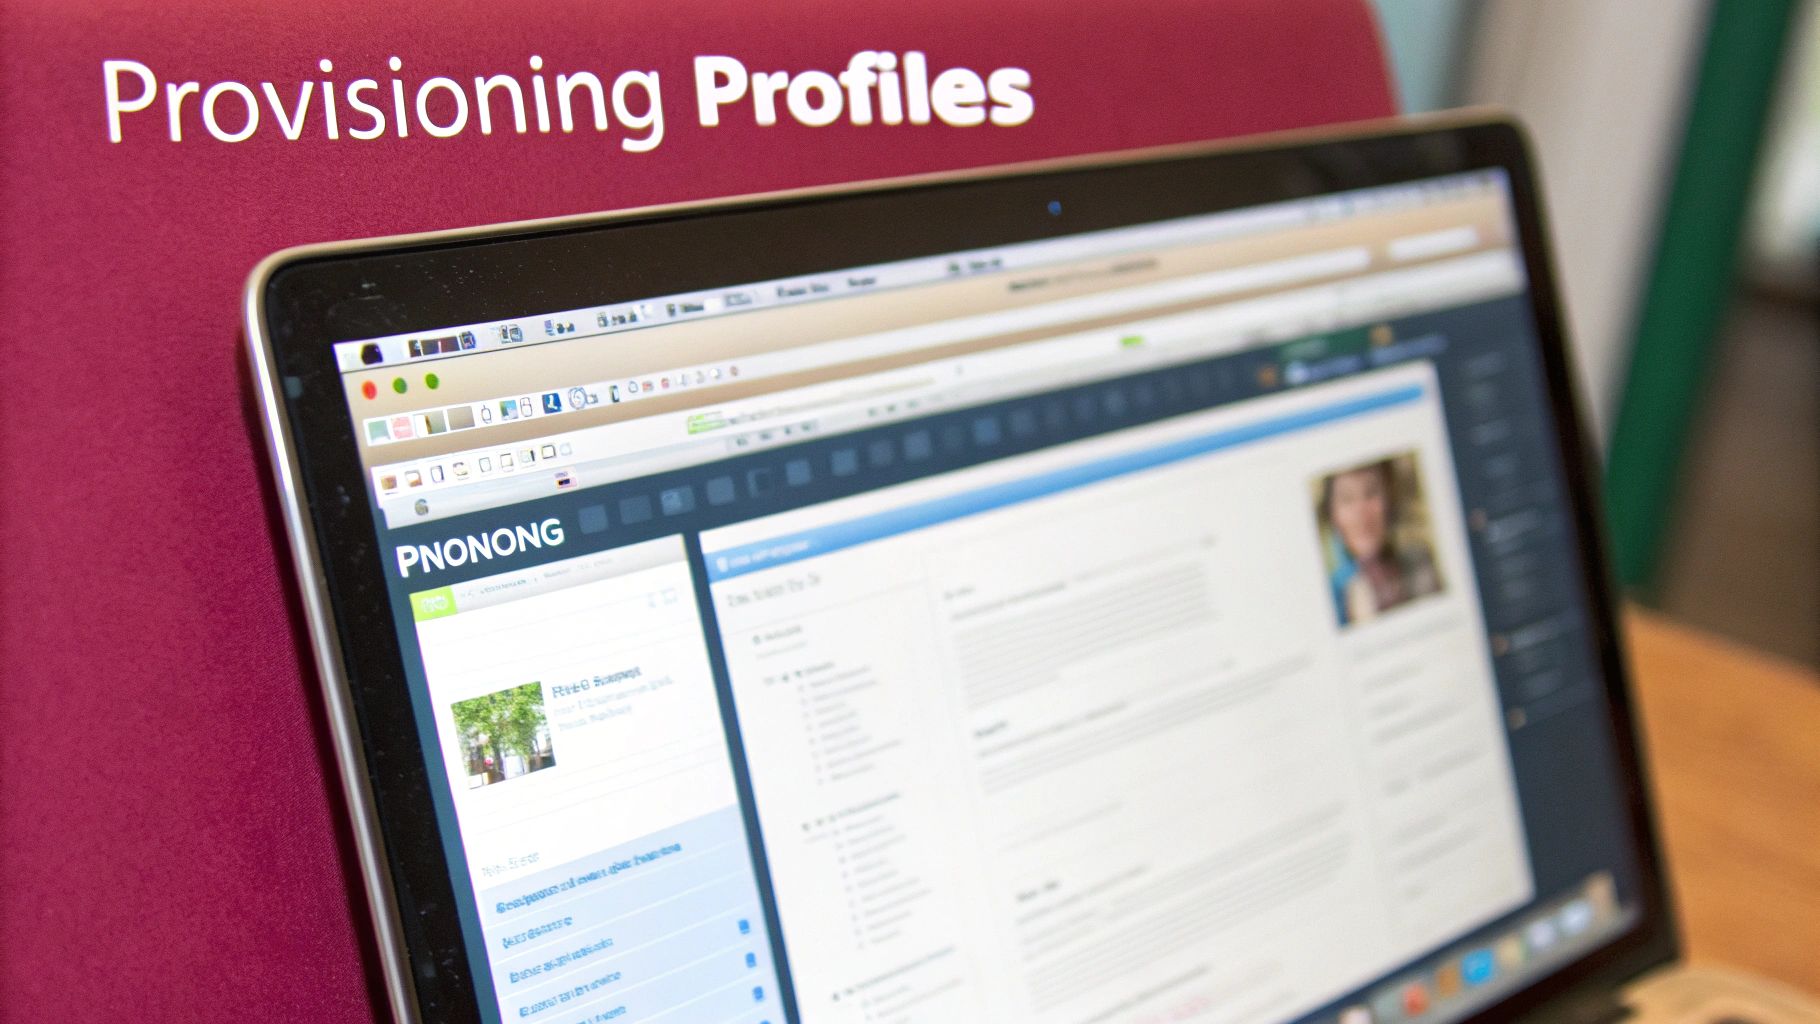
This screenshot shows the Apple Developer portal—your home base for managing provisioning profiles. See the different types? Development, distribution… they each play a specific role in getting your iOS app signed, from device testing to App Store release.
Provisioning profiles are the link between your certificates and your app. Imagine them as the rulebook telling iOS devices which apps can run, what they can do, and where they can do it. They connect your App ID, your certificates, and your registered devices. This is where things can get messy, so let’s simplify it.
Development, Ad Hoc, and Distribution: Knowing the Difference
You’ll mainly work with three types of provisioning profiles: development, ad hoc, and distribution. Development profiles are for, you guessed it, development! They let you run your app on a handful of registered test devices. Your daily testing sandbox. Ad hoc profiles are for sharing your app with a bigger group of testers outside the App Store—perfect for beta testing. Distribution profiles? Your golden ticket to the App Store, crucial for public releases.
These profiles have different purposes and understanding them is key. From personal experience, I can tell you, mixing these up can lead to some serious head-scratching and lost time.
App IDs and Devices: The Building Blocks
Your App ID is like your app’s fingerprint; it’s what makes it unique. You can use wildcard App IDs for a bunch of apps, which is super handy during development. But for apps with special features, like push notifications or in-app purchases, you’ll need an explicit App ID. As for devices, Apple limits how many you can register for development. Choose wisely and remove any old devices so you don’t hit that limit. I learned that the hard way!
Troubleshooting and Organization: Staying Sane
Provisioning profile problems are a developer’s nightmare, often leading to cryptic build errors. Usually, it’s a mismatch between the profile, the certificate, or the registered devices. Double-check those settings and make sure they’re all playing nicely together.
Managing profiles across multiple apps and developers can be a logistical challenge, especially for teams. A clear system is essential. Use descriptive profile names and think about a dedicated signing service like CodePushGo to keep everyone on the same page. Check out this article on iOS Continuous Integration with CodePushGo for ideas on streamlining your workflow. Believe me, a little organization goes a long way. By understanding provisioning profiles, you’ll be ready to tackle app signing and get your app out the door.
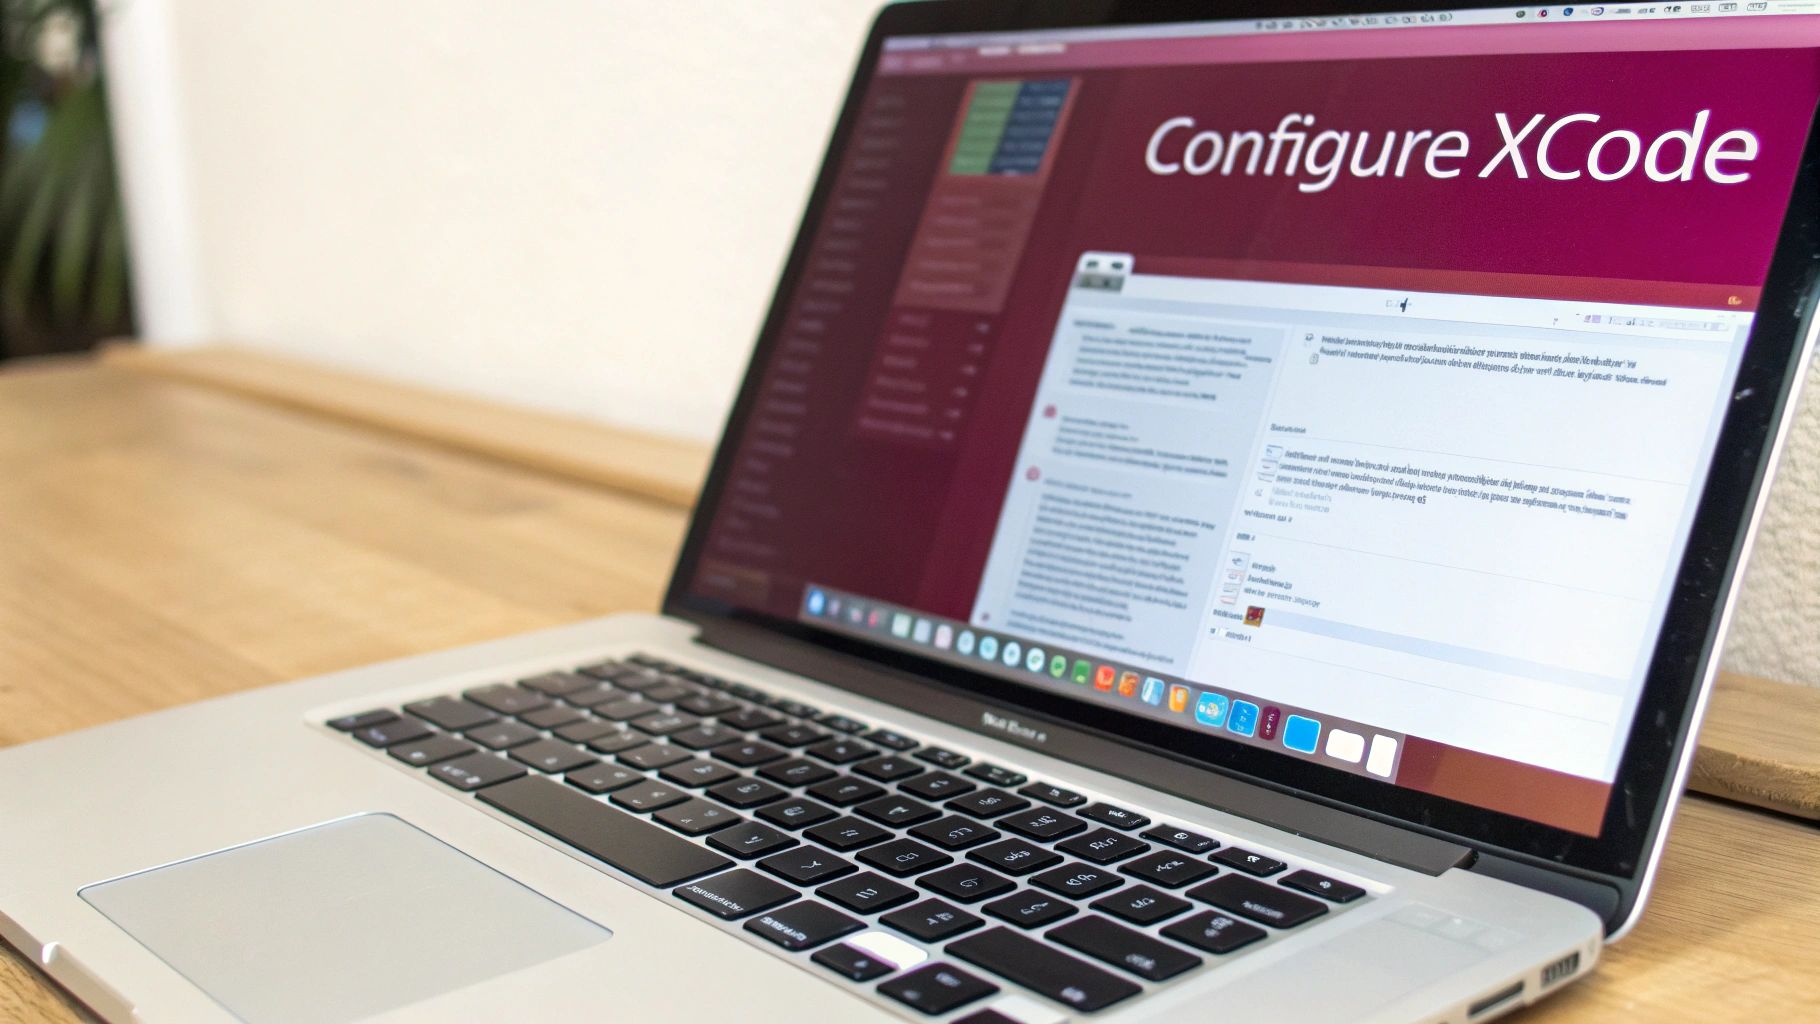
Configuring Xcode Signing Settings That Don’t Break
So, you’ve wrestled your certificates and provisioning profiles into submission. Great! Now comes the next Xcode challenge: automatic signing vs. manual signing. It’s a classic developer dilemma. Let me share some real-world experiences to help you navigate this tricky terrain and, hopefully, avoid some of the hair-pulling moments I’ve encountered.
Automatic Signing: The Convenient Lie?
Automatic signing promises a smooth, hands-off experience. Xcode tries to be your helpful assistant, creating certificates, managing provisioning profiles, and generally tidying up the signing mess. For small, solo projects, or when you’re just getting started, this can be a real time-saver. You can focus on building cool features instead of battling code signing demons.
But… (and there’s always a but) automatic signing can become a real headache in larger projects, especially when teams are involved. I’ve seen this countless times: a new developer joins the team, tries to build the project, and BAM! Signing errors everywhere. The “magic” of automatic signing can quickly turn into a frustrating nightmare.
Manual Signing: Embrace the Control
Manual signing, on the other hand, gives you complete control. You choose exactly which certificate and provisioning profile to use for each build configuration. This is definitely more robust for complex projects with multiple targets, extensions, or embedded frameworks. In my experience, it’s almost mandatory for CI/CD pipelines – like those using Jenkins or GitHub Actions – where build reliability is paramount.
Of course, with great power comes great responsibility. You need to understand how all the pieces fit together (certificates, profiles, entitlements) and keep your signing settings organized. It’s a bit more work up front, but believe me, it saves you from major headaches later, especially when you’re trying to distribute your app or integrate with services like CodePushGo.
Let’s take a look at the options available within Xcode so you can pick the best one for you.
| Setting | Automatic Signing | Manual Signing | Recommended Use | Troubleshooting Tips |
|---|---|---|---|---|
| Team | Automatically selected | Explicitly chosen | All | Double check that the correct team is selected, especially in automatic mode. |
| Provisioning Profile | Automatically managed | Manually selected | Manual is best for CI/CD | If Xcode can’t find a matching profile, revisit your developer portal and ensure all is in order. |
| Certificate | Automatically created/managed | Manually selected | Manual is preferred for most cases | Verify the certificate is valid and not expired. Check Keychain Access. |
| Entitlements | Automatically generated | Can be customized | Customize as needed (e.g., push notifications) | Ensure entitlements match between the provisioning profile and the project settings. |
This table provides a quick comparison of the key differences between automatic and manual signing within Xcode. As you can see, while automatic signing offers convenience, manual signing provides greater control and stability, which is crucial for most professional projects.
This is the nerve center of your app’s signing configuration within Xcode. Make sure you’re familiar with these settings! This is where you’ll toggle between automatic and manual signing, select your development team, and configure any special capabilities your app needs. Mastering this section will significantly improve your iOS development experience.
Command-Line Signing: Your Escape Hatch
Sometimes, the Xcode GUI just gives up on you. That’s when you need to bring out the big guns: the command line. Using xcodebuild and security, you can handle signing outside of Xcode’s sometimes-flaky interface. This is incredibly useful for scripting and automation in CI/CD. I’ve personally used the command line to dig into and fix some seriously gnarly signing issues that the Xcode GUI just couldn’t handle. It gives you a much more detailed view of what’s going on under the hood. This granular control is especially helpful when dealing with multiple targets, extensions, and frameworks.
Automating iOS Signing in CI/CD Without the Pain
Manual iOS app signing? Fine for solo developers. But bring in a team and automated builds, and it quickly turns into a nightmare. Let’s talk about automating this process reliably inside your Continuous Integration and Continuous Delivery (CI/CD) pipelines, such as GitHub Actions, Jenkins, and GitLab CI. I’ve personally witnessed how a well-oiled CI/CD setup can completely change a team’s release game, turning stressful deployments into a smooth, automated process.
This infographic gives you a visual overview of automating iOS signing within a CI/CD pipeline:
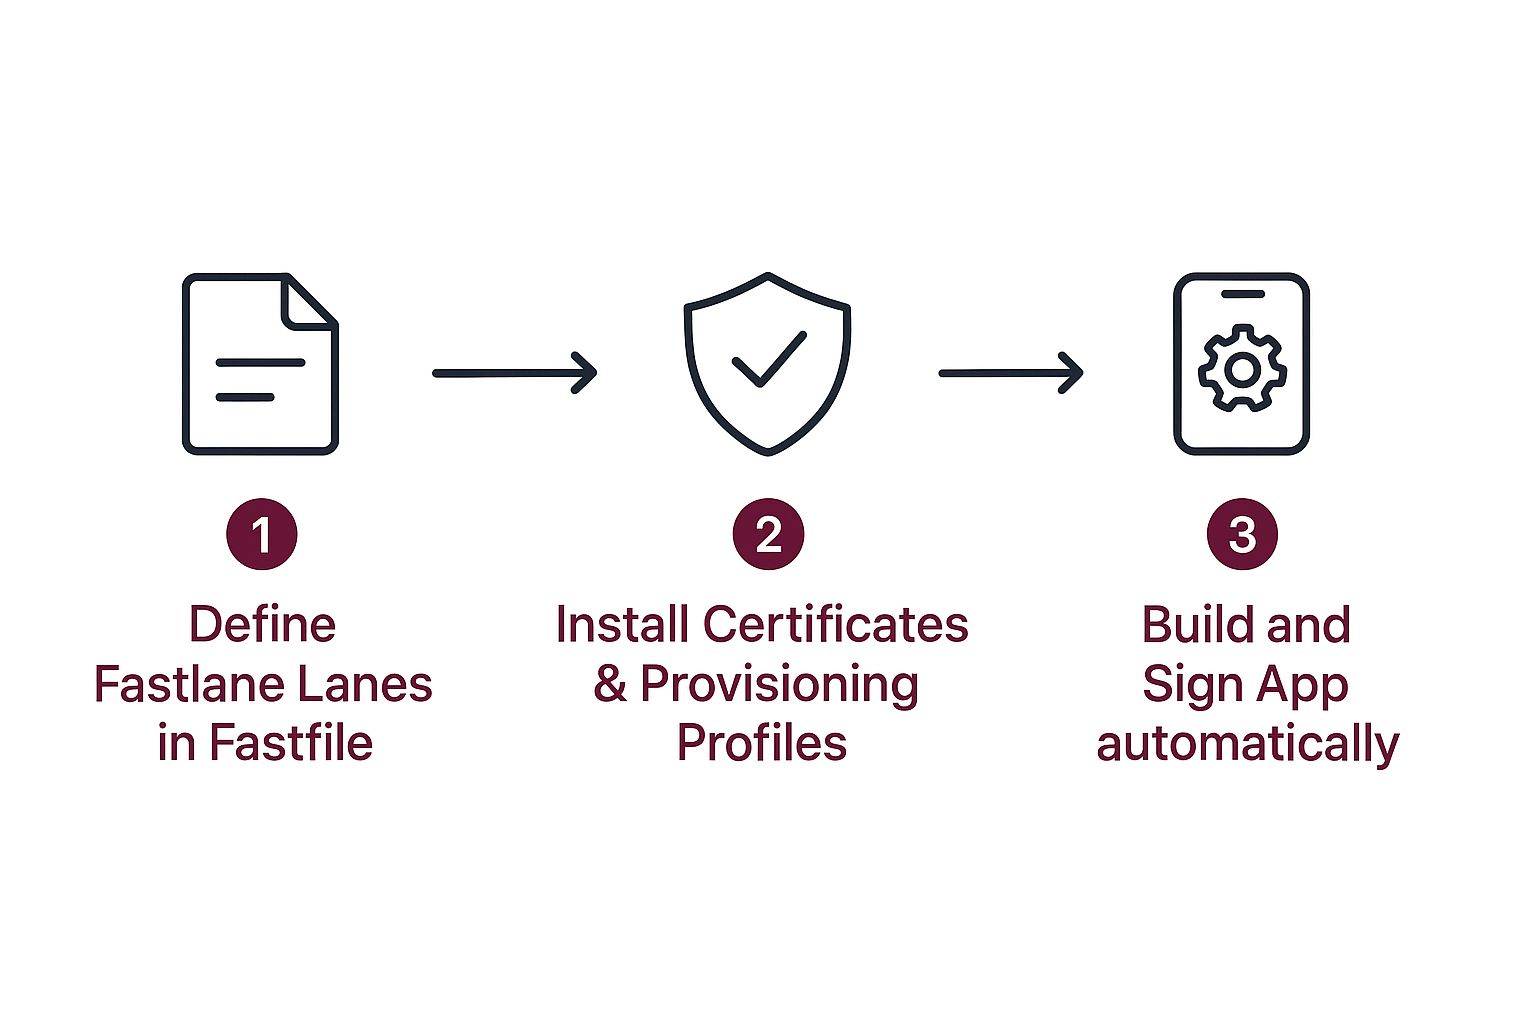
See how setting up your Fastlane lanes lays the groundwork? Then, securely installing your certificates and provisioning profiles leads to the automatic build and signing of your app. No manual steps, just consistent and efficient releases.
Securely Storing and Managing Certificates
One of the biggest headaches with automated iOS signing is keeping your certificates and provisioning profiles safe in CI environments. Leaving these sensitive files in your repository? Huge security risk. In the past, I’ve used encrypted environment variables to store credentials safely within the CI system. That way, only authorized processes can access them. Another solid method I’ve seen is using tools like match. Match lets you store your signing identities securely in a Git repository and sync them across your team, simplifying certificate management and boosting security.
Here’s a look at GitHub Actions. Notice how you can define environment variables and secrets? This is perfect for managing sensitive info and makes GitHub Actions a great choice for automating iOS signing. It really shows how much flexibility and control you have over securely storing your credentials, paving the way for efficient automated signing.
Keychain Operations in Headless Builds
Another CI hurdle: keychain operations in headless builds. You don’t have a UI to interact with the keychain in a CI environment. The solution? Use command-line tools like security to import and manage your certificates right there in the CI environment. This programmatically unlocks your keychain so signing can run smoothly without any manual intervention. This automates tasks that would normally need a physical keychain, such as importing and exporting signing certificates. For a better understanding of CI/CD setup, check out this CI/CD pipeline tutorial.
Troubleshooting Signing Failures in CI
Signing failures exclusive to CI? Incredibly frustrating. Debugging becomes especially difficult without a UI. From experience, I know detailed logging within your CI scripts is crucial. Log everything in the signing process: command outputs, error messages – it all helps track down the problem. It’s worth noting that the success of iOS apps—predicted to rake in $123 billion in 2025—heavily relies on secure and reliable signing processes. This highlights how important strong signing mechanisms are for protecting this valuable market. Learn more. By using solid automation and troubleshooting methods, you can ensure your automated builds are just as dependable as manual ones.
Integrating CodePushGo With Your Signing Strategy
CodePushGo and other over-the-air (OTA) update services like it can seem like they add a whole other level of complexity to iOS app signing. Trust me, I’ve been there. But managing them doesn’t have to be a headache. Let’s break down how code signing interacts with these dynamic updates and what it means for keeping your app secure.
Imagine your app is a well-defended fortress, with code signing as its strong walls. OTA updates are like adding new wings to this fortress – super convenient, but they also create new entry points that need their own security measures. It’s like adding a new door - you wouldn’t leave it unlocked, right?
This CodePush dashboard screenshot gives you a good visual of how these updates are managed. It’s basically mission control for your deployments and releases, providing a centralized location for controlling and monitoring updates across different platforms. Dashboards like these are lifesavers when it comes to managing updates for your signed apps.
Security Implications of Dynamic Deployments
OTA updates are fantastic for quick bug fixes and feature releases. There’s no denying that. But they also bring new security challenges. A big one is ensuring the integrity of the updates themselves. How can you be 100% sure the update code hasn’t been tampered with? This is where code signing steps up to the plate, even for dynamic deployments.
Signing your update bundles verifies their origin and guarantees they haven’t been messed with. It’s the same principle as signing your main app bundle, adding a layer of trust and security for your users. Think of it as a digital signature confirming the package came from you and hasn’t been opened along the way.
Configuring CodePushGo and Handling Bundle Signing
Integrating CodePushGo with your current signing strategy isn’t as scary as it might first appear. Honestly. The core idea is to make sure both your main app and your update bundles are signed with the correct certificates and provisioning profiles. CodePushGo’s guide on continuous integration for iOS is a great resource for this.
This can get a little tricky with JavaScript updates, which have a slightly different approach to bundle signing than native code. Fortunately, CodePushGo has good documentation and tools to make this smoother. They’ve taken a lot of the pain out of the integration process.
Testing and Maintaining App Integrity
Testing is key with OTA updates. Always test your signed builds with CodePushGo in a staging environment before pushing updates to your users. This helps you catch any signing-related hiccups early and prevents disruptions for your users. I can’t stress this enough.
Also, have a rollback plan. Seriously, this is important. If an update causes unexpected problems, having a quick and reliable way to revert to a previous version is invaluable. I’ve learned this the hard way – having a rollback strategy can prevent a small update issue from becoming a major disaster. By focusing on the integration between CodePushGo and your signing process, you can harness the power of dynamic updates without compromising the security of your app.
Your Practical iOS Signing Success Roadmap
Alright, let’s talk iOS app signing. I’m going to give you a practical roadmap, born from real-world experience – not just theoretical fluff. Consider this your field guide to navigating the sometimes treacherous terrain of certificates, provisioning profiles, and all that jazz.
Recognizing the Warning Signs
First things first, how do you even know if you have a signing problem? Sure, a blatant “Code Signing Error” in Xcode is a dead giveaway. But sometimes, it’s more subtle. Maybe your builds are failing on your CI pipeline (like GitHub Actions or Jenkins) but working fine on your local machine. That’s a classic sign of signing shenanigans. Another sneaky symptom is an app that installs but crashes immediately upon launch. Signing issues are masters of disguise.
Essential Debugging Tools
When signing goes sideways, the right tools are your lifeline. Xcode’s signing logs are a decent starting point, but they often leave you wanting more. For me, the real power lies in the command line. Tools like codesign and security are your best friends here. They let you dig deep and see what’s really going on under the hood. Trust me, mastering these command-line tools has saved me from countless late-night debugging sessions.
Keeping Your Team in Sync
If you’re working with a team, signing becomes exponentially more complex. Suddenly, you have multiple developers, multiple machines, and the potential for a whole lot of signing conflicts. This is where shared keychains, dedicated signing services, or tools like match become indispensable. They help ensure everyone is using the same signing credentials and prevent those frustrating “works on my machine” scenarios. I’ve seen teams struggle with inconsistent signing setups, leading to broken builds and missed deadlines. Centralizing your signing process is a game-changer.
Proactive Maintenance
Don’t wait for a signing emergency to happen. Be proactive! Set reminders for certificate expirations. Regularly review your provisioning profiles and get rid of any outdated devices. These simple steps can save you a ton of headaches down the road. Believe me, a little preventative maintenance is far less painful than scrambling to fix a broken build five minutes before a critical release.
Ready to level up your iOS signing game and simplify OTA updates? Check out CodePushGo. It streamlines the entire process, making releases faster, smoother, and more secure. You won’t regret it.


