
Building an app for the iPhone involves a few key stages: getting your development environment set up, actually coding the features, wrestling with Apple’s deployment process, and then using tools to push updates after you’ve launched. This guide will walk you through a modern, practical workflow to take your app from a simple idea all the way to the App Store.
Why Build an iPhone App in the First Place?

Before we jump into the technical nitty-gritty, let’s talk about why the iOS platform is still such a huge deal for developers. Deciding to build for the iPhone isn’t just a technical choice; it’s a strategic one. You’re tapping into a massive, highly engaged user base that is famously willing to spend money on high-quality apps and in-app purchases. This makes it a prime environment for monetization and growing a business.
The sheer scale of the iOS ecosystem is hard to overstate. In 2024, the App Store powered $1.3 trillion in total billings and sales—a figure that has more than doubled since 2019. This incredible economic engine is driven by over a billion active users worldwide. Since iPhones command such a significant market share, especially in key markets like the United States, your app immediately gets access to a valuable audience.
React Native vs Native iOS at a Glance
To build your app, you have choices. You can go “native” using Apple’s own tools like Swift, or you can use a cross-platform framework like React Native, which is what we’ll be focusing on. Here’s a quick comparison to help you understand the landscape.
| Feature | React Native | Native iOS (Swift/Objective-C) |
|---|---|---|
| Codebase | Single JavaScript codebase for iOS & Android. | Separate, platform-specific codebase for iOS. |
| Performance | Near-native performance for most apps. | Highest possible performance, direct API access. |
| Development Speed | Faster initial development and updates. | Slower, more deliberate development cycle. |
| Team Skills | Great for teams with web development (JS) skills. | Requires specialized Swift or Objective-C developers. |
| Community | Large, active open-source community. | Strong, Apple-backed developer community. |
While native development offers unparalleled performance, React Native provides a massive advantage in speed and efficiency, making it a fantastic choice for many projects.
The Strategic Edge of iOS Development
Choosing to develop for the iPhone gives you some clear advantages that can really shape your app’s future. It’s not just about the market size; it’s about user behavior, platform stability, and your potential revenue.
Here are a few of the biggest perks:
- Higher Revenue Potential: It’s a well-known fact that iOS users tend to spend more on apps and in-app purchases, which gives you a more direct path to making money.
- A Premium User Base: The platform generally attracts a demographic with more disposable income, making it the perfect spot for premium apps, subscription models, and e-commerce.
- Better Security: Apple’s tough review process and closed ecosystem lead to a safer environment. This builds trust, making users more comfortable downloading your app and making purchases.
- A Simpler Development Target: With a relatively small number of devices and OS versions to support, testing and optimization become much more manageable. This can save a ton of time and headaches.
A well-crafted iPhone app doesn’t just reach a lot of people—it taps into the culture of quality and user experience that Apple has built for over a decade. This can seriously elevate your brand and help create loyal users.
Of course, before you start coding, you need to think about the financial side. It’s only natural to wonder how much it costs to build an app and what variables drive that cost. Getting a handle on core platform features is also key for performance. For a deeper dive into a specific technical area, our guide on managing an https://codepushgo.com/de/blog/ios-background-task/ is a great place to start. Building this foundational knowledge will help you create a solid, efficient app right from the beginning.
Configuring Your Development Environment
Getting your tools set up correctly is the first real step on the road to building an iPhone app. This isn’t just about downloading a few programs; it’s about creating a solid, efficient workspace where you can actually build, test, and fix things without fighting your setup. A well-configured environment just gets out of your way and lets you focus on coding.
For React Native development aimed at iOS, your Mac is ground zero. You need a specific stack of tools, and they all have to play nicely together. The good news? It’s a pretty straightforward process once you know what each piece does and why you need it. Let’s walk through the essentials.
Core Dependencies for iOS Development
Before you write a single line of JavaScript, you have to lay the groundwork. Think of these tools as the foundation of your entire development house—without them, nothing else can be built on top.
Here’s the breakdown of what you absolutely need:
- Node.js and npm: Node.js is the engine that runs your JavaScript code, and npm is your go-to for installing and managing all the packages your project will depend on.
- Watchman: This is a neat little tool from Facebook that keeps an eye on your project files. Whenever you save a change, Watchman tells React Native, which is what powers the awesome fast refresh and hot-reloading features that save so much time.
- React Native Command Line Interface (CLI): This is the main tool you’ll be using in your terminal to create, run, and package up your projects.
The easiest way to get all of this installed is with a package manager like Homebrew. It just makes life on macOS so much simpler. If you don’t have it, installing it is just a single command from their website. Once that’s done, getting these core tools is as simple as popping brew install node watchman into your terminal.
The mobile app market is absolutely massive, and having a smooth development flow is your ticket to keeping up. Consider this: mobile users spent over 5.1 trillion hours on apps, and the global market was valued at $475.90 billion in 2022. It’s projected to hit around $756 billion by 2027, which shows just how much opportunity is out there for developers.
Installing and Configuring Xcode
For iOS development, Xcode isn’t optional—it’s the main event. Even though you’re writing code in React Native, Xcode is what actually builds your app, runs it in the iOS simulator, and ultimately gets it onto a real iPhone.
You can grab Xcode right from the Mac App Store. Just be warned, it’s a hefty download, often clocking in at over 10 GB. After it’s installed, you have one more crucial step: configuring the command-line tools. React Native needs these to talk to Apple’s build system.
To set this up, open Xcode, head to Preferences > Locations, and find the “Command Line Tools” dropdown. Just select the newest version listed. It’s a simple click, but it’s what connects your terminal to Xcode’s power.
Pro Tip: After a fresh install, always open Xcode and launch the iOS simulator from there at least once. This makes sure all the necessary background components get initialized and can save you from a whole category of “simulator not found” errors that trip up a lot of developers.
This infographic gives you a good visual of the journey you’ll take within Apple’s ecosystem once your tools are in place.
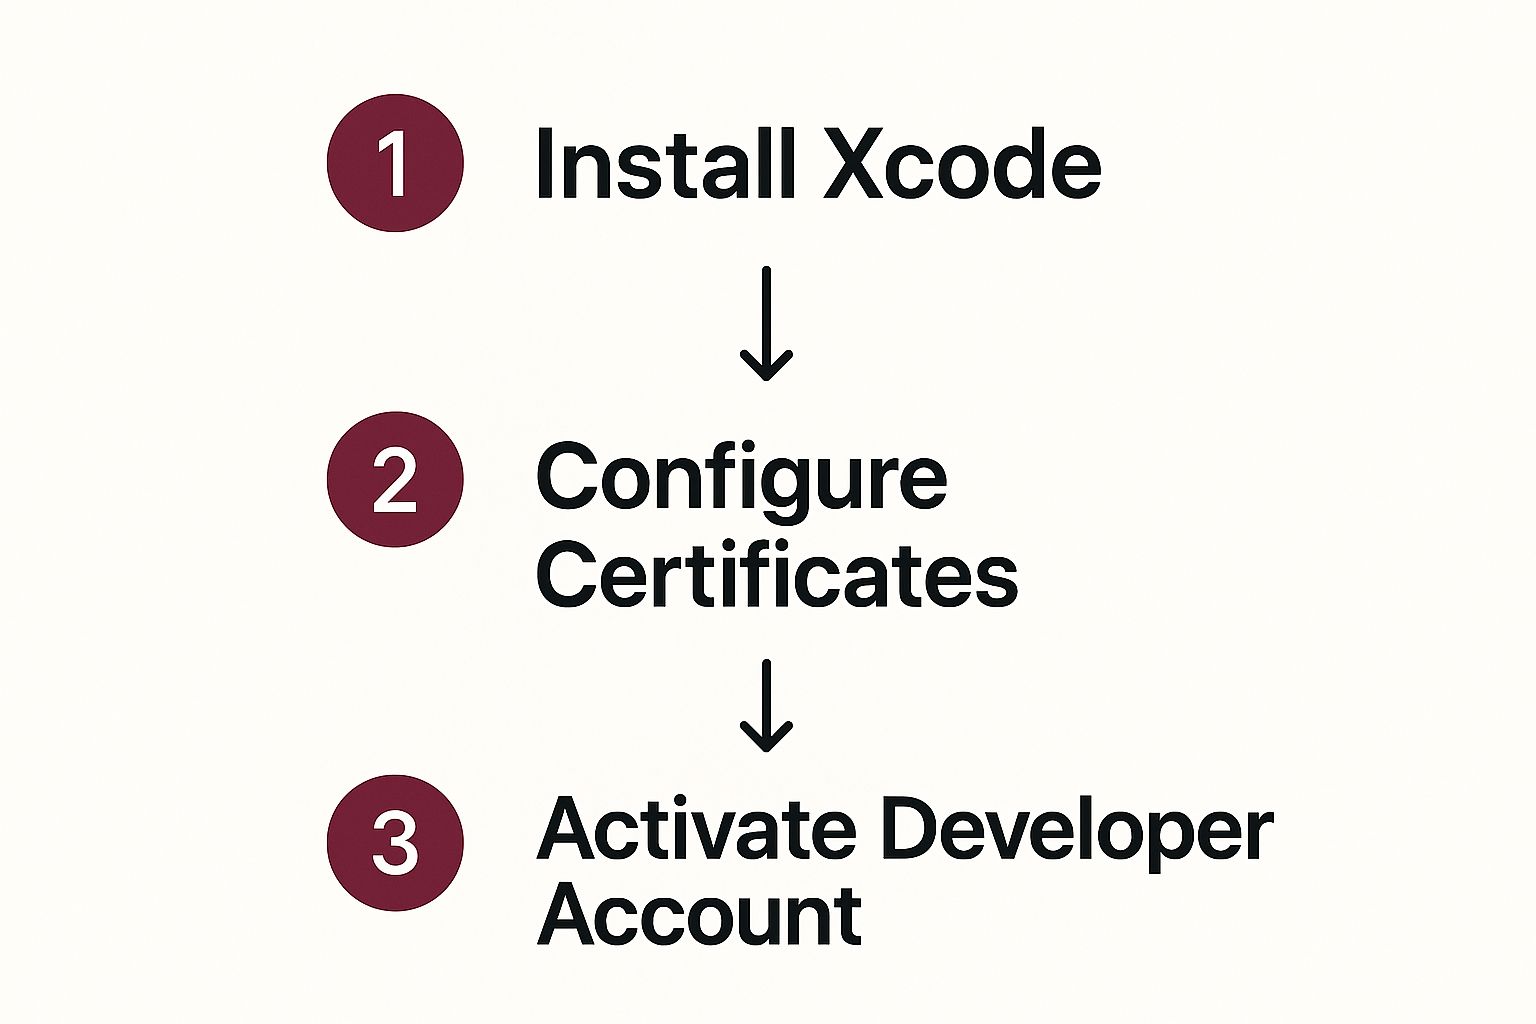
As you can see, once Xcode is set, the next big hurdles are handling your developer credentials and activating your account. You can’t test on a device or ship to the App Store without getting through that part first.
Creating Your First React Native Project
Alright, with all the prep work done, it’s finally time for the fun part: creating your first project. Thanks to the React Native CLI you installed earlier, this is just a one-liner.
Open up your terminal and run this command:
npx react-native@latest init YourAppName
This command works its magic by creating a new folder called “YourAppName” that’s fully stocked with a standard React Native project. Inside, you’ll find an ios folder (with the Xcode project) and a node_modules folder, which holds all your JavaScript libraries.
Once it’s finished, jump into your new project directory (cd YourAppName) and fire it up with npm run ios. This one command does a few things automatically:
- It kicks off the Metro bundler, which is what serves up your JavaScript.
- It uses Xcode’s tools in the background to build the native iOS app.
- Finally, it boots up the iOS simulator and installs your new app on it.
If everything went according to plan, you’ll see the default React Native welcome screen pop up on the simulator. That’s your “Hello, World!” moment—a huge milestone that confirms your entire dev environment is working perfectly. Nailing this setup from the start is one of the key software deployment best practices that sets you up for success down the line.
Coding Your First iPhone App Features

Alright, you’ve got a “Hello, World!” project up and running in the simulator. That first build is a huge step, so take a moment to celebrate. Now for the fun part: turning that blank slate into an actual app with features a user can interact with.
To make this practical, we’ll build a simple task manager. This hands-on example will show you how to create components, manage what’s happening on the screen (the “state”), and handle user input. More importantly, you’ll learn how to structure your project so it doesn’t become a tangled mess down the line.
Structuring Your React Native Project
Before you write a single line of feature code, let’s talk about organization. A fresh React Native project is a blank canvas, and it’s tempting to just start coding everything in the main App.tsx file. Trust me, that’s a recipe for future headaches. A clean folder structure is your best friend for keeping code readable, reusable, and maintainable.
A solid, time-tested approach is to create a src (source) directory right at the root of your project. This simple folder will house all your application’s logic, cleanly separating it from the project’s configuration files.
Inside src, I typically create a few key subdirectories:
- components: This is for your reusable UI bits—think custom buttons, input fields, or list items.
- screens: These are your top-level views, like a
HomeScreenorTaskDetailsScreen. - navigation: All the code that dictates how users move between screens lives here.
- api: If your app fetches data from a server, this is where that logic goes.
- state: For more complex apps using a state management library, you’ll put that code here.
This modular setup means that when you need to fix a bug in a button, you know exactly where to look—no more hunting through a massive, thousand-line file.
Building Your First Reusable Component
Let’s start small by creating a TaskItem component for our task manager. This little piece of UI will display a single task with its title and a checkbox. Go ahead and create a new file in your src/components folder called TaskItem.tsx.
This component will receive its data through props, which are just like arguments you pass to a function. For our TaskItem, we’ll need to pass in the task’s text and whether it’s been completed. This design makes the component incredibly flexible; you can use it for every single task in your list without rewriting code.
For example, the TaskItem might receive a task object and a function to call when it’s tapped. When a user presses the item, it simply calls that function, letting the parent component know something happened. This is a fundamental and powerful pattern in React Native.
By building small, self-contained components, you’re essentially creating your own library of UI building blocks. This doesn’t just speed up development; it also enforces a consistent look and feel across your entire iPhone app.
This practice, often called component-driven development, is a game-changer for building apps that can grow without becoming chaotic. It forces you to think about your UI in isolated, testable pieces.
Managing State and Handling User Input
An app that only shows static information isn’t very useful. We need a way for our app to remember things—like which tasks are done—and to react when a user does something. This is where state comes into play.
In simple terms, state is just data that changes over time and affects what’s rendered on the screen. React Native gives us a fantastic tool for this right out of the box: the useState hook.
Let’s see it in action in our HomeScreen.tsx. We can use useState to hold an array of all our tasks.
const [tasks, setTasks] = useState([ { id: ‘1’, text: ‘Learn React Native’, completed: true }, { id: ‘2’, text: ‘Build a Task Manager’, completed: false }, ]);
Now, when a user taps a task to mark it as complete, we don’t modify the data directly. Instead, we create a new array with the updated task and use the setTasks function to update the state. React Native sees the change and automatically re-renders the screen to show the updated list.
This concept of one-way data flow is a core principle that makes your app’s behavior predictable and so much easier to debug.
Connecting Screens with Navigation
Most apps are more than just a single screen. To manage the flow from one to the next, we need a navigation library. The undisputed champion in the React Native world is React Navigation. It provides a straightforward way to set up common navigation patterns, like stacks (new screens slide in over old ones) or tabs.
After installing the library and its dependencies, you’ll define a “navigator” that acts as a container for your app’s screens.
For our task manager, a stack navigator with two screens makes perfect sense:
- HomeScreen: To display the full list of tasks.
- AddTaskScreen: A separate screen where the user can create a new task.
The navigator handles all the tricky parts for you, like the slide animations and the back button on iOS, giving your app that polished, native feel. You can jump from HomeScreen to AddTaskScreen with a single line of code, even passing data along for the ride. This separation keeps your screen components clean and focused on their one job.
Navigating App Store Deployment
You’ve coded the features, polished the UI, and your app looks fantastic in the simulator. Now for the final hurdle, the part that often feels like a rite of passage for every iOS developer: getting your app onto the App Store. It’s a world filled with its own jargon and steps, but it’s a logical process once you get the hang of it.
Think of this phase as proving to Apple two things: who you are, and that your app is authorized to run on a user’s iPhone. It’s all about security, and while it might seem a bit convoluted at first, every piece of the puzzle is there to protect both you and your users.
Demystifying Apple’s Code Signing Puzzle
Before your app can go anywhere near the App Store, you have to get comfortable with Apple’s code signing ecosystem. This is simply a system of digital handshakes that links your app directly to your developer identity. It’s not optional, and it involves a few key players.
Here’s a quick rundown of what you’ll be dealing with:
- Apple Developer Program: This is your ticket to the show. For $99 per year, this membership gives you access to Apple’s development tools, beta software, and the all-important ability to publish apps.
- Certificates: These are your digital ID cards. A Development Certificate lets you install and test the app on your own devices. A Distribution Certificate is what you’ll use to sign the final version you send to Apple.
- Identifiers (App IDs): This is a unique string that officially registers your app’s identity. It usually looks something like
com.yourcompany.yourappnameand guarantees no other app can impersonate yours. - Provisioning Profiles: This is the glue that holds everything together. It links your certificate, your App ID, and (for testing) your specific devices. For release, it confirms your app is cleared for the App Store.
Getting these credentials right is the most critical part of the deployment process. A mismatch between your certificate and provisioning profile is one of the most common reasons for build failures, so pay close attention here.
Thankfully, Xcode has an “Automatically manage signing” feature that can be a real lifesaver. Just sign in with your Apple Developer account in Xcode’s preferences, and it will do its best to generate and sync these credentials for you.
Creating a Production Build in Xcode
With your signing assets in place, it’s time to create the actual file you’ll upload. This is different from just running the app in the simulator; this is a highly optimized, production-ready build.
The first step is to change your build destination in Xcode. Instead of a simulator, select Any iOS Device (arm64). This tells Xcode you’re making a generic build that can run on any modern iPhone. From there, go to the Product menu and choose Archive.
This archiving process compiles all your code, signs it with your Distribution Certificate and Provisioning Profile, and bundles it into an .xcarchive file. Once it’s done, Xcode’s Organizer window will pop up showing your newly minted build. From this window, you can click “Distribute App” and follow the on-screen instructions to push it straight to App Store Connect.
Setting Up Your App Store Connect Listing
App Store Connect is your mission control. It’s the web portal where you manage your app’s product page—the first thing potential users will ever see. Nailing this part is key to getting discovered and earning downloads.
You’ll need to have a few things ready:
- Screenshots: High-quality images of your app running on various iPhone sizes.
- App Description: A clear, compelling summary of what your app does and why it’s worth downloading.
- Keywords: The search terms people will use to find an app like yours.
- Privacy Information: A transparent breakdown of any user data your app collects.
This is also where you can tap into the incredible power of Apple’s hardware. With over 1 billion active devices, Apple provides advanced frameworks for on-device machine learning, which helps apps run faster while protecting user privacy. In fact, performance gains in the latest chips can deliver up to 30% faster processing, letting you build truly impressive features. You can dive deeper into these Apple App Store statistics to see the scale of the platform.
Once your product page is filled out and your build has been uploaded and processed, you can finally hit that “Submit for Review” button. Apple’s review team will take it from there, making sure your app meets all their guidelines. This can take anywhere from a day to a week. For a full breakdown of this final stage, check out our guide on how to publish on the App Store.
Pushing Updates with CodePushGo

So, your app is live on the App Store. That’s a huge milestone, but now the real work begins: maintenance and iteration. You’re going to find small bugs, want to tweak a button color, or fix an embarrassing typo. In the old days, every tiny change meant submitting a new build and waiting for Apple’s review process, which could easily take a few days.
This is exactly why over-the-air (OTA) updates are such a lifesaver. Using a service like CodePushGo, you can send updates directly to your users’ devices, completely skipping the App Store review for any changes made to your JavaScript code. This lets you fix critical bugs in minutes, not days, which makes a world of difference for your app’s stability and your users’ happiness.
Integrating CodePushGo into Your Project
Getting CodePushGo set up is pretty straightforward. The first thing you’ll do is add its React Native SDK to your project. Think of this as a one-time setup that gives your app the ability to call out and check if a newer version of the code is available.
The whole process boils down to a few steps:
- Install the SDK: First, you’ll add the
react-native-code-push-gopackage to your project with npm or yarn. - Link Native Dependencies: On the iOS side, this just means running
pod installfrom youriosdirectory to pull in the required native code. - Wrap Your Root Component: The last bit of coding involves wrapping your main
Appcomponent with the CodePushGo higher-order component. This little wrapper is the magic behind it all—it handles checking for, downloading, and applying updates without you having to write any of that logic yourself.
Once that’s done, your app is officially equipped to receive new JavaScript bundles and assets on the fly. Just keep in mind, OTA updates are only for your React Native code. If you need to change anything on the native side, like adding a new third-party SDK or modifying your Info.plist file, you’ll still have to go through the traditional App Store release process.
Managing Deployments and Pushing Your First Update
With the SDK installed in your app, your next stop is the CodePushGo dashboard. This is where you’ll create your app and get your unique deployment keys. You’ll typically have at least two: Staging and Production. These keys are what tell the SDK which update channel to listen to—Staging for your internal test builds, and Production for the version everyone has from the App Store.
Pushing an update is surprisingly easy. From your terminal, you’ll use the CodePushGo CLI to run a single command. This command bundles up your JavaScript and sends it to the service, pointing it at one of your deployment keys.
The real power here is speed. Let’s say you discover a bug that’s crashing the app for 50% of your users. With CodePushGo, you can code a fix, push the update, and have it live on your users’ devices in less than an hour. That’s a massive win compared to waiting on the App Store.
A solid workflow is to always push your changes to the Staging environment first. Let your QA team test it on a real device. Once they give the green light, you can promote that exact, tested bundle over to Production. This two-step process helps ensure you’re not introducing new problems and that the update experience is smooth for your entire user base.
While this guide is focused on iOS, the core concepts are nearly identical for Android. You can learn more about the specifics in this guide to OTA updates for Android.
Common iPhone App Development Questions
As you start your journey into building apps, a few key questions always come up. It’s totally normal. Diving into iPhone app development means getting your head around costs, hardware needs, and which tools are right for the job. Let’s walk through some of the most common hurdles developers face when they’re ready to build something new.
How Much Does It Cost to Develop an iPhone App?
This is the million-dollar question—or at least, it can feel that way. The honest answer is that the cost can swing wildly. A simple app with just a handful of screens and basic functions might only run you a few thousand dollars, especially if you have a tight, efficient process.
But for a more complex app—think custom backends, user accounts, and sophisticated features—the budget can easily climb past $100,000. This is where a framework like React Native really shines as a cost-saver. Sharing a huge chunk of your code between iOS and Android slashes development hours.
Remember to factor in the ongoing costs, too. There’s the annual $99 Apple Developer Program fee, server hosting, and regular maintenance. If you’re building a team, figuring out how to successfully hire remote developers is another crucial piece of managing your budget effectively.
Can I Develop an iPhone App on a Windows PC?
In short, not directly. To actually build and ship an iPhone app, you have to use Xcode, which is Apple’s main development toolkit. It’s the only way to compile your code, sign it with an official certificate, and push it to the App Store—and Xcode only runs on macOS.
You can absolutely write all your React Native JavaScript code on a Windows machine. That part is no problem. The roadblock comes when it’s time to create the final iOS build. To solve this, many developers use cloud-based Mac services that let you “rent” a Mac in the cloud. Having access to a macOS environment, one way or another, is absolutely essential for those final steps.
What Is the Difference Between React Native and Native iOS?
When we talk about Native iOS, we’re talking about building an app using Apple’s own languages, Swift or Objective-C. This route gives you unparalleled performance and day-one access to the newest iOS features right when they’re announced. For apps where every millisecond of performance counts, this is the way to go.
React Native, on the other hand, is a cross-platform framework that uses JavaScript. Its killer feature is code reusability. You write the code once, and it runs on both iOS and Android, which can save an incredible amount of time and money.
So what’s the catch? You might notice a slight performance dip in really intensive apps, like high-end games or heavy-duty photo editors. There can also be a little lag before brand-new iOS features are fully supported by the React Native community. No matter which path you choose, data security is paramount; learning to implement end-to-end encryption is a non-negotiable skill for any serious mobile developer.
Ready to speed up your development and push updates without the App Store delay? With CodePushGo, you can ship bug fixes and new features instantly. Get started with CodePushGo today!


