
Getting started with React Native really just boils down to a few key things: setting up your development machine with Node.js, grabbing platform-specific tools like Xcode or Android Studio, and then using the React Native CLI to spin up and run your first app. The whole point is to build for both iOS and Android from a single JavaScript codebase, and you can honestly get the initial setup knocked out in just a few hours.
Why Choose React Native for Your Next Project
Before we jump into the command line, it’s worth taking a moment to appreciate why so many developers lean on React Native. Its core appeal is much deeper than just “write once, run anywhere.” The real magic is in the efficiency, performance, and the massive ecosystem that supports developers and businesses.
At its core, React Native lets you build apps that feel genuinely native because they are using native UI building blocks. This isn’t a web app crammed into a mobile wrapper. You’re using JavaScript to assemble real, platform-specific UI components, which results in a snappy, high-performance experience that’s almost impossible to tell apart from an app built in Swift or Kotlin.
The Power of a Unified Codebase
The most celebrated benefit is, without a doubt, code sharing. Since its launch by Facebook back in 2015, React Native has consistently allowed teams to share between 70–85% of their codebase across both iOS and Android. That’s a game-changer. It slashes development time and cost, which is perfect for startups pushing for an MVP or larger companies trying to unify their mobile strategy. Its reach is huge, with over 25,000 companies using it globally. You can dig into more stats and see its market impact over on tms-outsource.com.
This unified approach also simplifies life down the road. Bug fixes and new features can often be implemented once and rolled out to both app stores, which is a huge boost for team productivity.
Key Takeaway: The real win with React Native isn’t just speed. It’s about delivering a consistent user experience on every device while managing a single source of truth for your app’s core logic.
A Vibrant Ecosystem and Strong Backing
React Native is far more than just a framework; it’s a massive, active community backed by giants like Meta and Microsoft. This support guarantees that the framework is always evolving, getting regular updates, and is here to stay. The community itself is a force, contributing thousands of open-source libraries that handle everything from complex navigation to state management, so you’re not constantly reinventing the wheel.
Just think about what this ecosystem gives you:
- Massive Library of Tools: You have access to a huge collection of pre-built components that can save you hundreds of development hours.
- Community Support: If you get stuck, it’s almost certain someone else has faced the same issue and posted a solution.
- Proven by Industry Leaders: Major players like Instagram, Tesla, and Shopify have bet on React Native, which speaks volumes about its ability to scale and perform under pressure.
Configuring Your Development Environment
Every great app starts with a solid foundation, and that begins with setting up your development environment. Before you write a single line of code, you need to get your machine—whether it’s a macOS or Windows rig—kitted out with the right set of tools. This isn’t just a one-click install; it’s about assembling a collection of software that all works together seamlessly.
Think of it as building your workshop. You need your core power tools, your specialized equipment for different materials, and a way to manage it all. In the software world, this is your tech stack. If you’re new to the term, it’s worth taking a moment for understanding the concept of a tech stack—it’s essentially the combination of technologies you use to build and run an application. For React Native, our stack will include Node.js, platform-specific SDKs, and a command-line interface.
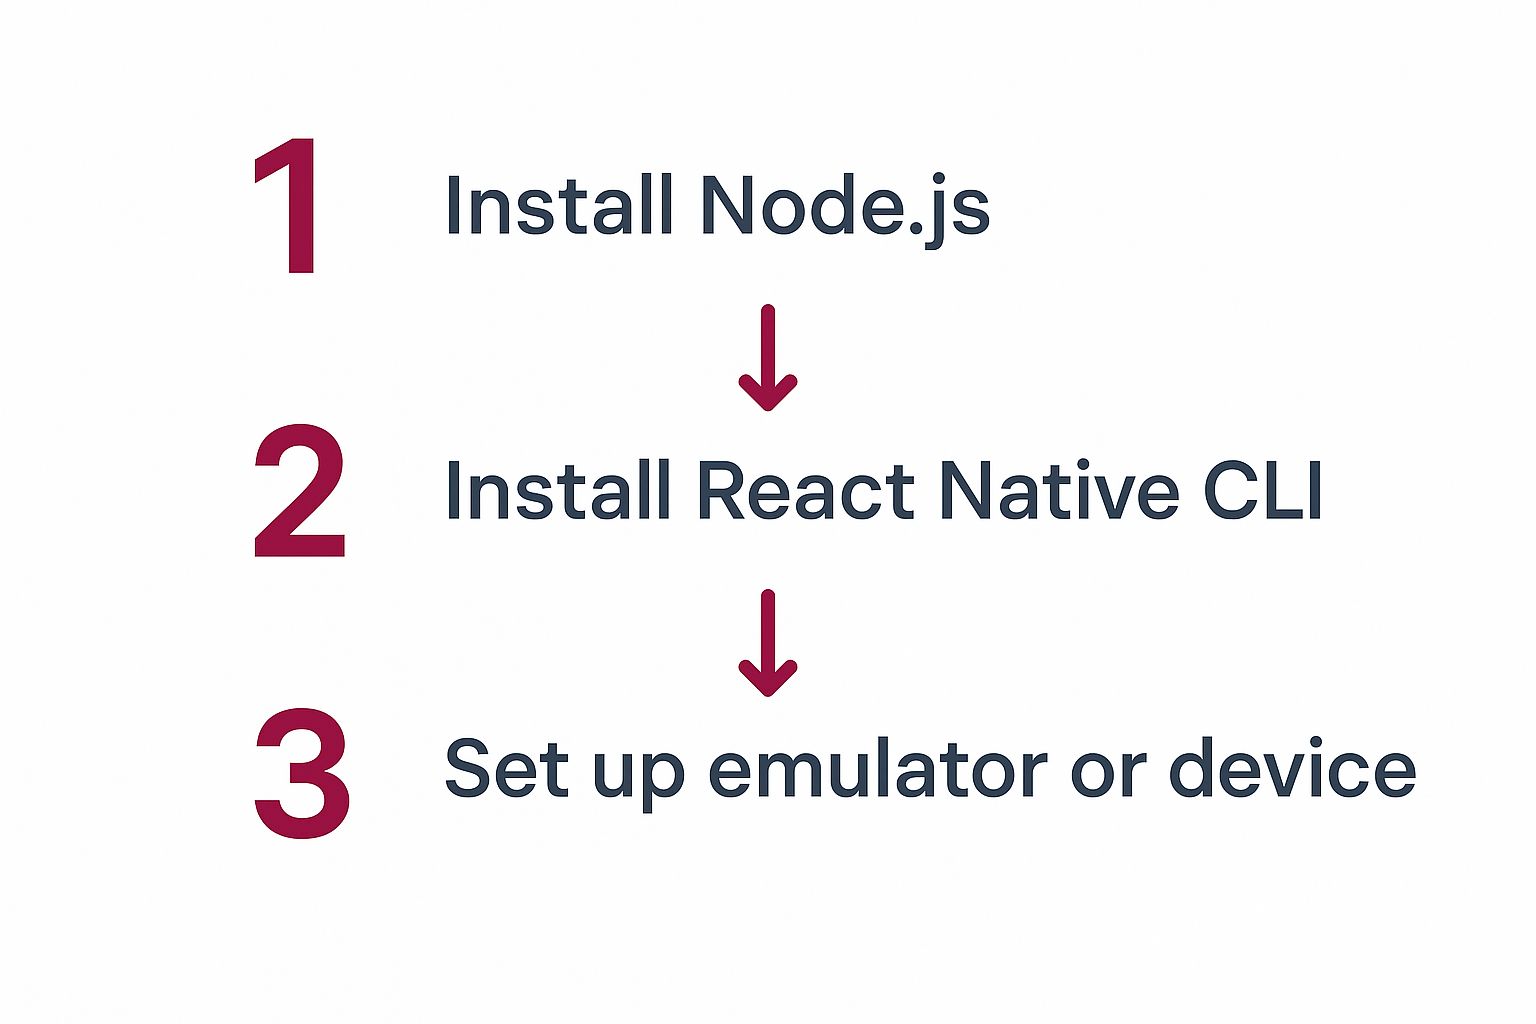
The whole process is a logical sequence, as you can see here. Each piece builds on the last, from the core runtime all the way to the mobile emulators you’ll use for testing.
Let’s break down exactly what you need to install.
Installing Core Dependencies
First on the list is Node.js. This is the JavaScript runtime that will execute and bundle all your app’s code. I strongly recommend using a version manager like nvm (Node Version Manager) to install it. It saves a ton of headaches later by letting you easily switch between different Node versions for different projects.
If you’re on a Mac, you’ll also need Watchman. It’s a handy tool from Facebook that watches your project files for changes. When you save a file, Watchman spots it instantly and triggers a rebuild of your app. This is the magic behind the fast refresh feature you’ll quickly learn to love.
With those two in place, the final core piece is the React Native Command Line Interface (CLI). This is the global tool you’ll use to create new projects, run the bundler, and link native dependencies.
Here’s a quick checklist to get you started:
- Node.js LTS Version: Always go for the Long-Term Support (LTS) version. It’s the most stable release, which is exactly what you want.
- Watchman (macOS): The easiest way to get this is with Homebrew. Just run
brew install watchman. - React Native CLI: Install it globally with this command:
npm install -g react-native-cli.
Take your time with this setup. Getting your environment right from the start is a one-time investment that will save you from countless hours of frustrating debugging over path errors and dependency conflicts down the road.
Platform-Specific SDKs
With the core JavaScript tools ready, it’s time to set up the native environments for iOS and Android. Honestly, this is where most newcomers hit their first snag, but if you follow a clear plan, it’s perfectly manageable.
For iOS development, you absolutely need Xcode, which is only available on macOS. It’s a big download from the Mac App Store, but it includes everything: the iOS Simulator, all the compilers, and the necessary build tools.
For Android, you’ll need Android Studio. This IDE comes bundled with the Android SDK, platform tools, and the Android Virtual Device (AVD) Manager, which you’ll use to create and manage your emulators.
Be prepared for these downloads to take a while—both Xcode and Android Studio are massive. Once they’re installed, one of the most critical steps is correctly configuring your PATH environment variables. This lets the React Native CLI find the native build tools. Skip this, and you’re guaranteed to see SDK not found errors.
As you’re getting your environment ready, it’s also the perfect time to start thinking about security. For a great overview, check out our guide on 8 essential app security standards for 2025. By the time you’re done here, your machine will be a fully equipped mobile development powerhouse.
Building and Launching Your First App
Alright, with the setup out of the way, we get to the fun part—actually creating something you can see and touch. This is where all that configuration work pays off and you get to build your first real mobile app. The React Native CLI is your best friend here, as it handles all the tedious boilerplate and lets you jump straight into coding.
First, pop open your terminal. Navigate to whatever directory you like to store your projects in, and then run this one simple command.
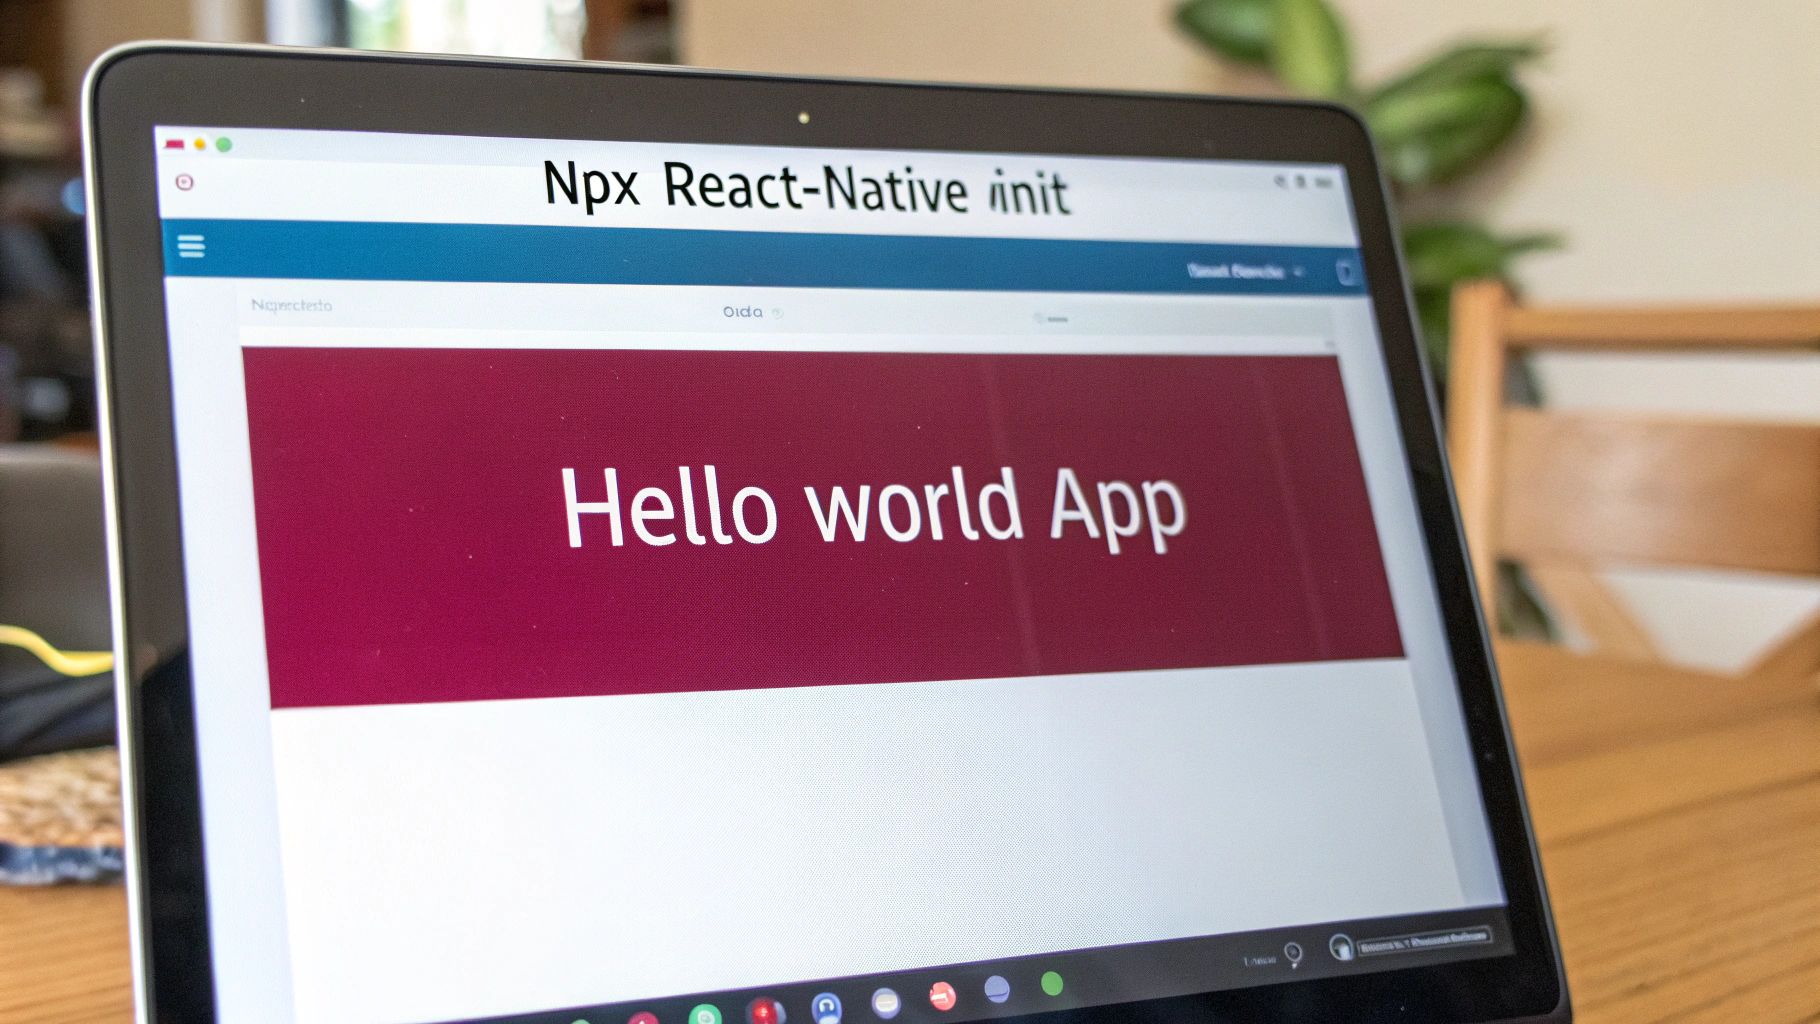
npx react-native@latest init MyFirstApp
This command is doing a lot of heavy lifting. It’s grabbing a standard project template, generating the native project files for both iOS and Android, and pulling in all the initial dependencies you need to get started. After a few moments, you’ll have a brand new folder called MyFirstApp ready to go.
A Quick Tour of the Project Structure
Before you fire up the app, let’s take a peek inside that new directory. It can look a bit overwhelming at first glance, but you really only need to focus on a couple of key files to begin with.
App.tsx: This is the main event. It’s the root component that appears when your app launches, and it’s the first file you’ll want to start editing.index.js: Think of this as the entry point. Its job is to register yourAppcomponent with React Native so the native side knows what to load.ios/andandroid/folders: These contain the native Xcode and Android Studio projects. You won’t spend much time here initially, but it’s good to know where they are for when you need to tweak platform-specific settings down the road.
A Quick Tip from Experience: Don’t let the
ios/andandroid/folders scare you. You’ll rarely touch them when you’re just starting out, but just knowing they exist is crucial. This is what gives React Native its power—it’s not a web app in a box, but a genuine bridge to the native platform.
As you start working more with React Native, you’ll rely on a handful of CLI commands over and over. Here’s a quick reference table to keep handy.
Essential React Native CLI Commands
| Command | Description |
|---|---|
npx react-native@latest init <ProjectName> | Creates a new React Native project with the latest version. |
npx react-native start | Starts the Metro bundler, which serves your JavaScript code. |
npx react-native run-ios | Builds and runs the app on an iOS Simulator (macOS only). |
npx react-native run-android | Builds and runs the app on an Android Emulator. |
These four commands are the bedrock of local React Native development. You’ll find yourself typing them without even thinking after a while.
Firing Up the App on a Simulator
Time to see your app in action. For this part, you’ll need two terminal windows open. In the first one, cd into your project folder (cd MyFirstApp) and kick off the Metro bundler.
npx react-native start
Metro is the magic that compiles all your JavaScript and assets into a format the native app can understand. Just leave this terminal running in the background.
Now, in your second terminal (also inside the project folder), you can launch the app on your platform of choice.
- For iOS (macOS only):
npx react-native run-ios - For Android:
npx react-native run-android
The very first build can take a few minutes as it compiles all the native code. Don’t worry, subsequent launches are much, much faster. If everything went smoothly, the default React Native welcome screen should pop up in your simulator.
Making Your First Edit
Let’s put your own stamp on it. Open the App.tsx file in your favorite code editor, hunt down the default welcome text, and change it to something classic like “Hello, World!”.
Now, just save the file.
Almost instantly, you’ll see the magic of Fast Refresh. The app on your simulator updates on the fly without needing a full restart, keeping its current state intact. This incredibly tight feedback loop is what makes developing in React Native so productive and, frankly, so enjoyable. This simple change is your first step, and as you get more comfortable, you can start building apps with React Native that have much more complex and interesting user interfaces.
Getting to Grips with Core Components and Styling
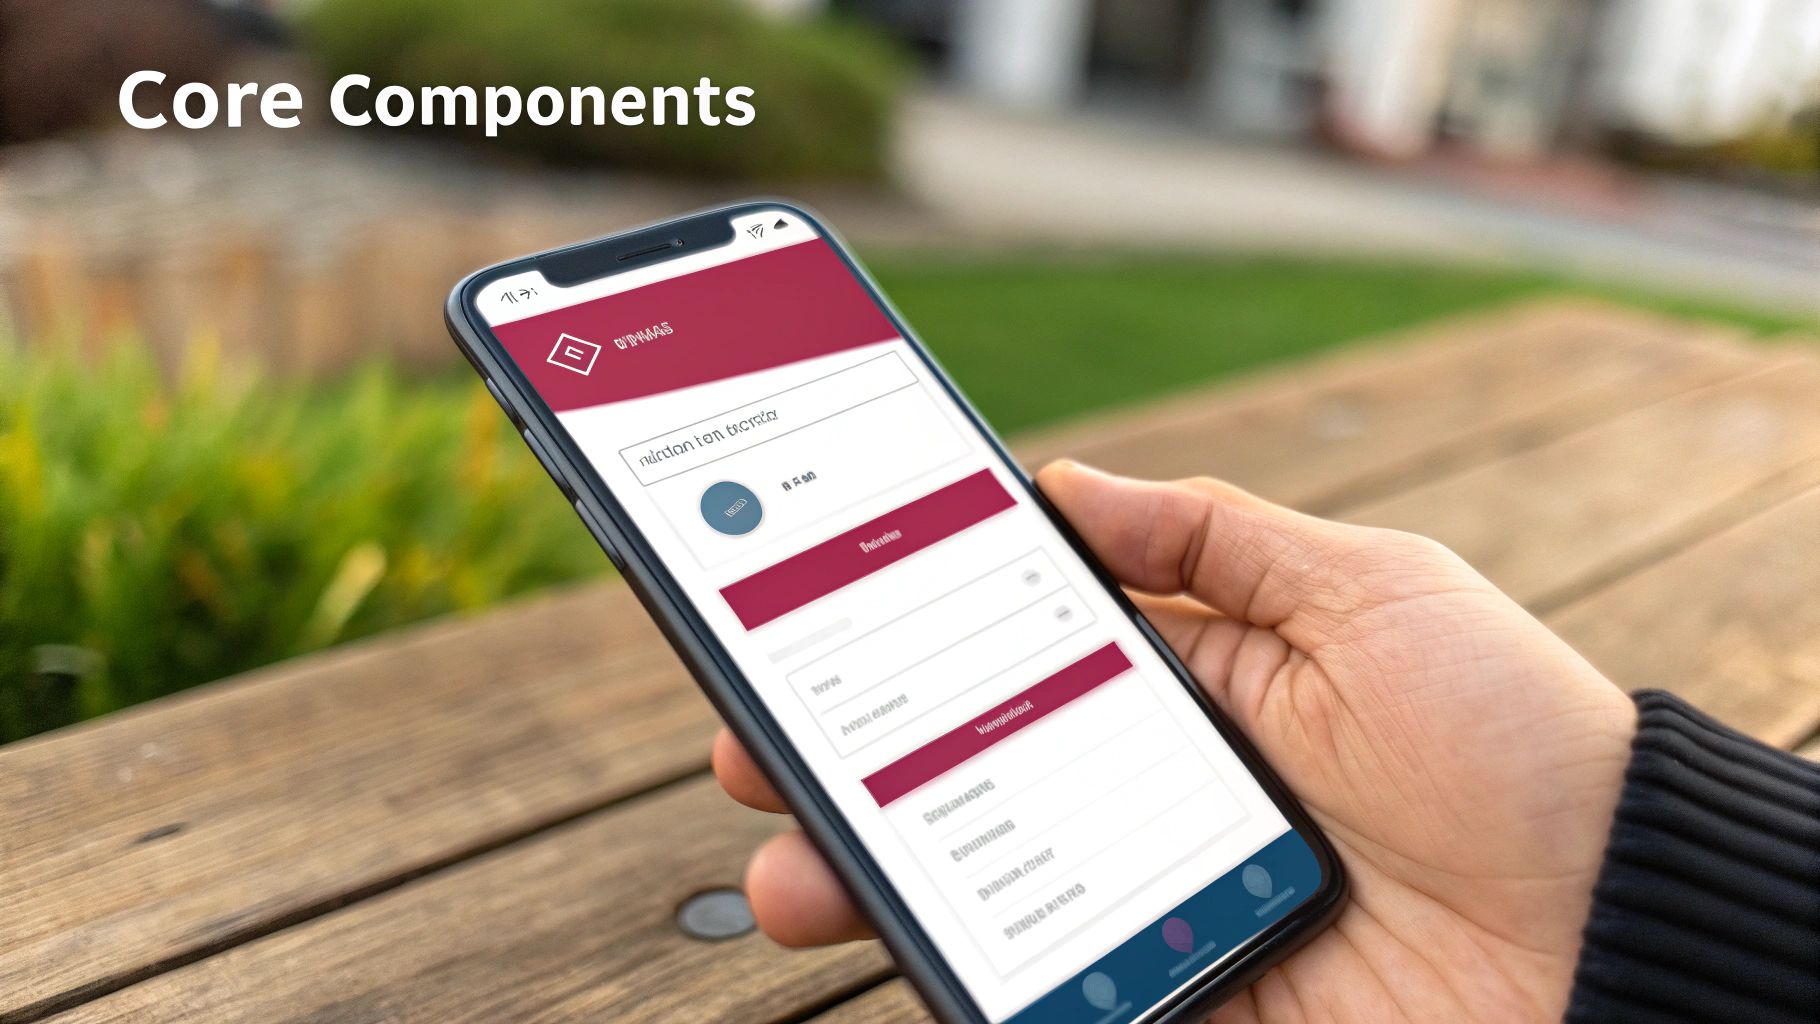
Alright, you’ve got a running app. Now for the fun part: making it look like something you’d actually want to use. In React Native, everything you see on the screen is built from a set of fundamental pieces called Core Components.
Don’t think of these as simple HTML tags. They’re much smarter. These are pre-built components that React Native cleverly translates into the actual native UI elements for iOS and Android.
This translation is what makes React Native special. When you use a <Text> component, for example, it doesn’t render a web-based <span>. Instead, it becomes a native UILabel on an iPhone or a TextView on an Android device. This is the secret sauce that makes React Native apps feel so fluid and platform-authentic.
Your Essential Building Blocks
Think of these components as your toolkit. With just a few key pieces, you can construct almost any interface you can dream up. If you’re just starting out, you’ll find yourself reaching for these four constantly:
<View>: This is your workhorse. It’s the most basic container for building a UI, supporting layouts with Flexbox, styling, and touch controls. You’ll nestViews inside otherViews to create complex screen structures.<Text>: Pretty self-explanatory—this is for displaying text. Any string of text you want users to see has to be wrapped inside a<Text>component.<Image>: Need to show a picture? This is your component. It handles everything from local images bundled with your app to pictures fetched from a network URL.<ScrollView>: When you have content that might spill off the screen, this generic scrolling container is the perfect solution. It can hold multiple components and views, allowing the user to scroll through them.
Mastering how these components interact is one of the most important first steps you’ll take. They’re the foundation for everything that follows.
Arranging Your Layouts with Flexbox
So, how do you position these components on the screen? React Native uses Flexbox, a powerful and intuitive layout model that makes it easy to arrange elements consistently across various screen sizes. If you’ve done any modern web development, you’ll feel right at home here.
Flexbox in React Native is nearly identical to its CSS counterpart, with just a couple of small quirks. You’ll primarily rely on properties like flexDirection, justifyContent, and alignItems to control how items are positioned and spaced within their parent container.
One key difference to keep in mind:
flexDirectiondefaults tocolumnin React Native, while it defaults torowon the web. This is a practical choice, given that mobile screens are naturally portrait-oriented.
Applying Styles with StyleSheet
To bring your components to life with colors, fonts, and spacing, you’ll turn to the StyleSheet API. This is the recommended way to define styles in a highly optimized manner. Instead of littering your components with inline styles, you create a dedicated stylesheet object using StyleSheet.create.
This method has a couple of major upsides. First, it separates your styling logic from your component’s structure, which makes your code much cleaner and easier to read. More importantly, it sends the style definitions over the native bridge just once, which can give you a nice performance boost.
As your app grows, managing styles efficiently is non-negotiable for a smooth user experience. A well-organized styling system is also a key part of a healthy development pipeline, a topic we dive into in our guide to React Native continuous integration. When you combine these core concepts, you have everything you need to build truly beautiful and performant mobile apps.
Deploying Instant Updates with CodePushGo
One of the biggest wins when using React Native is the power to push updates to your users without getting stuck in the app store review cycle. This is what we call Over-the-Air (OTA) updates, and it’s a lifesaver. Instead of waiting days for approval, you can fix bugs or roll out small features in minutes. This is exactly what a tool like CodePushGo is built for.
Think of CodePushGo as a direct line to your app on a user’s device. It’s an open-source service that lets you send JavaScript and image updates straight to them. For any team trying to move fast, this is huge. It means you can iterate quickly and squash bugs almost as soon as they’re found.
Getting CodePushGo into Your App
The setup is refreshingly simple. First things first, you’ll need a free account on the CodePushGo platform. From there, you’ll install their command-line tool, which becomes your mission control for managing releases.
With your account ready, it’s time to add the React Native SDK to the project we’ve been building. It’s just one package installation away.
npm install --save react-native-code-push-go
Once that’s installed, the key step is to wrap your root component with the CodePushGo higher-order component. You’ll do this in your App.tsx file (or wherever your main component lives). This wrapper is smart; it handles all the heavy lifting of checking for updates and deciding when to apply them, like on app start or when it comes back from the background.
If you want to get into the nitty-gritty of different deployment strategies, check out this fantastic guide to deploying React Native apps with CodePushGo.
Pushing Your First Live Update
Let’s walk through a real-world example. You just shipped your app, but—oops—you spot a typo on the welcome screen. Normally, this would mean a whole new build and review process. Not with CodePushGo.
Here’s how you’d handle it:
- Tweak the Code: Jump into
App.tsxand fix the text. Maybe change “Hello, World!” to “Welcome to My Awesome App!” - Release the Fix: Pop open your terminal and use the CodePushGo CLI. You’ll release this small change to a specific deployment you’ve set up, like “Staging” or “Production.”
- Watch it Work: The next time a user opens your app, the SDK will quietly check for this new release. It downloads the tiny bundle with just your text change and applies it on the fly. Just like that, the user sees the correct message, no app store update required.
This kind of instant feedback loop is incredibly powerful. It empowers your team to be more responsive, maintain a higher-quality app, and ultimately keep users happy.
This speed isn’t just a convenience; it’s a major cost-saver. Industry estimates suggest that using React Native can cut app development costs by up to 40% over traditional native development, largely thanks to code reuse and efficient tools like OTA updates. Its popularity is undeniable, with about 14.5% of professional developers using React Native as of 2025. You can dig into more React Native cost-benefit statistics on esparkinfo.com.
Frequently Asked Questions from New React Native Devs
Jumping into any new technology brings a wave of questions. If you’re just getting started with React Native, you’re in good company. Many developers before you have asked these same things, and getting clear answers can be the difference between a frustrating afternoon and a productive one.
One of the first things people ask is, “Do I really need to know native iOS or Android development?” The short answer is no, not at first. You can build some incredibly complex and feature-rich apps using only your JavaScript and React skills. The whole point of the framework is to handle most of that native complexity for you.
That said, as you get more advanced, having some basic familiarity with Xcode and Android Studio becomes a lifesaver. It’s super helpful for debugging tricky issues, configuring permissions, or when you need to pull in a native library that doesn’t have an automatic linking script.
Is React Native Still a Good Choice?
Another common question I hear revolves around the framework’s future. With all the new cross-platform tools popping up, is React Native still a solid bet? Absolutely.
React Native remains a dominant force, holding an estimated 42% market share in the cross-platform world for 2025. While you might hear about competitors like Kotlin Multiplatform, the React Native ecosystem is mature, massive, and supported by a huge community. The global market for React Native app development was valued at around USD 325 million in 2024, and it’s still growing. For a deeper look at the numbers, you can see how React Native stacks up against emerging frameworks on metadesignsolutions.com.
A Note From Experience: Don’t mistake performance benchmarks for real-world value. While some frameworks might claim a slight edge in raw speed for certain niche tasks, React Native’s development velocity, vast library support, and features like OTA updates often provide a much bigger win for the business overall.
What About Performance and Debugging?
Performance is a big one. Newcomers often worry if their app will feel as smooth as a truly native one. In most cases, the answer is a resounding yes. For the vast majority of applications, the performance is so close to native that your users will never know the difference. The framework actually translates your components into genuine native UI elements, which is why it feels so responsive.
You might see a difference in highly intensive apps, like those with complex 3D animations or heavy data processing on the UI thread. But even then, the community has built tons of libraries and best practices to optimize those exact scenarios.
Here are a few other rapid-fire questions we see all the time:
- How should I handle state management? When you’re starting out, React’s own tools like
useStateanduseContextare perfect. As your app grows, you’ll likely want to reach for something more robust like Redux Toolkit or Zustand. - What’s the deal with app analytics? Tracking user behavior is non-negotiable for improving your app. Integrating analytics tools is a standard part of the process. We actually wrote a detailed guide on implementing analytics for React Native applications that you might find useful.
- How do I debug my app effectively? You can use your browser’s dev tools for basic JavaScript debugging, but honestly, the community has pretty much standardized on tools like Flipper. It lets you inspect layouts, network requests, and device logs in a much more powerful way.
Ready to ship updates and fix bugs in minutes, not days? CodePushGo gives you the power of Over-the-Air (OTA) updates for your React Native apps, letting you bypass the slow app store review process. Take control of your release cycle and deliver a flawless user experience by visiting https://codepushgo.com.


