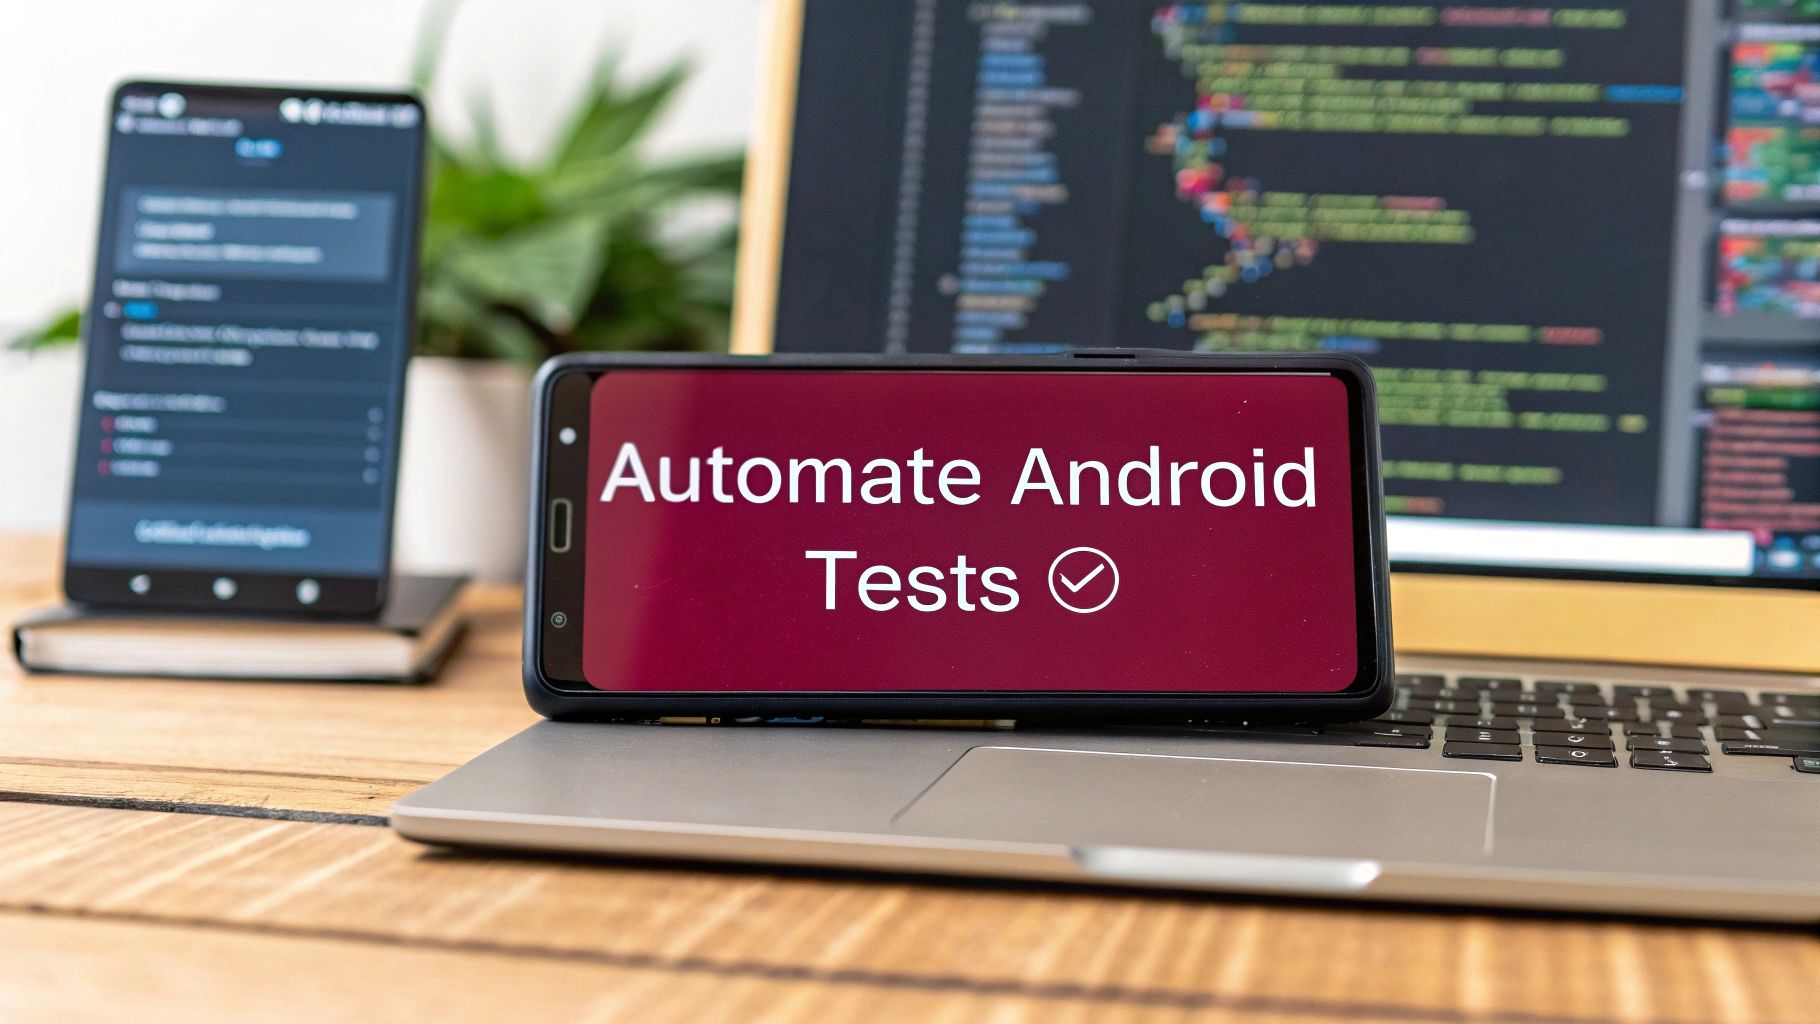
Automating your Android testing is all about handing off the repetitive, time-consuming tasks to scripts that can run on their own. Instead of a human manually tapping through the same test cases over and over, you write a test once and run it a thousand times. This simple shift helps development teams blast through complex test suites, catch bugs much earlier, and ultimately build better, more reliable apps faster.
Why Automating Android Tests Is No Longer Optional
Trying to rely only on manual testing for a modern Android app just doesn’t work anymore. Think about it—the sheer number of devices, screen sizes, and OS versions out there creates a massive testing matrix. It’s practically impossible for a human team to cover all those combinations thoroughly.
Manual checks are slow, but that’s not even the biggest problem. They’re also susceptible to human error and create huge bottlenecks in your development process. Every time you want to ship a small update, you’re looking at a full regression test that can take days. While your QA team is bogged down with these repetitive checks, your developers are stuck waiting for feedback, and your users are left waiting for the new features you promised.
The Business Case for Automation
Moving to automation isn’t just a technical decision; it’s a strategic one that directly impacts your bottom line. The numbers speak for themselves. The global automation testing market was valued at USD 35.52 billion in 2024 and is expected to explode to USD 169.33 billion by 2034. You can dig deeper into these trends in this comprehensive research from Precedence Research.
This explosive growth signals a major shift in how successful apps are built. Companies that embrace automation are seeing real, tangible benefits:
- Faster Feedback Loops: Developers find out if their latest commit broke the build in minutes, not days.
- Increased Test Coverage: Automated scripts can tirelessly check obscure edge cases and device combinations that a manual tester would likely miss.
- Improved App Stability: Catching more bugs before they hit the Play Store means higher app ratings, better reviews, and happier users who stick around.
To truly understand the difference, let’s compare the two approaches side-by-side.
Manual vs Automated Testing A Practical Comparison
This table contrasts the real-world impact of manual and automated testing across key development metrics, illustrating the clear advantages of automation.
| Metric | Manual Testing Approach | Automated Testing Approach |
|---|---|---|
| Speed & Efficiency | Slow, labor-intensive. A full regression can take days, blocking releases. | Extremely fast. Full test suites run in minutes or hours, enabling continuous delivery. |
| Accuracy & Reliability | Prone to human error, inconsistency, and missed steps, especially with repetitive tasks. | Highly consistent and reliable. Scripts execute precisely the same way every single time. |
| Test Coverage | Limited by time and resources. Often focuses on “happy path” scenarios. | Extensive. Can easily cover a wide range of devices, OS versions, and complex edge cases. |
| Cost Over Time | High ongoing cost due to salaries and the time spent on repetitive regression testing. | Higher initial setup cost, but significantly lower long-term operational costs. |
| Developer Productivity | Developers wait for long feedback cycles, leading to context switching and delays. | Developers get near-instant feedback, allowing them to fix bugs immediately and move on. |
The takeaway here is clear: while manual testing will always have a place for exploratory and usability testing, automation is the key to scaling quality.
By automating the tedious work, you free up your team to focus on what humans do best: exploratory testing, improving the user experience, and building innovative features. It’s a fundamental shift from a reactive “bug-hunting” mindset to a proactive one focused on building quality from the start.
Choosing the Right Android Test Automation Framework
When you’re ready to get serious about automating your Android testing, the first major decision is picking your toolset. This choice sets the stage for everything that follows, directly shaping how fast, reliable, and comprehensive your tests will be. While there are plenty of options out there, for most of us, the conversation starts with Google’s native frameworks: Espresso and UI Automator.
The trick is to stop thinking about which one is “better” and start asking which one is the right tool for the job at hand. I like to think of them as specialized tools. Espresso is your precision instrument, perfect for detailed work inside your app. UI Automator, on the other hand, is your all-purpose tool for tasks that involve the Android system or other applications.
The push for test automation isn’t just a trend; it’s a massive industry shift. The automated software testing market hit a value of USD 84.71 billion in 2024 and is expected to climb to USD 284.73 billion by 2032, according to a detailed market analysis from Intel Market Research. This boom is fueled by the need for speed and reliability that comes with modern Agile and CI/CD pipelines.
Espresso for In-App Workflows
Espresso really shines when you need to test UI flows within your own application. It runs in the same process as your app, giving it direct access to UI components and activities. This intimate connection makes the tests incredibly fast and stable.
One of its best features is how it automatically syncs with the UI thread, which practically eliminates the flaky tests that come from bad timing—no more guesswork with sleep() commands.
You’ll want to reach for Espresso when you need to validate things like:
- A user’s journey through a login and onboarding flow.
- The entire shopping cart process, from adding an item to completing the checkout.
- Complex form submissions and all the validation logic that goes with them.
UI Automator for Cross-App and System Interactions
Now, what if your test needs to leave your app? That’s where UI Automator comes in. It operates at a higher, system level, which means it can see and interact with things outside your app’s sandbox. Think system notifications, the settings panel, or even other apps on the device.
This capability is crucial for true end-to-end scenarios that reflect how people actually use their phones. For a deeper dive on how these kinds of tests fit into a modern workflow, you can explore our guide on setting up Android continuous integration.
UI Automator is the clear choice for testing scenarios such as:
- Confirming your app triggers a system notification correctly.
- Testing a “share” feature that sends content from your app to another, like a social media platform.
- Workflows that depend on device settings, like turning Wi-Fi or location services on or off.
Framework Selection Guide Espresso vs UI Automator
Choosing between these two often comes down to the specific user journey you’re trying to validate. This table breaks down common scenarios to help you decide which framework to grab from your toolbox.
| Use Case | Recommended Framework | Reasoning |
|---|---|---|
| Testing a multi-step form inside your app | Espresso | It offers fast, reliable checks of UI elements and business logic confined to your application. |
| Verifying an in-app purchase flow | Espresso | Ideal for intricate, single-app workflows. UI tests remain stable and self-contained. |
| Testing a “Share to another app” feature | UI Automator | This requires interacting with the Android system’s share dialog and potentially another application. |
| Checking if a background service triggers a notification | UI Automator | The test needs to interact with the system UI (the notification shade), which is outside the app’s scope. |
| Automating changes to device settings (e.g., toggling Wi-Fi) | UI Automator | Essential for end-to-end tests that require system-level permissions and interactions with the Settings app. |
| Validating RecyclerView or ListView item interactions | Espresso | It provides powerful and concise APIs specifically designed to handle complex list views efficiently. |
Ultimately, a robust testing strategy will often use both frameworks. By combining them, you get the best of both worlds.
The most effective testing strategies often use a combination of both—Espresso for fine-grained, in-app testing and UI Automator for broader, system-level scenarios. This hybrid approach provides comprehensive coverage that ensures a high-quality user experience from start to finish.
Turning Automated Tests Into a CI/CD Quality Gate
Your automated tests really start to shine when they run automatically. Think of them as a gatekeeper for your codebase. By plugging them into a Continuous Integration/Continuous Deployment (CI/CD) pipeline, you transform testing from a manual task into an automated safety net that protects every single merge.
A CI/CD pipeline automates the whole process of building, testing, and deploying your app. When you add your Android tests to this workflow, every code push kicks off a fresh build and a full test run in a clean environment. This gives you immediate, clear feedback on whether the new code is safe to proceed.
It all starts with writing good tests. This is the foundation of the entire quality gate.
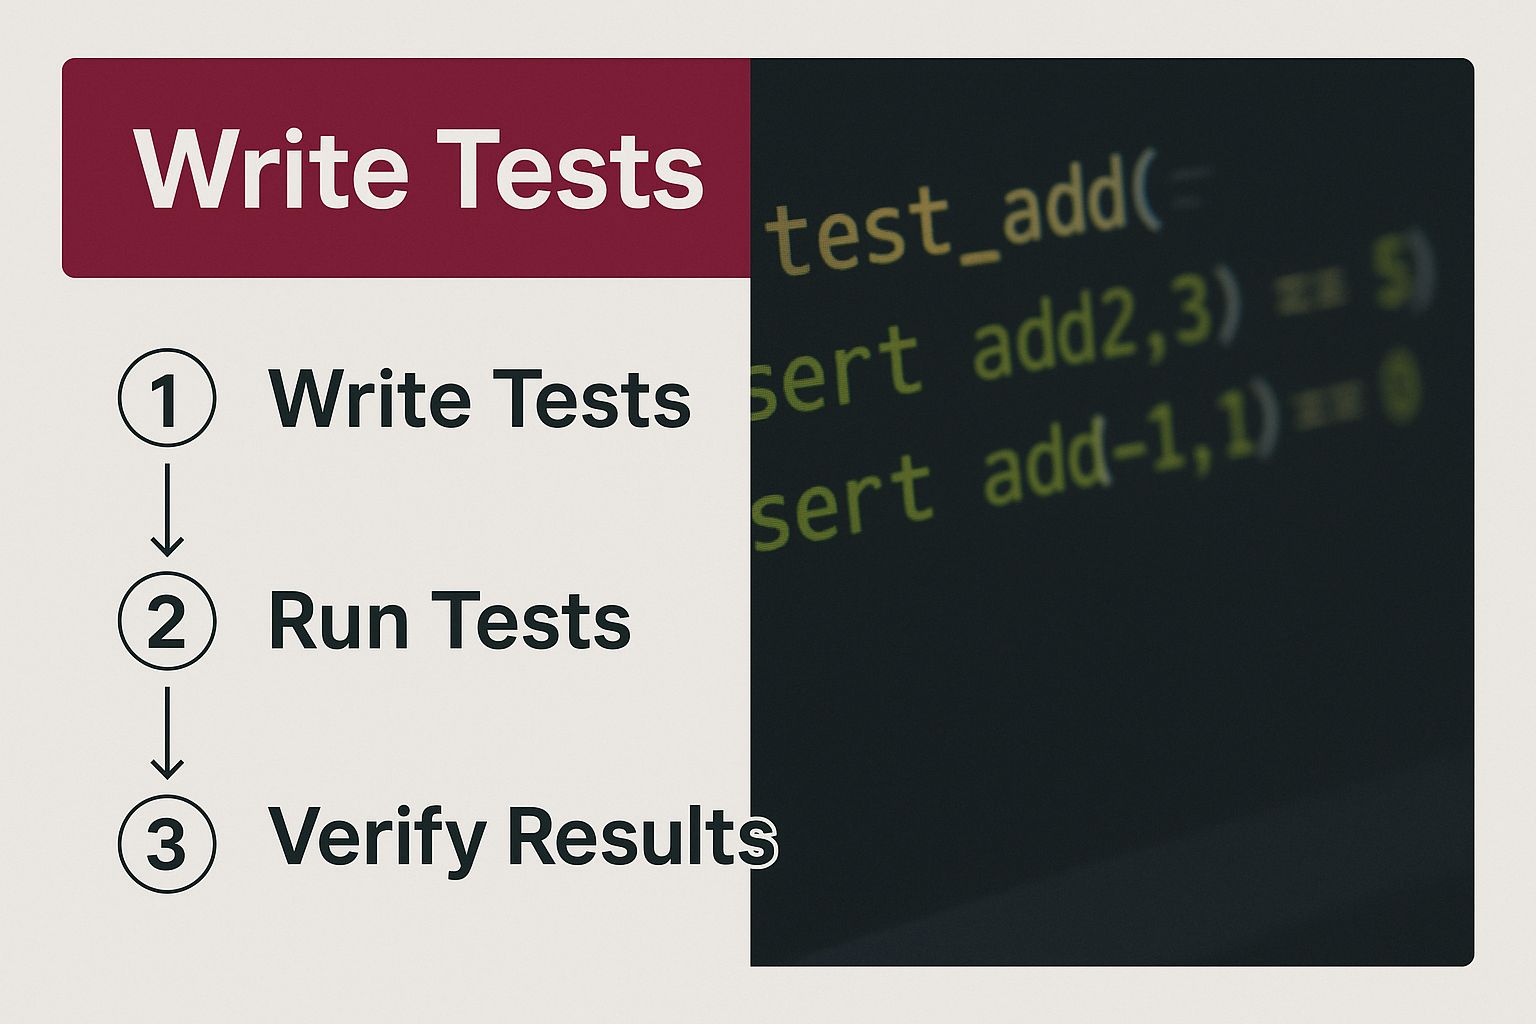
Without solid, well-written tests, even the most sophisticated pipeline won’t provide much value.
Setting Up Your Pipeline
Let’s walk through a common setup using GitHub Actions. Your entire workflow is defined in a YAML file that lives inside your project’s .github/workflows directory. This file is the instruction manual that tells GitHub what to do and when.
Typically, you’ll trigger the workflow whenever someone pushes to your main branch or creates a pull request for it. This simple rule ensures that no new code gets merged until it passes all your checks.
A core principle here is to fail the build on any test failure. A red build is an unmistakable signal that something’s broken. It stops a buggy commit from ever contaminating your main branch.
The pipeline itself is made up of jobs and steps. For Android testing, the key steps usually look something like this:
- Checkout Code: Grabs the latest version of your repository.
- Set Up Java: You’ll need the Java Development Kit (JDK) to build any Android application.
- Spin Up an Emulator: Your instrumentation tests need a running Android environment to execute.
- Run the Tests: This is typically a single Gradle command, like
./gradlew connectedAndroidTest. - Upload Reports: If a test fails, you need the reports to diagnose the problem.
Adopting this kind of automation makes a huge difference. I’ve seen teams that switch to test automation increase their test coverage by over 50% compared to sticking with manual methods. The data backs this up, showing significant gains in efficiency and quality.
Making Test Results Actionable
The final piece of the puzzle is what you do with the results. When all tests pass, the pipeline shows a satisfying green checkmark. This gives the whole team the confidence to merge the code or push a deployment. Integrating this feedback loop is one of the most impactful software deployment best practices you can implement.
But what happens when tests fail? The build fails. The pipeline then generates test reports, usually in XML or HTML format, which can be saved as artifacts. These reports are goldmines of information, offering detailed stack traces and often even screenshots from the moment of failure. This gives your developers exactly what they need to find and fix the bug fast.
Writing Stable Tests That Don’t Break
A test that breaks every time a developer tweaks the UI isn’t just annoying—it’s useless. To truly automate android testing effectively, you have to build resilience into every single test you write. A flaky test suite grinds your development cycle to a halt and erodes the team’s trust in your automation, which is the exact opposite of what you’re trying to achieve.
The most common culprit behind brittle tests is a weak locator strategy. It’s so tempting to find a button by its display text, like "Log in", but that’s a fragile approach. A simple copy change from “Log in” to “Sign In” will instantly break your test, sending you scrambling to fix something that isn’t actually a bug.
A much better approach is to rely on unique, stable identifiers that aren’t tied to cosmetic details. Whenever possible, your first choice should be the
resource-id. Developers explicitly set these IDs in the layout files, making them far more resilient to UI updates.
Decouple Your Tests from the UI
To take stability a step further, you really should be using the Page Object Model (POM). This design pattern is a genuine game-changer for test maintenance and scalability. Instead of scattering your UI locators and interaction logic across dozens of test scripts, you centralize them into dedicated “page” classes.
Think about it this way: you create a LoginPage.java class. This single class is now responsible for everything on the login screen.
- It holds the locators for the email field, password field, and the submit button.
- It contains clear, reusable methods like
enterEmail(String email)orclickLoginButton().
Your actual test script then becomes incredibly clean and readable. It just calls the methods on the LoginPage object. Now, if the login button’s ID changes, you only have to update it in one place—the LoginPage.java file—not hunt it down across ten different test files. This modularity is a core principle you can read more about in our complete guide on how to test a mobile app.
This separation of concerns makes your test suite cleaner, much easier to maintain, and far more scalable as your app grows. It’s an upfront investment that pays for itself over and over again in saved time and headaches.
Scaling Your Testing with Cloud Device Farms
Sooner or later, you’ll hit a wall testing on just a single emulator. It’s a bit like trying to inspect a skyscraper with a magnifying glass—you’re bound to miss the bigger picture. The reality is, the Android ecosystem is a wild west of different device models, screen sizes, and OS versions. This is where cloud device farms become a game-changer for any serious development team.
Think of platforms like AWS Device Farm or Firebase Test Lab. They give you instant, on-demand access to a huge library of real, physical Android devices. Forget the hassle and cost of buying and maintaining your own hardware. Instead, you can run your existing test suite across dozens of different device configurations in the cloud.
The benefits here are massive. First and foremost, you get a dramatic boost in your test coverage. This helps you catch those frustrating, device-specific bugs—often caused by unique manufacturer customizations—that you’d otherwise never find until an angry user does.
The second major win is parallelism. Imagine running your entire test suite simultaneously across 50 different devices. What used to take hours now takes minutes. This incredible speed is what allows you to maintain a fast, agile development cycle without sacrificing quality.
Integrating with a Cloud Farm
You might think integrating with a cloud farm is complex, but it’s surprisingly straightforward. These platforms are built from the ground up to work with standard Android instrumentation tests.
The process is simple:
- Package your application file (APK).
- Package your test APK.
- Upload both files to the cloud service.
From there, you just pick the devices you want to target from their library and kick off the run. The platform takes care of the rest, giving you back detailed logs, video recordings of the tests, and performance metrics for every single device. This rich feedback makes it much easier to pinpoint exactly what went wrong and where.
To get a deeper look into building out a truly scalable testing workflow, check out our guide on advanced mobile testing automation.
Diving Into Android Test Automation: Your Questions Answered
As you venture into Android test automation, you’re bound to run into a few common roadblocks. Let’s walk through some of the practical questions that pop up for developers working with powerful tools like Espresso and UI Automator.
How Do You Handle Asynchronous Operations in Espresso Tests?
One of the first real challenges you’ll face is dealing with asynchronous operations. Think network requests, database reads, or any background process that doesn’t complete instantly. Trying to test these without the right approach leads to flaky, unreliable tests.
While Espresso is pretty smart—it automatically waits for the UI thread and basic AsyncTask jobs to finish—it can’t predict everything. For anything more complex, you’ll want to lean on Espresso Idling Resources.
By setting up an Idling Resource, you’re giving Espresso a clear signal to pause and wait until your app has finished its background work. This is how you build robust tests that don’t fail just because a network call took a fraction of a second too long.
Using Idling Resources is the professional way to build stable, reliable tests for modern Android apps. It’s a far better practice than peppering your code with fragile
sleep()calls.
Can You Test React Native or Flutter Apps?
Absolutely. Even though Espresso and UI Automator are native Android testing tools, they are still incredibly useful for apps built with cross-platform frameworks.
For these scenarios, UI Automator is generally the better choice. Why? Because it interacts with the final, rendered UI elements on the screen, just like a real user would. It doesn’t care if those UI components originated from native code, React Native, or Flutter; it just sees what’s displayed.
If you’re looking for a deeper dive into different testing approaches, our guide on Android test automation strategies is a great resource.
Ready to stop waiting on app store reviews and ship updates instantly? With CodePushGo, you can deploy bug fixes and new features to your React Native users in minutes, not days. Secure, reliable, and incredibly fast—see how it works at https://codepushgo.com.


