So, you’re ready to dive into React Native. The good news is that getting a project off the ground has become incredibly straightforward. Thanks to frameworks like Expo, you can genuinely go from a blank slate to a running app on your phone in less than 30 minutes. This approach cuts through the traditional setup headaches, letting you jump straight into building, not wrestling with complex native build tools.
Why Bet on React Native for Your Next App?
Before we start installing things, let’s talk about why so many developers and businesses are all-in on React Native. The core idea is simple but incredibly powerful: write your app once with JavaScript and run it on both iOS and Android. A single codebase immediately slashes development time and costs, which is a massive win compared to the old way of building two entirely separate native apps.
But the real magic of React Native isn’t just about saving time. Its adoption by some of the biggest names in tech has created a huge, active ecosystem. When you decide to build with React Native, you’re not just picking a technology—you’re plugging into a global community.
A Thriving Ecosystem and People Who Have Your Back
Picture this: you’re stuck on a tricky camera integration or trying to figure out push notifications. With React Native, odds are someone has already been there, solved it, and shared their solution. The community has churned out thousands of open-source libraries, handy tools, and detailed tutorials for just about any feature you can dream up. This collective brainpower makes finding answers and building faster a daily reality.
The true power of React Native isn’t just in the code itself, but in the massive community behind it. You’re never really alone when you hit a roadblock, and the sheer number of available libraries means you can build complex features without reinventing the wheel every time.
Proven in the Real World, Trusted by the Biggest Players
It’s natural to hear “cross-platform” and wonder about performance. In the early days, that was a valid concern, but modern React Native has come a long way. Thanks to continuous improvements, it now delivers experiences so smooth they’re often indistinguishable from their native counterparts. That level of quality is precisely why it’s trusted by some of the world’s top companies.
In fact, by 2025, React Native commands the cross-platform scene with a 42% market share, staying well ahead of the competition. This isn’t just a fluke. Companies like Meta, Microsoft, Shopify, Tesla, and Walmart have invested heavily in the framework. They use it to power mission-critical apps for millions of users in e-commerce, banking, and even healthcare, proving its chops for building reliable, large-scale applications. If you’re curious, you can explore the full cross-platform development trends to see the data for yourself.
When you choose to learn React Native, you’re investing your time in a skill that is:
- Highly sought-after: Companies are constantly looking for developers who know React Native.
- Built for speed: It helps you and your team build and ship apps faster and more affordably.
- Here to stay: With backing from tech giants and a massive community, it’s a safe bet for the future.
Getting Your Development Environment Ready
Before we can start building, we need to get your computer set up with the right tools. If you’re just getting started with React Native, the list of dependencies can seem a bit intimidating. That’s why we’re going to use the Expo Go workflow. It’s the path the official docs recommend for newcomers, and for good reason.
Expo Go is a framework and toolset that sits on top of React Native, handling a lot of the configuration headaches for you. It lets you write code and see it run on both iOS and Android without having to immediately dive into the complexities of Xcode or Android Studio. This approach dramatically speeds up the time it takes to get a real, working app on your screen.
The main things you’ll need to install are Node.js and the Expo CLI. Node.js provides the JavaScript runtime environment that executes your app’s code on your machine, while the Expo CLI is the command-line tool you’ll use to create and run your projects.
Installing Your Core Tools
First up is Node.js. I always recommend grabbing the Long-Term Support (LTS) version from their official website. It’s the most stable and is what you’ll find used in most professional environments.
With Node.js installed, installing the Expo CLI is just a single command. Open up your terminal (Terminal on a Mac, Command Prompt or PowerShell on Windows) and type this in:
npm install -g expo-cli
This command uses npm—the Node Package Manager that comes bundled with Node.js—to install the Expo command-line tool. The -g flag is key here; it installs the package globally, which means you can run the expo command from any directory on your computer.
Pro Tip: If you’re on a Mac and run into permission errors with the
-gflag, you might be tempted to usesudo. I’d advise against it. A better long-term solution is to use a Node version manager likenvm, which installs Node in a way that doesn’t require administrator privileges for global packages.
Preparing Your Phone
This is where the Expo Go workflow really shines. Instead of dealing with clunky simulators, you can run your app directly on your own phone. It gives you a much better feel for how the app will actually behave.
Getting your device ready is simple:
- For iOS: Head to the App Store, search for “Expo Go,” and install it.
- For Android: Do the same on the Google Play Store—find “Expo Go” and get it installed.
And that’s literally all you have to do. No developer modes, no USB debugging settings (for now), no provisioning profiles. Your phone is now a powerful development device, ready to connect to your computer and run the app.
Later on, as your projects get more complex, you’ll likely explore building standalone apps. That’s when concepts like Android continuous integration come into play to help automate the build and deployment process. But for now, we’ve got everything we need.
With Node.js, the Expo CLI, and the Expo Go app all installed, your machine is officially ready. It’s time to create your first React Native project.
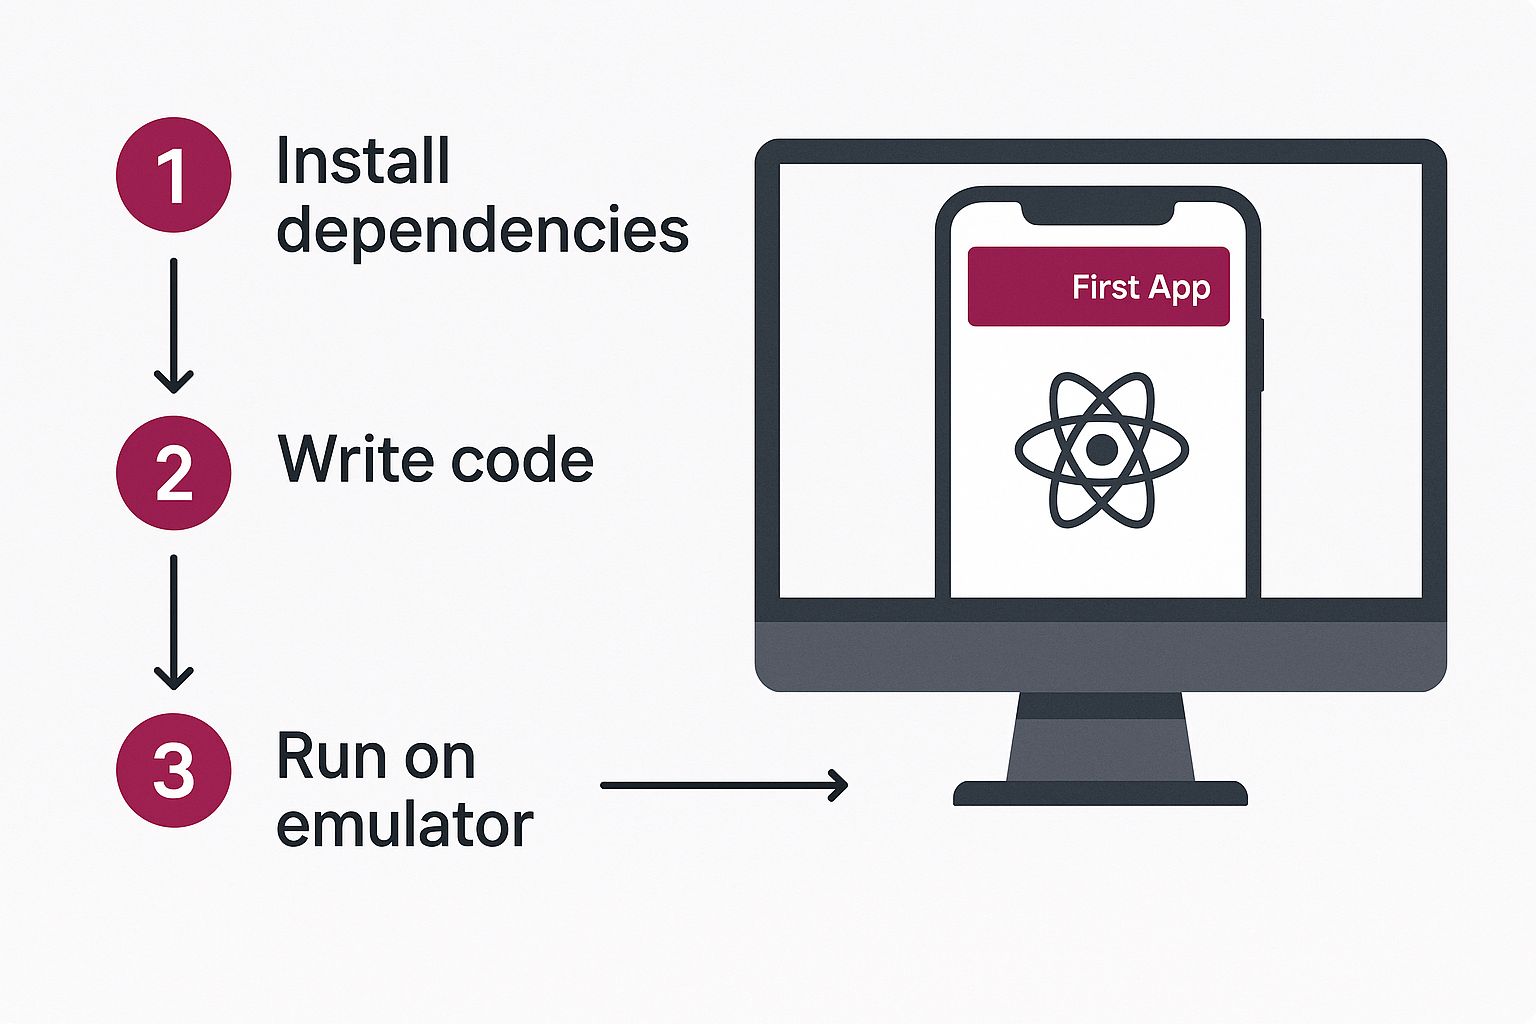
Getting Your First Project Up and Running
Alright, your development environment is all set up. Now for the fun part: creating your very first React Native project.
Thanks to the Expo CLI, kicking off a new project is as simple as running a single command in your terminal. This command does all the heavy lifting for you, setting up a complete, well-organized project structure so you can hit the ground running. It’s not just about creating a bunch of files; it’s about starting with a clean slate that’s ready for you to build on.
To get started, open your terminal and type this command:
npx create-expo-app MyFirstApp
This command uses npx, a package runner that comes with npm, to execute the create-expo-app package. Just swap MyFirstApp with whatever name you want for your project. The CLI will then grab the latest template, install all the required dependencies, and create a brand-new folder with your project’s name.
Once it’s done, you’ll have a blank app that looks something like this when you run it on a device or emulator.
This is your starting point—a blank canvas waiting for you to add your unique components and features.
React Native CLI vs Expo Go Quick Comparison
When you start out, you’ll hear about two main ways to build React Native apps: using the React Native CLI or Expo Go. We’re using Expo in this guide because it’s fantastic for beginners, but it’s good to know the difference. The React Native CLI gives you more fine-grained control and access to native code, while Expo abstracts a lot of that away for a smoother, faster start.
Here’s a quick breakdown to help you understand the two paths:
| Feature | Expo Go | React Native CLI |
|---|---|---|
| Setup | Fast and simple, minimal configuration needed. | More involved; requires installing Xcode and Android Studio. |
| Native Code | Limited access; custom native modules require “ejecting.” | Full access to native iOS and Android code. |
| Ease of Use | Very beginner-friendly with a managed workflow. | Steeper learning curve, but offers more flexibility. |
| Best For | Beginners, rapid prototyping, and apps without complex native needs. | Apps requiring custom native modules, full control, or specific OS features. |
For most new projects, Expo is the perfect starting point. You can always “eject” to a bare workflow later if you find you need the deeper control offered by the React Native CLI.
Finding Your Way Around the Project Structure
Now, navigate into your new project directory (cd MyFirstApp). You’ll see a handful of new files and folders. Don’t let it intimidate you; think of it as a pre-organized toolkit. Let’s walk through the key items you’ll be interacting with the most.
App.js: This is the heart of your application. It’s the very first file that gets loaded and acts as the main entry point for all your app’s screens and components. Right now, it has some boilerplate code that you can start tinkering with immediately.assetsfolder: This is where you’ll keep static files like images, custom fonts, and splash screens. When you need to add a company logo or an icon, you’ll drop it in here and reference it from your code.package.json: This file is your project’s manifest. It keeps a list of all the third-party libraries (your dependencies) and holds the scripts you’ll use to run, test, and build your app. It’s the blueprint for everything your project relies on.
Getting a feel for these core files gives you a mental map of your project. You’ll know exactly where to go to write your main code (
App.js), add images (assets), and manage dependencies (package.json).
The Magic of Writing Code Once
From the moment you create your project, you’re tapping into one of React Native’s most powerful features: code reusability. The code you write in App.js will render and work on both iOS and Android without you having to change a thing. This “write once, run anywhere” philosophy is a massive time-saver.
In my experience, and as developer surveys confirm, teams can achieve 60-80% code reuse across platforms. This can slash development costs by up to 50% compared to building two separate native apps from scratch. This incredible efficiency is a core reason why so many developers and companies are choosing React Native.
As your app grows, you’ll continue this pattern by creating more reusable components and sharing them across different screens. This modular approach, especially when combined with automated build processes, makes development significantly faster and easier to maintain. If you’re interested in taking that to the next level, our guide on setting up CI/CD for React Native is a great next step.
Running Your App on a Phone or Simulator
Alright, you’ve created your first project and have a feel for the file structure. Now for the fun part: seeing your app come to life. This is where the magic really happens and you establish the tight feedback loop that makes React Native development so productive. With Expo, you have two main ways to do this: running it on your own smartphone or using a simulator on your computer.
By far, the easiest and most direct method is to use your phone. It’s incredibly fast, requires zero extra configuration besides installing the Expo Go app, and gives you an immediate, real-world sense of how your app will actually feel in someone’s hands.
To get started, just pop open your terminal, navigate into your new project’s folder, and run this one command:
npx expo start
This command fires up the Metro bundler, which acts as the development server for your React Native application. Once it’s up and running, your terminal will present you with a large QR code.
From there, just open the Camera app on your iPhone (or the Expo Go app directly on Android) and scan that QR code. Your phone connects to the development server over your Wi-Fi, and within seconds, your app loads. The first time you see this work, it feels like a genuine “Aha!” moment.
Using Simulators for Development
Running on a physical device is fantastic for a gut check, but what if you need to test on a specific iOS version or a different Android screen size? That’s where simulators (for iOS) and emulators (for Android) are incredibly useful. These are essentially virtual phones running right on your Mac or PC.
To get them working, you’ll need the official development tools for each platform.
- For iOS: You must be on a Mac and have Xcode installed from the Mac App Store.
- For Android: You’ll need to install Android Studio on your Mac, Windows, or Linux computer.
After you have the development server running (from the npx expo start command), you can launch your app in a simulator just by pressing a key in that same terminal. Press i to open the iOS Simulator or a to open the Android Emulator.
The ability to instantly see your code changes is what makes React Native development feel so fast and fluid. This feature, known as “Fast Refresh,” automatically reloads the app whenever you save a file, creating a near-instant feedback cycle.
This rapid development cycle is a huge reason why so many developers and companies have embraced the framework. React Native’s market presence has grown consistently, solidifying its place as a top non-native framework. Its app store market share jumped from 4.73% in 2022 to 6.75% in 2024, which really highlights its strong position in a crowded field.
As you start building more complex features, this instant feedback becomes absolutely essential. It’s also complemented by powerful tools for updating your app once it’s in the wild. For example, our guide on automatic app updates walks you through how to push fixes and features directly to your users, bypassing the often lengthy app store review process.
Troubleshooting Common Setup Problems
Even with the best instructions, running into a hiccup is just part of the process when you’re getting started react native. Don’t sweat it. Most of the initial problems are well-known, and thankfully, the fixes are usually pretty straightforward. Let’s walk through a few classic roadblocks you might encounter.
A very common one I see is the dreaded expo: command not found error popping up in the terminal. In my experience, 99% of the time this simply means your system’s PATH variable doesn’t include where Node.js was installed. Your terminal is basically saying, “I hear you, but I have no idea where to find the expo-cli tool you just told me to run.”
Another classic snag is a network connection failure. You get the development server running, scan the QR code with the Expo Go app, and… nothing. It just can’t connect. Before you start diving into complex network diagnostics, check one simple thing first: make sure your computer and your phone are connected to the same Wi-Fi network. It sounds obvious, but it catches people out all the time.
Your Secret Weapon: The Developer Menu
Once you get your app up and running, React Native provides an incredibly handy tool for debugging right out of the box: the Developer Menu. To open it, just give your physical device a good shake. If you’re using an emulator, the shortcut is Cmd+D on the iOS Simulator or Cmd+M on the Android Emulator.
The Developer Menu is your command center for debugging. Mastering its basic functions like
ReloadandDebugwill drastically speed up your problem-solving process and save you from hours of guesswork. It’s the one tool I wish I had learned to use on day one.
This little menu is packed with useful options that will become your best friends:
- Reload: A lifesaver for when Fast Refresh gets stuck or you just want a clean start. It manually reloads the entire application.
- Debug: This is the big one. It opens a debugging session right in your web browser’s developer tools, letting you set breakpoints and inspect what’s happening under the hood.
- Performance Monitor: A small overlay that gives you real-time feedback on your app’s memory usage and frame rate. It’s perfect for spotting performance issues before they become major problems.
Getting comfortable with these tools is a fundamental skill that separates a frustrating coding session from a productive one. Building these habits early on will make your entire React Native journey smoother.
As your projects grow, so does the need for robust security. While you’re learning the ropes, it’s also a great time to think about future-proofing your app. For instance, you’ll eventually need to implement end-to-end encryption to protect user data. Tackling troubleshooting and security from day one will pay off big time down the road.
Frequently Asked Questions About React Native
Jumping into React Native for the first time always brings up a flurry of questions. It’s a big world with a lot going on, so feeling a little unsure is completely normal. I’ve put together this FAQ to give you quick, practical answers to the most common things developers ask when they’re just starting out.
We’ve already walked through setting up your machine and getting your first app running. Now, let’s clear up some of those lingering questions so you can keep building with confidence.
Can I Use React Native If I Only Know React for the Web?
Absolutely! This is one of the best things about React Native. If you’ve already got a handle on React’s component-based thinking, state management with hooks like useState and useEffect, and JSX, you’re already about 80% of the way there. Seriously.
The biggest shift is learning the new set of components. You’ll be swapping out your web tags like <div> and <p> for their mobile equivalents provided by React Native itself:
<View>: Think of this as your go-to<div>. It’s the main container for laying out your UI.<Text>: Any time you need to display text, you’ll wrap it in this. It replaces tags like<p>,<h1>, and<span>.<Image>: Pretty straightforward—this is for displaying images, whether they’re local or from the web.<TouchableOpacity>: A simple wrapper that makes any view respond to touches, giving the user that nice, subtle feedback on tap.
All your core application logic, state handling, and component structure will feel right at home. You’re just telling React to paint native UI elements on a phone screen instead of painting HTML in a browser.
Do I Need a Powerful Computer to Start?
Not at all, especially if you stick with the Expo Go workflow we covered earlier. All the really heavy compilation work gets offloaded to Expo’s servers, and the app itself runs on your actual phone. This means pretty much any modern laptop or desktop that can handle a code editor and a web browser is good to go.
Don’t let your machine hold you back. If you’re using Expo Go, you’re not running performance-hungry emulators. Your current Mac, Windows, or Linux computer is almost certainly up to the task.
The need for a beefier machine comes into play later if you decide to go down the React Native CLI path. The iOS Simulator requires a Mac, and the Android Emulator can definitely be a resource hog. But for getting your feet wet, you’re in great shape.
How Do I Add Navigation Between Screens?
No real app lives on a single screen. When you’re ready to build out multiple views and let users move between them, the community standard is a library called React Navigation. It’s a flexible and powerful solution for creating all the common navigation patterns you see in apps, like stacks of screens or bottom tabs.
Once you outgrow a single App.js file, your very next step is almost always installing and setting up React Navigation. Its documentation is excellent, and it’s the established choice for routing in the vast majority of React Native projects.
Finally, once you’ve built something you’re proud of, how do you get it into people’s hands? This involves creating a final build of your app and submitting it to the app stores. For a clear, step-by-step breakdown of that process, our guide on how to publish an app in the App Store will walk you through that final stretch.
Ready to ship updates instantly without waiting for app store reviews? With CodePushGo, you can deploy bug fixes and new features directly to your users’ devices. Take control of your release cycle and deliver a flawless app experience. Get started with CodePushGo today


