
Solid react unit tests are the bedrock of any stable, modern application. They allow you to zero in on individual components, making sure every piece of your UI behaves exactly as intended before it gets tangled up with the rest of the system. Think of it as quality control at the smallest, most manageable level. This proactive approach is a game-changer for preventing bugs, making debugging less of a headache, and ultimately, building a codebase you can actually trust.
Why Bother With React Unit Tests?

Let’s be real—testing can feel like a chore when you’re under pressure to ship features. But for any serious React project, it’s the line between a fragile app and a resilient one. Picture finding a critical bug in your e-commerce checkout flow just minutes before a Black Friday sale kicks off. That’s not just a technical glitch; it’s a direct blow to your revenue and your customers’ trust.
The Power of Testing in Isolation
This is where the real value of react unit tests shines. By testing components completely on their own, you catch these kinds of issues way earlier in the development cycle. React’s whole component-based architecture is tailor-made for this. You can verify every button, form, and modal independently, creating a safety net for your entire application.
This gives your team the confidence to refactor code or roll out new features without constantly worrying about what might break. That confidence is essential for moving quickly and sticking to sound deployment practices. For a deeper dive into this, our guide on software deployment best practices is a great resource.
It’s no surprise this has become an industry standard, especially with React’s explosive growth. It’s now the engine behind over 4.8% of all websites, which adds up to nearly 11 million sites, including heavy hitters like Netflix and Airbnb.
Building a strong unit testing strategy isn’t just about squashing bugs. It’s about creating a more maintainable, scalable, and reliable application. That translates directly to a better user experience and saves you countless hours of development time down the road.
To set the stage, let’s quickly review the core ideas that make for a successful modern React testing strategy. These principles guide our approach and ensure our tests are effective and easy to maintain.
Core Principles of Modern React Testing
| Principle | Why It Matters | Primary Tool |
|---|---|---|
| Test User Behavior, Not Implementation | Focuses tests on what the user experiences, making them more resilient to code refactoring. | React Testing Library |
| Isolate Components | Ensures a failing test points directly to the component with the bug, simplifying debugging. | Jest |
| Aim for Readability | Tests should be easy to understand. They act as living documentation for your components. | Clear test descriptions and assertions |
| Automate Everything | Running tests automatically in a CI/CD pipeline catches regressions before they hit production. | CI/CD Platforms (e.g., GitHub Actions) |
With these fundamentals in mind, we’re ready to roll up our sleeves and get our hands dirty with the actual setup and code.
Building Your Professional Testing Environment
Before you can write a single test, you need a solid foundation. While tools like Create React App come with a testing setup out of the box, really understanding how to build it from scratch gives you the power to debug and tweak your environment for any project. This is all about getting your hands dirty with the core tools for modern react unit tests.
The first tool you’ll meet is almost always Jest. Maintained by Meta (formerly Facebook), it’s the go-to testing framework for React for a reason. Top dev teams at places like Uber and Airbnb rely on it. Jest packs a punch with features like snapshot testing, parallel test execution to keep things fast, and great built-in support for asynchronous code.
Key Configuration Steps
After you’ve installed Jest and React Testing Library, your focus shifts to the jest.config.js file. This isn’t just a formality; it’s the control center for your test runner.
For example, you’ll need to set the testEnvironment to 'jsdom'. This simple line tells Jest to create a simulated browser environment, which is crucial for testing anything that interacts with the DOM. You’ll also need to get Babel configured correctly so it can transform your modern JavaScript and JSX into something Jest can actually execute.
This flow chart gives you a bird’s-eye view of getting your environment ready to go.
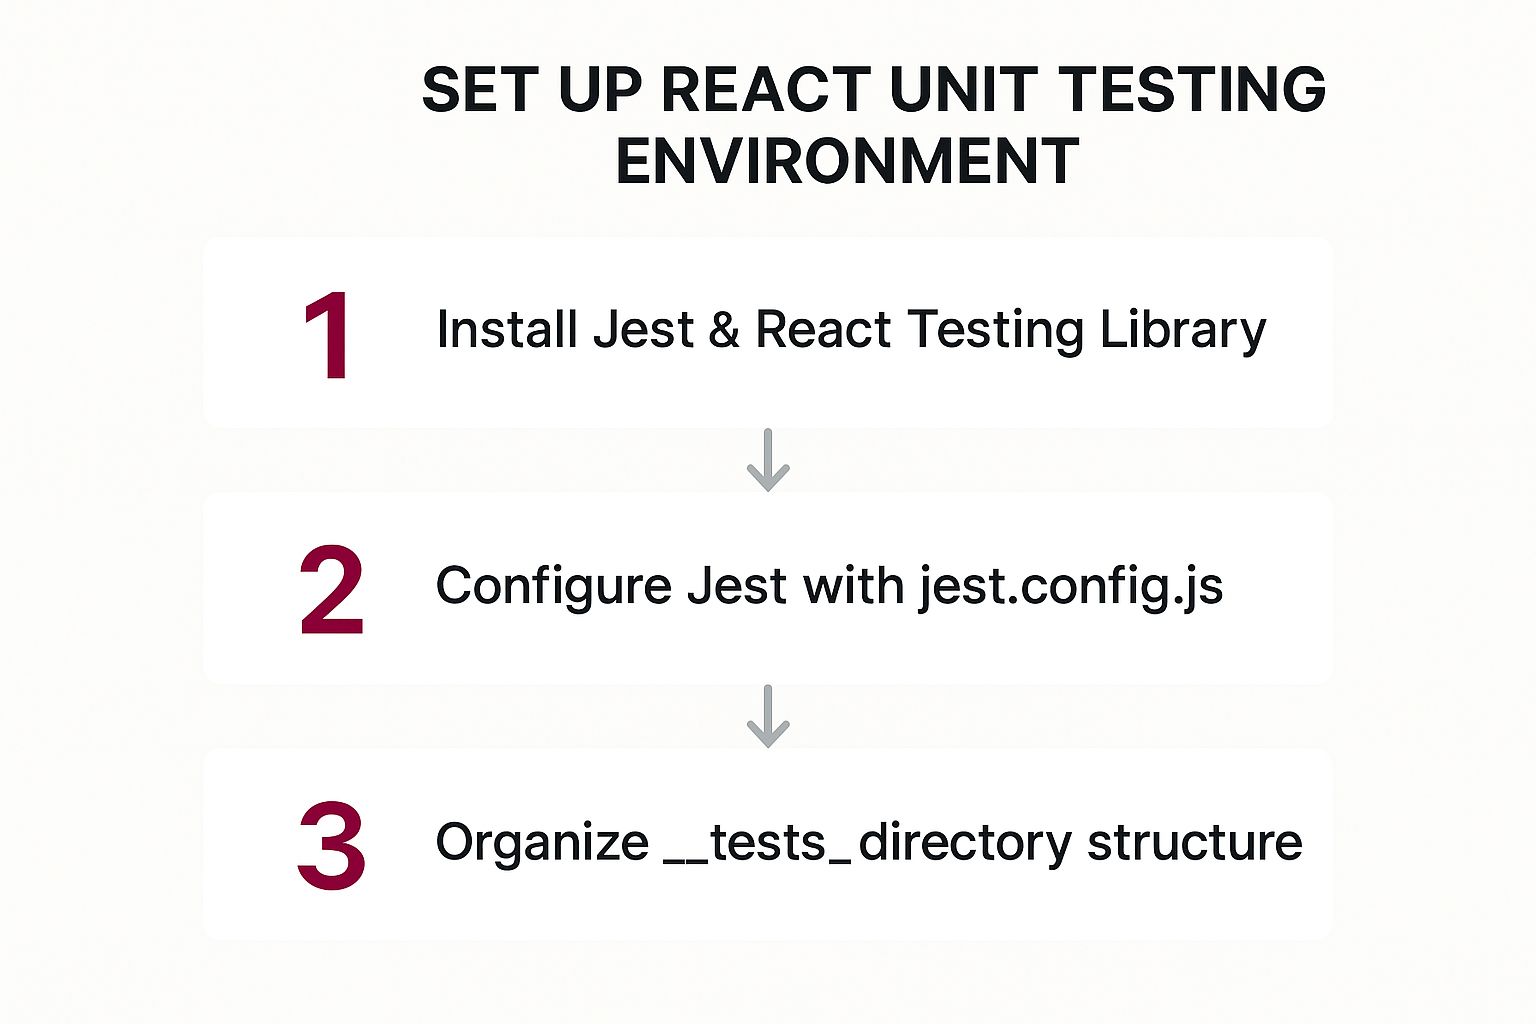
Nailing this sequence from the start means your tools are installed, configured, and talking to each other before you even think about writing a test.
A well-structured professional testing environment requires a solid foundation. This extends beyond just tools and into broader strategies for mastering software QA management to ensure top-tier testing across your projects.
Ultimately, taking the time to set things up right makes your test suite easier to maintain and far more powerful down the road. It creates a stable base not just for writing tests, but for integrating them into your larger development workflow. If you’re ready to see how this fits into the bigger picture, check out our guide on how a professional setup plugs into automated pipelines here: https://codepushgo.com/de/blog/continuous-integration-react-native/
Writing Your First Component Test with RTL

Alright, with our testing environment configured, it’s time for the fun part: writing our first real react unit test. We’ll start with something simple yet fundamental—a basic Button component. Nail this, and you’ll have a blueprint you can adapt for almost any component you build.
The whole philosophy behind React Testing Library is to test your components the way a user would interact with them. This means we’re not going to poke around at internal state or props. Instead, we’ll ask the questions a real user would: Can I see the button? Does it have the right text? Does something happen when I click it?
This user-first mindset is precisely why RTL has become the go-to for so many developers. It pushes you to write tests that are more resilient to refactoring. Your tests won’t break just because you renamed a prop or tweaked some internal logic. You can dive deeper into this user-centric approach at thinksys.com.
How to Structure Your Test File
Every Jest test file you come across will likely follow the same predictable, readable pattern: describe, it (or test), and expect. This isn’t just arbitrary syntax; it’s a brilliant way to organize your tests so that anyone can understand their purpose at a glance.
describeblock: Think of this as a container for a group of related tests. For our component, we’d name it something clear, like'<Button />'.itortestblock: Eachitblock is a single, isolated test case. The description should read like a sentence, such as'should render with the correct text'.expectstatement: This is where you make your assertion. It’s the part that actually verifies your code works, likeexpect(buttonElement).toBeInTheDocument().
Following this structure helps keep your test suite clean and self-documenting. As your application grows, a well-organized test suite is just as critical as the production code itself, especially when you’re pushing out updates. Keeping things maintainable is a huge part of the process, much like managing over-the-air updates for mobile apps. If you’re curious, you can learn more about what an OTA update is and see the parallels in maintaining software.
Putting It All into Practice
Let’s get our hands dirty and write the actual test. We’ll start by rendering our Button component with RTL’s render function. From there, we need to find that button in the virtual DOM. My go-to query for this is almost always getByRole, as it’s the closest to how assistive technologies (and users) find interactive elements.
import { render, screen } from ‘@testing-library/react’; import Button from ’./Button’;
describe(');
const buttonElement = screen.getByRole('button', { name: /click me/i });

expect(buttonElement).toBeInTheDocument();
}); });
Key Takeaway: See how we used
getByRoleand passed anameoption? That’s a huge best practice. It doesn’t just check if any button rendered; it confirms that the correct button, identifiable by its text, is on the screen. This one simple test gives us confidence that the component is rendering and is accessible, setting a solid foundation for more complex tests down the road.
Tackling Advanced React Testing Scenarios
Once you’ve got the basics down, you’ll find that real-world components are rarely simple. They don’t live in a vacuum. Instead, they fetch data, juggle asynchronous states, and tap into shared application logic. Getting your react unit tests to handle these situations is what will truly make your test suite robust and reliable.
One of the first hurdles you’ll encounter is testing a component that calls an API. You can’t have your tests hitting a live server every time they run. That’s a recipe for slow, flaky tests that depend on a stable network and a running backend. The professional approach is to mock the API, and Jest has powerful, built-in tools for just that.
Mocking API Calls with Jest
With Jest, you can use jest.fn() to create a “spy” or a fake version of your data-fetching function. This lets you dictate exactly what the API “returns” in your test, allowing you to easily simulate success, loading, and error states without ever making a real network request.
Let’s say you have a UserProfile component that fetches and displays user data. Here’s how you could test it:
import { render, screen, waitFor } from ‘@testing-library/react’; import UserProfile from ’./UserProfile’; import { fetchUserData } from ’./api’;
// Tell Jest to watch the ’./api’ module and mock it jest.mock(’./api’);
it(‘displays the user name after fetching data’, async () => { // For this specific test, make sure fetchUserData resolves with mock data fetchUserData.mockResolvedValueOnce({ name: ‘John Doe’ });
render(
// ‘findByText’ is perfect for async tests—it waits for the element to appear const userName = await screen.findByText(‘John Doe’); expect(userName).toBeInTheDocument(); });
The magic here is in the combination of async/await and findByText. Queries like findBy* from React Testing Library are designed for asynchronous operations. They wait for the UI to update after the API call finishes, which is exactly what a real user experiences.
For larger, more complex applications, I highly recommend looking into Mock Service Worker (MSW). MSW is incredible because it intercepts requests at the network level. Your component code has no idea it’s in a test, making your tests much closer to how the application behaves in the real world.
Isolating and Testing Custom Hooks
Custom hooks are prime candidates for isolated unit tests. Because you’ve already extracted complex logic out of your components, you should test that logic directly. The React Testing Library even provides a handy renderHook utility specifically for this.
The process is straightforward:
- You call
renderHookto execute your hook inside a tiny, controlled test environment. - You can then interact with any functions the hook returns, just like a component would.
- Finally, you assert that the hook’s state and return values are what you expect.
Testing hooks this way gives you confidence that your core business logic is sound, completely separate from any UI that might be using it.
Handling React Context in Tests
So, what about components connected to React Context? It might seem tricky, but testing them is actually quite simple. All you need to do is wrap your component with the Context.Provider right inside your test.
By doing this, you can provide any mock value you need for that specific test case. This completely isolates the component from the rest of your app, giving you total control over the context data it receives. This kind of targeted control is key to writing predictable and maintainable react unit tests.
Best Practices for Resilient and Maintainable Tests

Anyone can write a test that passes once. The real trick is building a test suite that doesn’t crumble into a maintenance nightmare the moment you touch the codebase. It all comes down to one core principle: test behavior, not implementation details.
Think about it from the user’s perspective. A good test confirms what they actually see and interact with, not the messy internal state or the specific way your component is structured behind the scenes. This user-centric philosophy is what makes your React unit tests robust and truly valuable.
When you inevitably refactor a component—maybe you swap out useState for useReducer or rename a few props—a behavior-focused test shouldn’t care. As long as the user’s experience is unchanged, the test passes. On the other hand, tests that are tightly coupled to implementation details are fragile. They break constantly with minor, irrelevant code changes, creating a ton of noise and unnecessary work.
The React Testing Library Philosophy
The entire philosophy of React Testing Library is built on this idea. The more your tests resemble the way your software is used, the more confidence they can give you. To put this into practice, here’s a look at what to do versus what to avoid.
Testing Philosophy Comparison
| Practice (Do This) | Anti-Pattern (Avoid This) | Reasoning |
|---|---|---|
| Query by accessible roles, text, or labels | Querying by CSS classes or data-testid | Focuses on what the user sees and interacts with, not fragile implementation details. |
Fire user events like fireEvent.click() | Calling component instance methods directly | Simulates a real user action, ensuring the entire interaction flow is tested. |
| Assert based on the visible UI | Asserting on component state or props | Your test should only care about the final output that the user experiences. |
This table really just scratches the surface, but embracing this mindset is the single most important step toward building a test suite that helps instead of hinders.
A Simple Structure for Clearer Tests
For maximum readability, I always structure my tests using the Arrange, Act, Assert (AAA) pattern. It’s a simple convention that makes your test’s purpose crystal clear at a glance.
- Arrange: Get everything ready. This is where you render the component, mock any necessary data, and set the stage.
- Act: Trigger the interaction. Simulate the user doing something, like clicking a button or typing into an input field.
- Assert: Check the result. Verify that the UI updated as expected after the user’s action.
Sticking to these principles transforms your tests from a source of frustration into a reliable safety net. They become living documentation, clearly defining a component’s expected behavior for any developer who comes after you.
This focus on user behavior isn’t just for web apps, either. The same core ideas are critical for creating stable tests on any platform. You can see how these concepts translate in our guide on how to test a mobile app.
Frequently Asked Questions About React Unit Tests
When you first dive into the world of React unit tests, it’s natural to have a few questions. Getting a handle on these concepts early will help you sidestep common traps and write much more effective tests as your components grow in complexity.
Jest vs. React Testing Library: What’s the Difference?
This is a classic point of confusion, but it’s simpler than it seems. The best way to think about it is as a partnership where each tool has a distinct job.
Jest is the underlying testing framework. It’s the engine that discovers your test files, runs them, and gives you the core building blocks like describe, it, and the assertion functions (expect, etc.). It manages the entire testing process.
On the other hand, React Testing Library (RTL) is a specialized library designed specifically for testing React components. It provides a set of tools to render your components in a simulated environment and interact with them the way a real user would—by finding elements by text, role, or label.
In short: Jest runs the show, and RTL provides the React-specific magic to make your tests more realistic and user-centric.
How Much Test Coverage Should I Aim For?
It’s tempting to chase that perfect 100% coverage score, but in my experience, it’s often a case of diminishing returns. Focusing on that number can lead you to write brittle tests for simple, static components just to bump up the percentage.
A much healthier and more practical goal is to aim for 80-90% coverage, with a heavy focus on the parts of your application that matter most.
Prioritize your effort on complex conditional logic, critical user flows, and any functions that have a history of being buggy. A high coverage score that ignores the tricky parts of your codebase can give you a false, and frankly dangerous, sense of security.
When Should I Use Unit Tests vs. E2E Tests?
Both are crucial for a healthy application, but they solve different problems.
- Unit Tests are for testing things in isolation. They’re perfect for verifying that a single component or a specific function behaves correctly given a set of inputs. They are fast, focused, and fantastic for pinpointing bugs in your logic.
- End-to-End (E2E) Tests, often written with tools like Cypress, simulate a complete user journey. They test entire workflows from start to finish—like a user logging in, adding an item to their cart, and checking out—to ensure all the pieces of your application work together correctly.
If you’re building for mobile, the distinction becomes even more important. We cover this in much more detail in our guide on React Native unit testing.
At CodePushGo, we’re all about helping you ship better code, faster. Our platform makes over-the-air (OTA) updates for your React Native apps a breeze, letting you push critical fixes and new features in minutes, not days. Find out how it works at https://codepushgo.com.


